Layered Florals with Faux Denim Texture

Welcome back to Creative Coloring with Erum. Today’s project is all about building texture — from soft layered stencil texture in the florals to bold faux denim texture in the background. By combining embossed texture, ink-blended texture, and dimensional layering, we can create a card that feels rich, grounded, and visually dynamic.
If you’ve ever wanted your florals to have more presence and texture, this technique-driven design might inspire you.
Let’s walk through how all of these layers of texture come together.

VIDEO: Layered Florals with Faux Denim Texture
Watch the video tutorial below to learn more about this cardmaking technique! Or read step-by-step instructions after the video.

Create Depth with Inks
- Stamp the floral image from the Build-a-Garden: Scripted Blooms Stamp Set onto Classic Crest Solar White Cardstock using Obsidian Pigment Ink. Heat-set the ink to prevent smudging.
- Apply Pastel Sunrise Fresh Dye Ink over the entire floral area as a soft base. Starting light helps the deeper tones blend more smoothly and prevents harsh transitions.
- Using a Micro Blending Brush, apply Canyon Clay Fresh Dye Ink softly from the center outward. Even though the next stencil layer will cover much of this, gradual color building creates subtle undertones that enhance dimension.
- Place the detailed stencil layer and apply Canyon Clay more heavily to define the petals.
- Add depth at the base of the petals using Mahogany Bark Fresh Dye Ink, flicking upward to keep the petals soft while concentrating the shadow where it naturally falls.
- Apply Cloudy Sky Fresh Dye Ink, keeping it darker at the base and lighter toward the tips.
- Deepen select areas using Dark Night Fresh Dye Ink for contrast. Add a touch of Dark Night to the flower centers for extra dimension.
- Die-cut the floral image using the coordinating die set and set aside.

Build Faux Denim Background Texture
- Emboss Cloudy Sky Cardstock using the Traces of Yesterday 3D Embossing Folder.
- Lightly draw a waterline and tear the panel for a more organic, textured look.
- On an A2 panel of Nimbus Cardstock, blend Nimbus Fresh Dye Ink around the edges and inward. This subtle edge blending creates a faux denim effect, grounding the entire design.
- Layer the torn embossed panel over the background.
Create Dimension with Layering
- Die-cut three frames from Nimbus Cardstock using the Timeless Sands Die Set. Blend Dark Night Fresh Dye Ink around the edges to create faux dimension.
- Cut the sand from Brushed Silver Metallic Cardstock and the glass from vellum. Assemble using adhesive and foam tape to add layered depth.

Enhance Texture & Assemble
- Swipe Cloud White Ink over the embossed panel to highlight the raised design.
- Before adhering everything down, test placement to balance visual weight.
- Add tag embellishments, silver string, and adhere the floral image with foam tape. Position the focal element and secure in place.
- Add white splatters using Titanium White Gouache to break up the blue background and tie the design together.
- Stack and adhere the sentiment. Finish with Coral Pearl Dots.

I love how the deep blue background makes the florals glow while the texture keeps the design dynamic and interesting. The faux denim effect adds subtle structure, making this layout adaptable for many occasions with simple color adjustments.
Thank you so much for stopping by. I hope this inspires you to experiment with richer tones and layered textures in your own cardmaking.
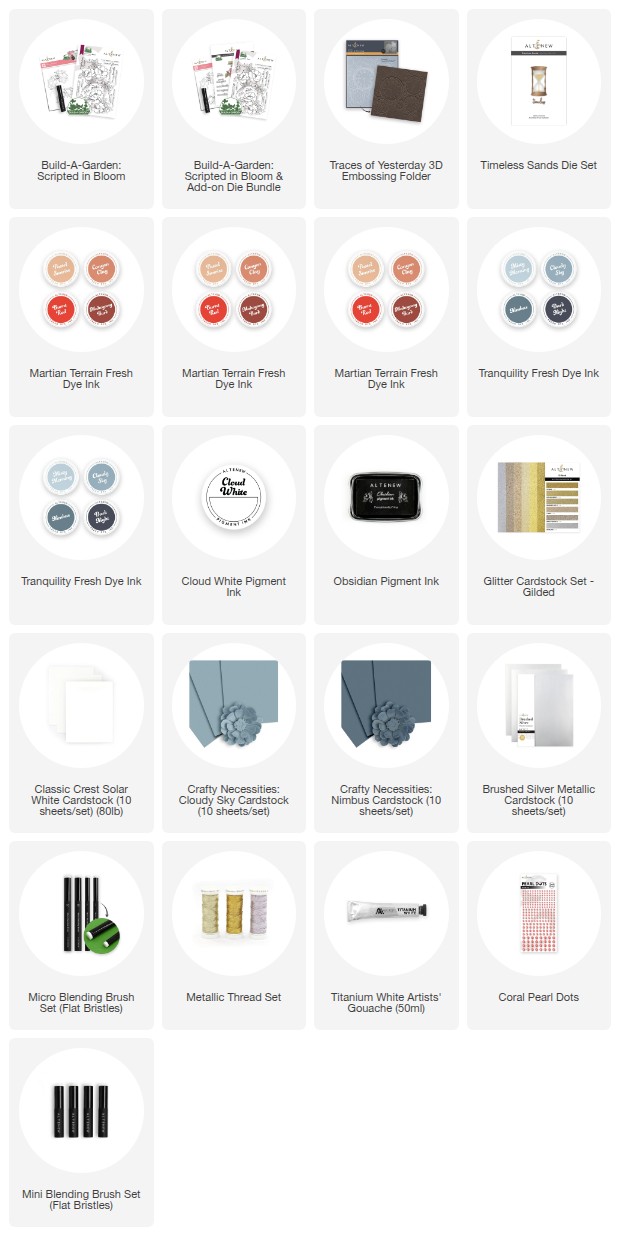
SUPPLY LIST