January 2026 Guest Designer of the Month


Get to Know Our Guest Designer - Lisa
Hello everyone! My name is Lisa Tilson, and I am excited to be a guest here on the Altenew blog. A bit of background on me… I live in the beautiful county of Somerset in England. I discovered cardmaking about fifteen years ago when I was searching for a hobby. It began with a card kit that I bought in a department store and then I started going to craft fairs and buying cardmaking magazines. About 3 or 4 years in, I started attending classes including some Altenew Academy classes and never really looked back after that.
My style is often quite clean and simple, but I have been known on many occasions to cover my cards completely with lots of color and I never mind getting my hands a little dirty in the process. I love to learn new techniques so take classes when I can, and let’s face it, it’s just another excuse to buy all the things isn't it?! I am a huge fan of Altenew and still have some of their very first sets in my stamp collection. You can find me on Instagram (@lisatilson) or at my blog My Card Trip.
I hope you find some inspiration in the cards I have made for you today.
Valentine’s Day – One For the Boys and One For the Girls
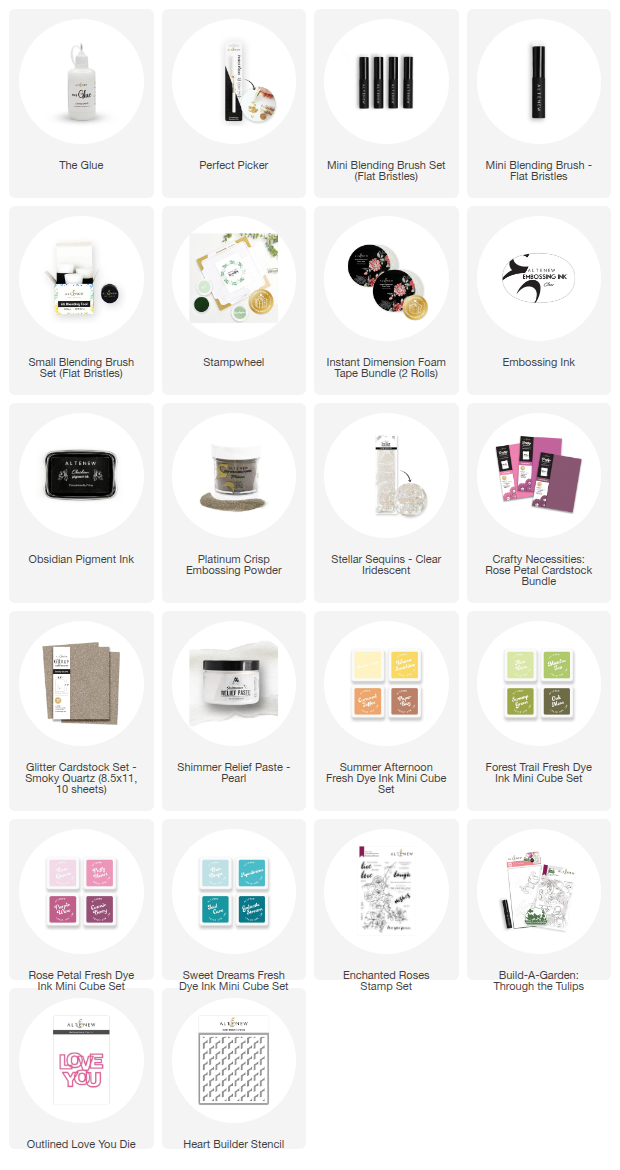
I used the following products on my cards today:
- Heart Builder Stencil
- Outlined Love You Die
- Bold Bouquet Stamp Set/Die Set
- Build-A-Garden: Through the Tulips
- Enchanted Roses Stamp Set
- Sweet Dreams Fresh Dye Ink Mini Cube Set
- Rose Petal Fresh Dye Ink Mini Cube Set
- Forest Trail Fresh Dye Ink Mini Cube Set
- Summer Afternoon Fresh Dye Ink Mini Cube Set
- Shimmer Relief Paste - Pearl
- Glitter Cardstock Set – Smoky Quartz
- Crafty Necessities – Rose Petal Cardstock Bundle
- Stellar Sequins – Clear Iridescent
- Platinum Crisp Embossing Powder
- Obsidian Pigment Ink
- Embossing Ink
- Instant Dimension Foam Tape
- Stampwheel
- Small Blending Brush Set (Flat Bristles)
- Mini Blending Brush (Flat Bristles)
- Perfect Picker
- The Glue
Love You Card
Let’s start with the card for the boys. I went with a blue palette but threw in a bit of glitter. I restrained myself somewhat by not adding sequins as well! I also used some Pearl Shimmer Relief Paste which gives a beautiful shine without overpowering my card.
I thought the Heart Builder Stencil would work well for a masculine card. It is just one stencil that you flip to create that cute and contemporary heart design. So, I started by placing an A2 panel of white cardstock onto my Stampwheel. I popped the stencil on top and then blended Teal Cave Fresh Dye Ink through it using a Small Blending Brush.
Next, I smooshed some Aqualicious Fresh Dye Ink onto my glass mat and using a palette knife, I mixed some Pearl Shimmer Relief Paste into it. I made three different mixes of the ink/paste so that I had a bit of variation in the depth of color.
I then flipped the Heart Builder Stencil over and applied the paste throughout. To give it my card a bit of extra texture, I left the paste a little bit rough and uneven in some areas. I carefully peeled the stencil from my panel and set the panel aside to dry. My stencil was popped into a tub of water so I could clean it later and I cleaned my Stampwheel sticky mat immediately.
Whilst the panel was drying, I took the Outlined Love You Die Set and die cut it once from Smoky Quartz Glitter Cardstock and then twice from some heavyweight white cardstock. I kept all the inner pieces as I would need them later and I adhered all three layers of the die cut together using The Glue.
Once my heart panel was dry, I trimmed it down and adhered it onto a top folding A2 white note card using Instant Dimension Foam Tape. The die cut stack was then adhered on top with glue. I popped two layers of the inner white pieces back into the die cut, adhering them in place. I deliberately only inlaid two layers so there is some variation in the height of the sentiment.
I finished by stamping the “You” from Bold Bouquet Stamp Set onto white cardstock using Embossing Ink. I applied some Platinum Crisp Embossing Powder and heat set it before cutting it out with the coordinating die. It was then added using some foam tape. Platinum Crisp Embossing Powder is a great match for the Smoky Quartz Glitter Cardstock. This card although clean and simple, has quite a lot of different elements, mediums and layers to keep it interesting.
Love You, My Friend Card
My second card was made with the girls in mind, and it would make a great Galentine’s Day card! When I want to create a bold background, I often veer towards color blocking. I love big pops of color on a card. They create drama and impact, and they give a fresh contemporary feel. This is also a great way to use up any scraps of card you have laying around.
Let’s start off with those gorgeous tulips! The Build-A-Garden Through the Tulips set is one of my favorites. I began by placing an A2 panel of white cardstock onto my Stampwheel. I took the Through the Tulips Stamp Set and placed the main tulip image on top of my cardstock before picking it up with the clear flip plate. It was inked up with Obsidian Pigment Ink and then stamped onto my white panel.
Using a Mini Blending Brush and the Rose Petal Fresh Dye Ink set, I started to apply my pink inks. I blended Rose Quartz through stencil A1 followed by Puffy Heart through stencil A2.
Stencil A3 will cover your darkest area on the tulips and also one section of the tulip center. So, I used Purple Wine as well as Warm Sunshine for these two areas. I also added a bit of Cosmic Berry on top of the Purple Wine to really darken the darker areas. For these smaller areas, the Mini Blending Brush is your friend! Stencil B1 covers the first layer of the leaves, and I applied Aloe Vera for this. B1 also covers the rest of the flower center, and I used Caramel Toffee Fresh Dye Ink for that. I finished the leaves by adding Matcha Tea through stencil B2 and darkened some of the areas using Swamp Green.
The tulip image was then cut out using the coordinating die set and I cut a further two layers from heavyweight white card. The layers were then adhered together using The Glue and set to one side.
For my background I wanted three big blocks of color, so I used Crafty Necessities Puffy Heart and Purple Wine plus a light pink. I placed the pieces of cardstock at angles across my A2 white cardstock panel and adhered them down before trimming off any excess from the sides. The tulips were then adhered into the center using liquid glue. The die cut feels super solid due to those extra layers!
To finish, I stamped a sentiment from Enchanted Roses Stamp Set onto white card using Obsidian Pigment Ink. I trimmed it down and added it onto my tulips using Instant Dimension Foam Tape. To add a bit of sparkle, I added some Clear Iridescent Stellar Sequins around the tulips using the Perfect Picker.
I hope you have enjoyed seeing my two card ideas and thank you so much for your company here on the Altenew blog today. Wishing you all a fabulous day!
-Lisa
2 Comments
Beautiful makes, thanks for the inspirations!
Great, unique cards!!
Leave a Reply