How to Fix Flat Ink Blending Using Color Layering Techniques

Hello friends! It's Mindy, and today I’m sharing how to fix one of the most common issues with ink blending — when your coloring looks flat instead of dimensional. One of my favorite ways to instantly add depth is by layering multiple ink colors together, gradually building intensity to create soft shadows and natural dimension. That's exactly what we're diving into today!

For today’s card, I’m using the Craft A Flower Sunflowers Layering Die Set, which makes it easy to achieve beautiful layered designs thanks to the clever keyhole alignment system. I also have a full video tutorial where I walk you through each step of the process, so be sure to scroll down and watch the video for all the tips and techniques in action.
Starting with Die Cutting
I began by die cutting all of the pieces from white cardstock. Starting with white cardstock gives you complete control over your color palette and allows you to build dimension through ink blending rather than relying on pre-colored papers.
Each sunflower layer in this die set includes its own keyhole shape, which helps guide placement and keeps everything perfectly aligned during assembly.
Once my pieces were die cut, I placed them onto a 9x12 sticky mat. This helps hold all of the small die cuts securely in place while blending and prevents shifting as you add color.

Adding Dimension with Layered Ink Blending
To add color to the sunflowers, I used the Citrus Punch ink collection. The key to dimensional ink blending is working gradually:
Start ink blending with the lightest shade using a mini blending brush.
Apply soft, light pressure to create a smooth base layer.
Slowly build depth by layering darker shades from the collection.
I always begin blending in the center of the flower and work outward. This naturally creates shadows and gives the petals more realistic depth.
Instead of trying to achieve the final look in one step, layering color slowly allows you to control contrast and avoid harsh transitions.
Ink Blending the Leaves
For the leaves, I used the Green Valley ink collection.
Just like the petals:
Begin with a lighter shade to establish the base color.
Add darker tones gradually to create shading and dimension.
Focusing deeper color ink blending toward the base of the leaves or along edges helps enhance the layered effect once the pieces are assembled.
Creating a Soft Background with Ink Blending
For the background, I used the cloud images from the Caribbean Life Layering Stencil Set.
Using the lightest color from the Northern Shore ink collection, I softly blended clouds across the panel. Then I lightly went over the entire background with Polar Bear (the same shade) to soften everything.
Toward the bottom of the card, I added Grass Field ink blending for a subtle grounded area that helps anchor the sunflowers without overpowering the design.

Assembling and Finishing the Card
After finishing the ink blending, I assembled the sunflower layers using liquid glue. The keyhole alignment makes this process incredibly simple — each layer falls naturally into place without guesswork.
I adhered the die cut sunflower pieces using a combination of liquid glue and foam tape for added dimension. The sentiment was die cut from the Stylish Greetings Die Set and added as the finishing touch.
Conclusion
Layering ink colors or playing with ink blending techniques in general is a simple but powerful way to transform flat ink blending into something full of depth and life. By starting with lighter shades, slowly building darker tones, and focusing your ink blending where natural shadows would fall, you can create beautifully dimensional die cuts without adding extra bulk.
Be sure to watch the full video tutorial for a closer look at the ink blending process and to see how everything comes together step-by-step!

Need Some Sentiments to Spruce up Your Projects? Don’t Miss This Deal!
Add cute, heartwarming sentiments to your handmade creations with the Complete Bundle of the Solid Sentiments Set. The best part? You can get it for 40% from February 18 at 12:01 AM EST to February 19 at 11:59 PM EST.
Today's the LAST DAY! Add this to your cart soon if you've been eyeing it for your crafty projects!

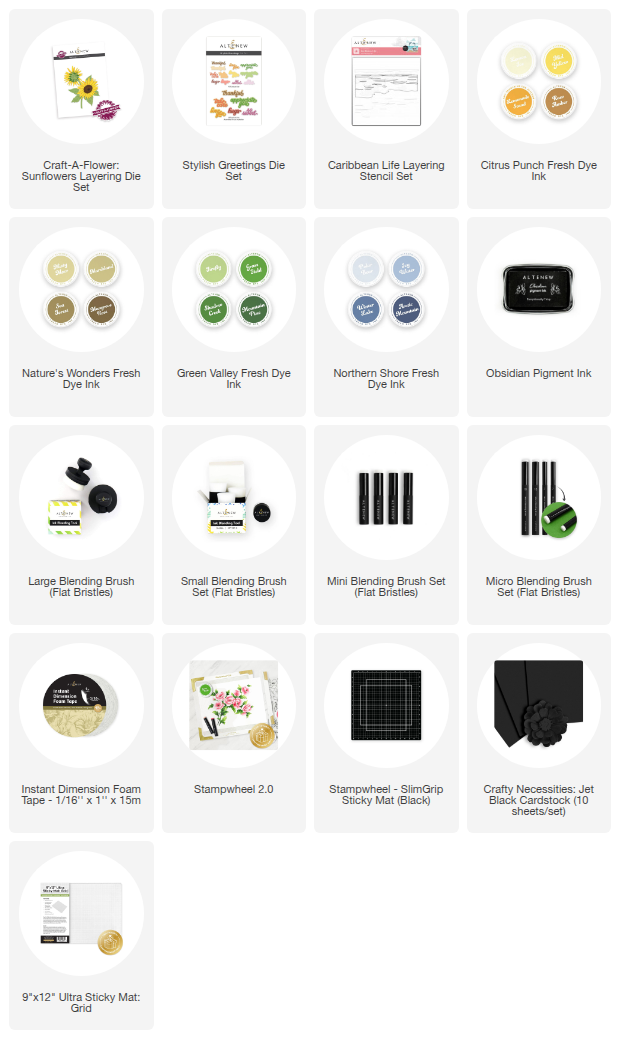
SUPPLIES
2 Comments
So beautiful and helpful. Love your instructions…especially the background blending. Thank you for sharing your talents.
linkdeli wouldn’t let me shop the products
Leave a Reply