Pops of colour and layers for the win | Tremendous Textures with Erica
by Erica Andersson May 28, 2026

Key Takeaways
Maximize Versatility: The Arabesque Medallion product suite allows you to create everything from clean and simple (CAS) one-layer cards to highly dimensional, multi-layered designs.
Master the Faux Stained-Glass Look: Achieve a stunning stained-glass effect by heat embossing the medallion image onto watercolor paper or by coloring the reverse side of heat-embossed vellum with alcohol markers.
Boost Texture with 3D Embossing: Elevate standard cardstock by running it through a die-cutting machine with 3D embossing folders. Gently rub pigment ink pads over the raised details to create an antique, gilded look.
Hide Vellum Adhesive: To attach vellum to a card base without the adhesive showing through, carefully apply small dots of precision liquid glue strictly behind the opaque, heat-embossed parts of the design.
Add Depth with Inks and Sprays: Combine ombre ink blending with metallic ink sprays (like Antique Gold or Silver) to easily add dramatic shimmer, contrast, and interest to plain card backgrounds.
Hello and welcome back to the Altenew blog! It's your layers-loving gal, Erica, back with a fresh cardmaking post and video today. We are taking the gorgeous Arabesque Medallion Set, and we are going to use every single product in this range to create some fun Arabesque Medallion layered cards and make those colors pop!
I hope you are ready for a long one because I had SO MUCH fun with this amazing paper crafting set. Once I got going, it was hard to stop. My creativity was on a absolute roll!
This versatile set has everything you need to create all sorts of handmade cards—from clean and simple one-layer cards (not my forte, admittedly) to a complex, seven-layer-bean-dip kind of card!
If you are familiar with my signature style, you know the one-layer kind is the one I find the most difficult for some strange reason. I really admire the CAS (Clean and Simple) card style of Michelle Short; she makes it look so effortless. Then, when I try it, my inner drama queen has the biggest tantrum about the card looking "naked." Oh, the cardmaking struggle is real!
How to Design a Clean and Simple One-Layer Card
Seeing as the one-layer style is the one I struggle with the most, I thought: let's get on with it, get it out of the way, and then we can let loose with the pops of color, heavy layers, bling, and rich textures!
This was harder than I thought, as my creativity was simply itching to get crazy with the 3D embossing folder and the layering stencils.
Step-by-Step Stamping Process:
Stamping the Focal Image: I went with the Arabesque Medallion stamp set for this one, stamping it slightly off-center directly onto a card base to keep it a true, authentic one-layer card. The pattern of the stamp is absolutely beautiful.
Adding Color: I added a subtle touch of color to the design using the coordinating layering stencils.
Adding Shimmer: I still wanted a little bit of shimmer and sparkle on this card, as that's one way I get around the "nakedness" I struggle with on CAS cards. I'm perhaps a tad too addicted to the Antique Silver Metallic Ink Spray, but it's so lovely, I don't think anyone can blame me!
The Sentiment: The sentiment is from the same stamp set and is stamped directly onto the panel in permanent Black ink with the help of the Altenew StampWheel.
The result? Clean and simple, with lots of elegant white space left.

Creating Texture with 3D Embossing Folder Cards
Next, let's talk about adding serious dimension. First off, I ran a couple of panels of cardstock—two white ones and one Andromeda—through my die-cutting machine with the 3D embossing folder to create that amazing, deep texture.
Erica's Crafting Tip: I pretty much always make some extra panels when I emboss with a 3D embossing folder. It's always good to have backups in case I either mess up or end up loving the results and need to make more layered cards!
Technique 1: Stencil Ink Blending

Obviously, I had to use the layering stencils on one of the white panels to add colors and visual interest. I went for light pinks and a little touch of light blue. Super simple, yet incredibly soft and sweet.
Technique 2: Ombre Blending & Metallic Spray

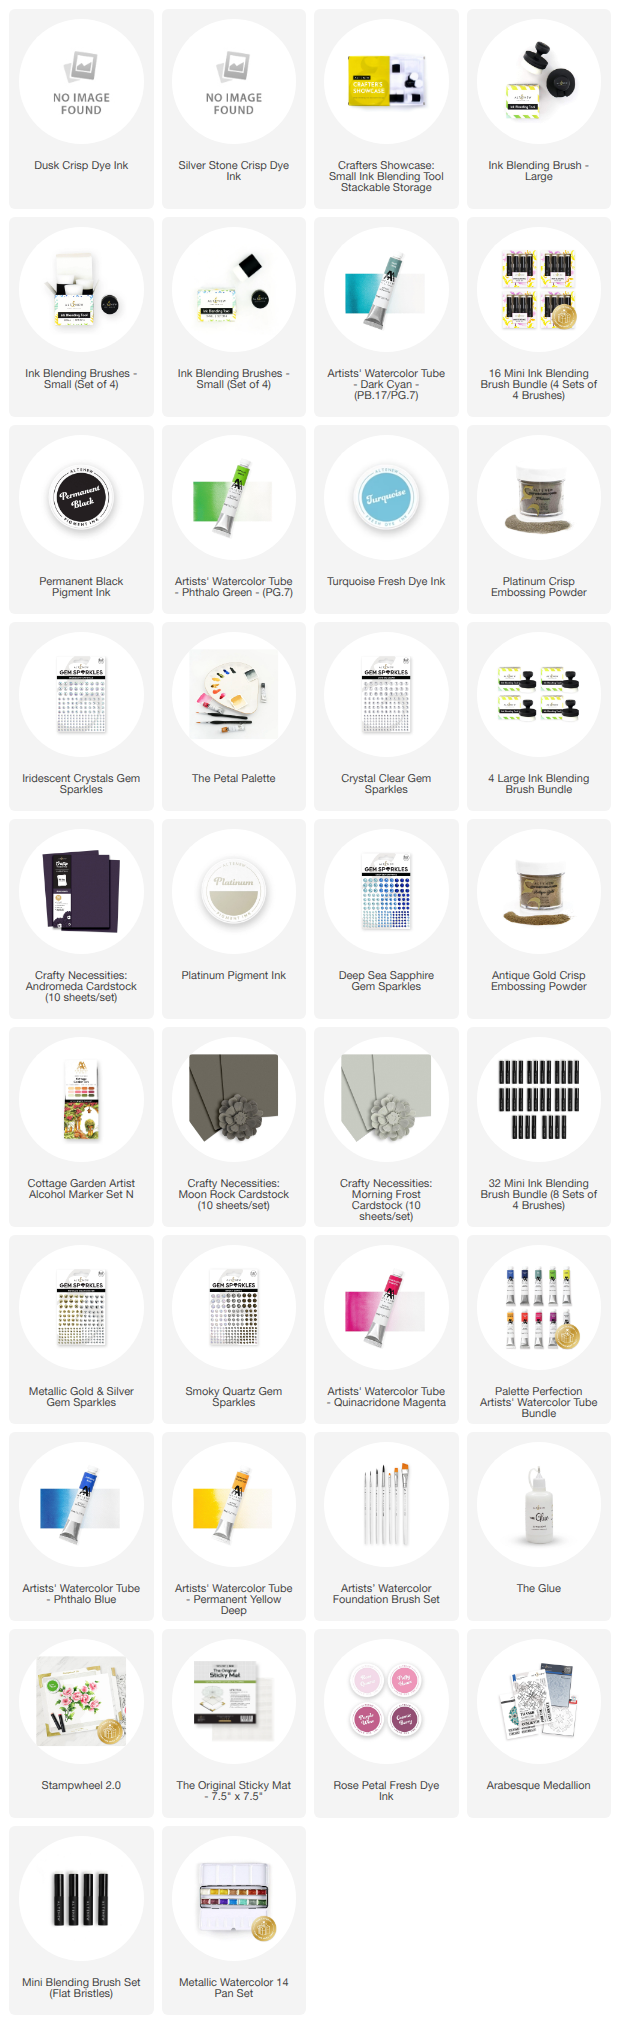
On the second white panel, I simply ink-blended in an ombre fashion, and then out came the Antique Gold Metallic Ink Spray. Can we talk about how dreamy that blue (Dusk from the Cool Summer Night Fresh Dye Ink Bundle) looks with that gold splattered on it? Ugh, GORGEOUS, if I may say so myself!
I trimmed this panel down a little bit before adhering it to a white card base to get that lovely white frame around it. It makes the color and the texture pop even more.
Technique 3: Pigment Ink Rubbing

The Andromeda cardstock panel looks really lovely as it is, but to really highlight the raised pattern and create the illusion of deeper layers, I gently rubbed the Platinum Pigment Ink pad directly over the embossed cardstock. This gave it an almost antique, gilded look, and I am absolutely here for it.
My first idea on how to finish this card off was simple: trim the panel down a little and add it to a gray cardstock base for a clean frame. But as I was experimenting with the colors and thinking about how to add more layers, I thought to myself, "This will look splendid cut out and layered up!" And you know what? It really does!
The card base is Moon Rock cardstock, and I die-cut a piece out of Morning Frost cardstock too, layering it up slightly off-center behind the purple layer. Oooooh, let me tell you, that makes the purple layer POP!
Sentiments and Finishing Touches
There are some beautiful sentiments in the Arabesque Medallion stamp set, AND they have coordinating die-cuts! They look fabulous heat embossed, and I have done that in Antique Gold as well as Platinum. They also look great stacked, which is so easy to do with the die-cuts.
On these, I had to use some Gem Sparkles. I had to! Not a choice at all—they both needed some extra sparkle and bling.

Advanced Cardmaking: Extra Layered Cards

The Stained-Glass Watercolor Look
The intricate pattern gives off major stained-glass vibes.
Embossing: I decided to first stamp the image in Silver Stone Fresh Dye Ink, and then I heat-embossed clear embossing powder right on top. Oh, and I did this on watercolor paper for extra texture!
The Vellum Layer: The second panel I did with Antique Gold embossing powder on vellum.
After using some watercolors to add vibrant color to the first panel, I left it to dry and then used the coordinating die to cut it out. I also cut out another couple of pieces to layer this up with. One would be enough, but I like LOTS of layers, so I did three!
On the background, I spritzed Antique Silver Metallic Ink Spray for extra interest and shimmer. We can't have all of these amazing layers and pops of colors on a plain, boring background, now, can we? (Okay, maybe some of you can... but not me!). The Crystal Clear Gem Sparkles were the perfect finishing touch for this card, and I went very generous, even for Erica standards.
The Flipped Vellum Technique

For the vellum image, I flipped it over and added colors to the back using Artist Markers (I used the Garden Cottage Set) to create a different kind of faux stained-glass look. This I also cut out using the coordinating die-cut. Because of the delicate nature of the vellum, I didn't cut out any extra layers for this one.
For the background, I grabbed that gorgeous Antique Gold Metallic Ink Spray again and spritzed a little on a white card base.
How to Glue Vellum Without Adhesive Showing: It's tricky to add vellum to a card base without the glue showing through. However, because the image was heat embossed, we can add a tiny bit of The Glue strictly behind the opaque embossed pattern on the back. Be careful not to add too much to avoid the vellum warping!
This card also needed a lot of bling to add texture and layers, and it pops beautifully against the gold heat embossing! I would have used Metallic Gold and Silver Gem Sparkles if I had enough left, but since I ran out, I decided to switch things up and go for Rose Gold Stellar Sequins instead.
Bonus Card Idea! (Exclusive Blog Content)
If you are reading this on the blog, you are definitely in luck because this bonus card is NOT being shared in the YouTube video! This card is incredibly colorful, heavily layered, and super sparkly. All of the things I love!

How I Made It:
The Background: First off, I created a vibrant background using watercolors, and then I left it to dry—and I mean dry until it was bone dry.
Heat Embossing: On top of this colorful watercolor wash, I heat-embossed the main image from the Arabesque Medallion stamp set using Platinum embossing powder.
Dimension: To create instant layers, I added Instant Dimension Foam Tape on the back and then adhered the whole thing to a crisp card base.
The Sentiment: I added a sentiment and heat-embossed it in Platinum Crisp embossing powder to coordinate perfectly with the main image. Because I am mad about layers, I stacked the sentiment with another few die-cuts too.
Final Splatter: On top of this, I spritzed some Antique Silver Metallic Ink Spray. The Iridescent Crystal Gem Sparkles came out to play too. I'm not even mad about it!

Watch the Cardmaking Tutorial!

Well, that's it from me for today! I really hope you are loving these Arabesque Medallion layered cards as much as I am, and that you get a chance to watch the full process video tutorial too.
With sparkle and creativity, love and light from Erica!
Which of these cardmaking techniques are you most excited to try with your next layered project?