How To Create a Fun Floating Tag Focal Point (With Video Tutorial)
Hello there, Michelle here with another edition of Terrific Tags with Michelle. Today I have a fun card to share with you using a floating tag. Of course it is not actually floating, but does look like it is!

Creating the Florals
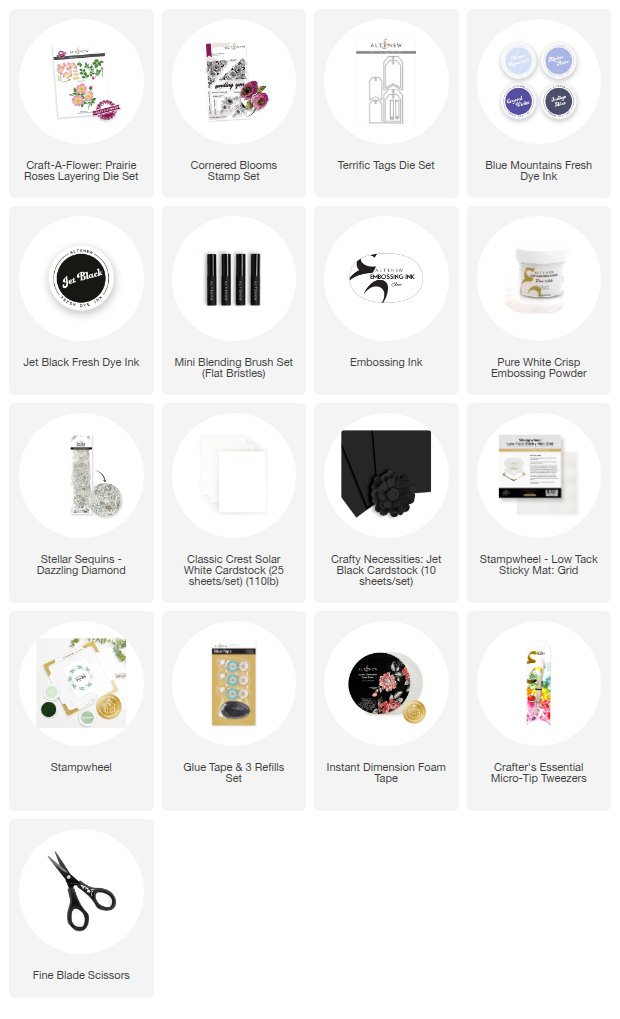
I started off my card by die cutting the flowers and leaves from Craft-A-Flower: Prairie Roses Layering Die Set from Classic Crest 110lb Solar White Cardstock. There are three flowers in the set, but I just used two for my card today.
I placed the petals onto my Sticky Mat and using a Mini Ink Blending Brush, blended Blue Mountains Fresh Dye Inks on top. I started with the lightest shade and worked up to the darkest, adding less and less of the darker color and only in the center.
I wanted the leaves to look a cool gray but only had warm gray colors, so I took my Jet Black Fresh Dye Ink and removed most of the ink from the brush. Using a light-hand, I blended it on to the leaves, leaving some white space at the tips. I kept the flower centers white.
I then adhered the petals together using liquid glue and the fabulous key-hole system, referencing the back of the packing where needed.

Stamping the Sentiment
I took the ‘love and hugs' sentiment from Cornered Blooms Stamp Set and masked off the ‘love and' part. I inked up the ‘hugs' using Embossing Ink and stamped it onto Crafty Necessities: Jet Black Cardstock. I applied Pure White Crisp Embossing Powder and heat set.
It was cut into a strip and set aside while I worked on the tag.

Floating Tag
I took a piece of acetate and placed one of the largest tags from the Terrific Tags Die Set on top, holding down with low-tack tape. I then ran it through my die cutting machine.
TIP: When die cutting acetate, I like to place the die and acetate between two sheets of paper. This gives me a cleaner cut and stops the acetate from getting any cut marks on it.
I then cut the tag down slightly using my guillotine, so that it wasn't so tall. I adhered the leaves and flowers on top using Glue Tape.
The sentiment was then adhered using Instant Dimension Foam Tape. I threaded black twine through the top of the tag and tied in a bow.

I flipped the tag over and added Instant Dimension Foam Tape behind where the flowers, leaves and sentiment are (so that it cannot be seen from the front). It was then adhered onto an A2 sized white card base.
Since the tag is clear, it kind of looks like the tag is floating above the card, I think it is a really fun look!
I finished off by embellishing with Stellar Sequins: Dazzling Diamond, adhering with liquid glue.
Video Tutorial: Fun Floating Tag Focal Point
I hope I have inspired you to try adding floating tags onto your card projects. You can watch the full process video below or on YouTube.

Thank you so much for visiting today, I hope you have a wonderful day!
Supplies: