How To Achieve Beautiful Ink Blended Florals
by Mindy Eggen February 8, 2025

Hello everyone! Mindy here and I have some inspiration to share using the new Build-A-Garden Peruvian Lily and sharing how to achieve beautiful ink blended florals.
The key to being able to achieve these results lies in the blending brushes. My top brushes for this technique is the Mini Blending Brushes and the Micro Blending Brushes.

Let’s Make Magic with Ink Blended Florals!
I like to start all of my blending projects by stamping the image first in a light color ink. I am using the Stampwheel 2.0 and on a white piece of cardstock I will stamp the image in Limestone Ink, making sure to leave my image in place. This helps me ensure that I will smear any ink when ink blending.
After removing my cardstock from the Stampwheel, I'll place it on the 9×12 Sticky Mat so I have a little more room to spread out and layer my stencils. The sticky mat is great for holding my stencils in place while I blend and keeps my ink pad in place as well.
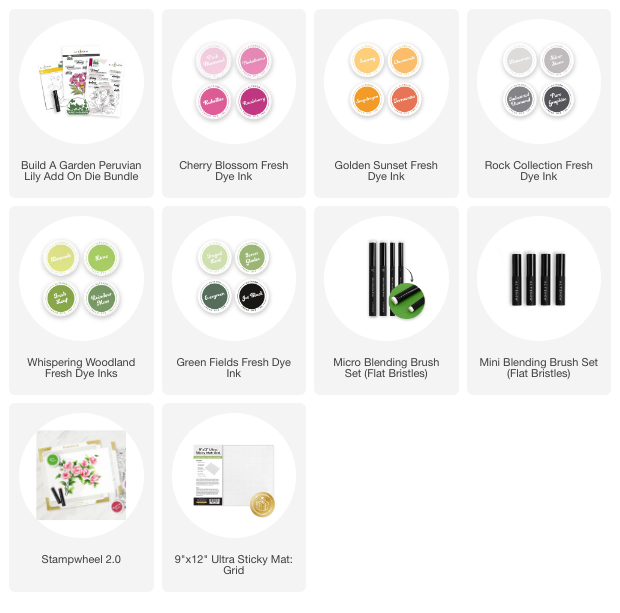
For each layer of the stencil I'm going to use TWO colors of ink. The area closest to the center of the flower will be blended using the Sunray Ink from the Golden Sunset Collection and the other half of the petal will be blended with Pinkalicious from the Cherry Blossom Collection.
I'll initially start by blending with the mini blending brushes.

When I want to add more depth and dimension to my petal, I will outline the petal with Rubellite, also from the Cherry Blossom Collection, but this time using the micro blending brush. You can really zero in on the outline of the petal with the smaller brush which is why they are key is being able to use two different colors on each petal.

After blending the leaves with Lime and Reindeer Moss from the Whispering Woodland Collection, I can remove this from my sticky mat, place it back into my Stampwheel and stamp the outline again in Jet Black ink from the Green Fields Collection.
I can then easily die-cut the image using the coordinating die, creating a crisp, polished look that adds dimension and makes layering a breeze!
To add extra interest to my background, I stamped the same outline image onto another piece of cardstock using Limestone Ink. Then, I layered the blended die-cut piece on top, slightly overlapping the stamped design for added depth and dimension.

This set offers a fantastic variety of sentiments, making it easy to find the perfect one for any project! Plus, some sentiments come with coordinating dies, allowing you to effortlessly cut them out and layer them over your designs for added depth and dimension.
This is just the beginning of what you can create with ink blended florals and supplies like the Build-A-Garden Set! With so many possibilities for layering, coloring, and arranging, the creative potential is endless!
I hope you found these tips inspiring for your ink blending! Give them a try and let your creativity shine!
-Mindy
SUPPLIES