Holiday Card Inspiration: Colorful Pop-Up Bows with Gold Accents
It's never too early to start making cards and projects for the holidays. And when we think of the festive season, one of the first things that comes to mind is presents and bows! That's the inspiration for today's project.
Hello friends! Svitlana is here. Today I’m excited to share a holiday card featuring bold, colorful bows. This design is packed with dimension, a rich background, and a festive gold sentiment — perfect for holiday crafting.

Making the Dimensional Colorful Bows Background
Creating the Embossed Bows
The highlight of this project is the Elegant Bows Complete Bundle, which comes with a coloring stencil, coordinating die, and 3D embossing folder. I fell in love with its elegant and realistic design the very first time I saw it, and it’s just as beautiful in person as I imagined. The details capture the look of real bows, making them a stunning focal point for holiday cards and beyond.
I started by embossing the 3D design into a white cardstock panel using the embossing folder. Next, I added color to the bows with a red, blue, and teal palette. I blended Carnival Magic, Sweet Dreams, and Deep Blue Seas Fresh Dye Inks to bring them to life. After all elements were colored, I die cut them using the coordinating die.

The die leaves a thin white border around each element, but I wanted my ribbons to be fully colored. To achieve that, I blended matching inks around the edges to remove the white outline and keep the colors seamless.
One thing I noticed during the process is that ink blending and die-cutting slightly flattened the embossed 3D design. This is completely normal, but I really wanted to keep the beautiful dimension from the embossing folder.
To fix that, I placed each bow back inside the embossing folder after coloring and ran them once again through my die-cutting machine. This simple extra step brought the crisp details back to the surface, making every bow look polished and dimensional. If you’re working on a similar project, I highly recommend re-embossing after inking — it’s a small trick that makes a big difference in the finished design.
Layering the Die-Cut Accents on a Bold Background
To build the background for my card, I popped up all the colorful bows onto a Crafty Necessities: Desert Night Cardstock panel using thin black adhesive foam squares.
I like reaching for thin foam squares whenever I want to add dimension without making the design feel bulky or overworked. With so many popped-up elements on this card, the thinner adhesive was the perfect choice to keep everything balanced while still creating that layered, dimensional look.

The raised placement gave the bows beautiful dimension, and using the negative die cut as a guide made arranging them quick and precise.
Finishing the Design with a Bold Holiday Sentiment
For the sentiment, I turned to the Wrapped With Love Bundle. I heat-embossed the “Happy Holidays” greeting with Antique Gold Crisp Embossing Powder on Crafty Necessities: Desert Night Cardstock, then die cut it with the coordinating die.
Just like the bows, the sentiment was lifted with black foam squares to keep the design cohesive.

To complete the card, I mounted the finished panel onto a card base and added a few Satin Gold Pearl Dots for a polished touch.
This card with bold, colorful bows turned out festive and dimensional — just the way I envisioned it. The layered elements create movement and depth, while the deep background and gold accents add elegance.
If you love adding bows to your projects, try pairing them with a dramatic background and shiny details. It’s a simple way to make holiday cards stand out while keeping the design cohesive.
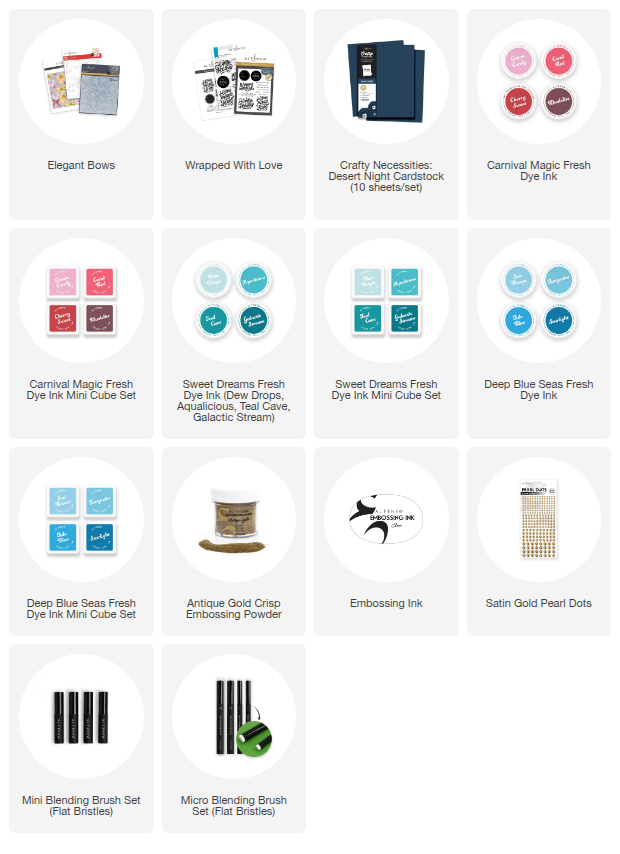
SUPPLY LIST