Get Creative with Texture and Design feat. Decorative Frames
by Nathalie DeSousa July 10, 2026

Key Takeaways
Maximize 3D Embossing & Die Sets: Combining coordinating dies and 3D embossing folders (like the Decorative Frames set) adds immediate tactile texture, elegant dimension, and structural interest to paper crafts.
Create a "Floating" Background Layer: You can craft an elegant, floating overlay by adhering a grid of textured paper frames onto a clear acetate sheet scored with a 1/4-inch gusset. This keeps the background visible while highlighting a central title.
Build Custom Ephemera with Wax Seals: Incorporating unique stamps—such as the Cookie Topper and Wafer Texture wax seals—allows you to create custom embellishments that double as story complements for memory keeping.
Design a Interactive Grid Pocket: To mix photos and journaling, use a clean grid layout. Back three die-cut frames with photos and a fourth frame with translucent vellum, securing it with foam adhesive to create a functional, open-top pocket for hidden notes.
Elevate Sentiments with Metallic & Glitter Accents: Layering die-cut sentiments using Brushed Gold Metallic Cardstock offset against Moonstone Glitter Cardstock creates high-contrast, eye-catching titles that pop against pastel or neutral bases (like Sandy Blush cardstock).
Optimize Album Real Estate: Utilize the reverse side of interactive elements—like a floating acetate flap—to house larger photos, maximizing space in smaller album formats like a 6x8 layout.
Hello crafty friends! It's Nathalie with you to share an idea on how to get creative with texture and design featuring Decorative Frames 3D Embossing Folder and Die Set. I am loving these new combinations of products as it is an easy way to bring a tactile element to your projects with beautiful elegance. The design of the frames is perfect for all kinds of projects, but I want to show you a few ways that you can maximize the use of the frames by using them in a spread in my 6x8 album.
Let's take a look at what I have created with this new embossing folder and die set:

Using Decorative Frames to Create a Background
Let's start to get creative with texture and design by creating a background using the new Decorative Frames. I want to highlight my title on the spread by showcasing a floating wall/page of empty frames on a background. The texture and dimension on the frames are just the perfect element to bring elegance and that tactile element to the page. The negative space, the texture, and simplicity of the design make the simple title pop from the background.

The idea of a background of floating frames is one that can easily be translated to all sorts of crafty projects. For my page it had to be enlarged so that it centers on my spread without really being there; so, a piece of acetate was the key for this.

Here is how I created the floating element on my spread.
- Trim a 5"x8.5" piece of clear acetate, using Crafter's Essential Scoring Board score the acetate at 1.25" and 1.5" from top edge. Fold to create a flap with a 1/4" gusset.
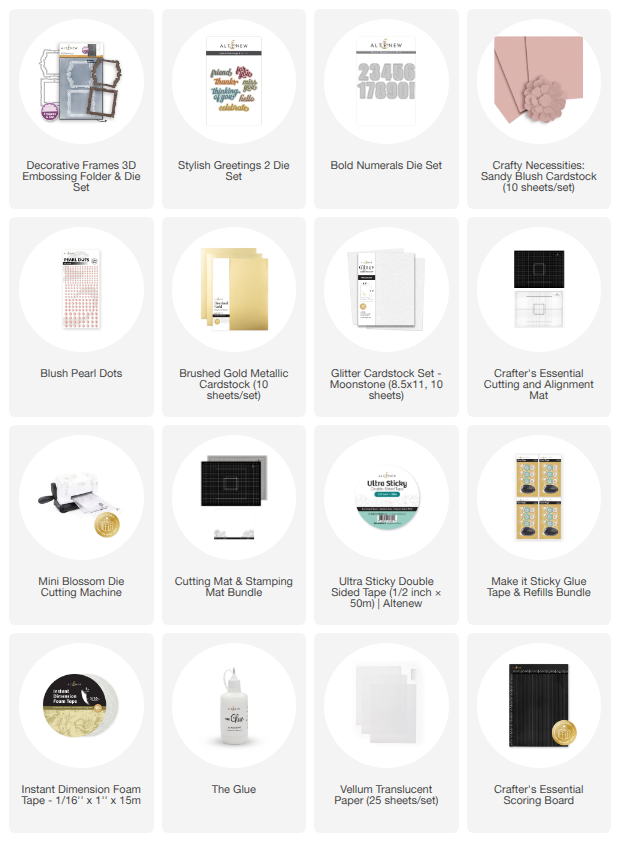
- Use the Decorative Frames die to cut a few of the curved design from Crafty Necessities Sandy Blush Cardstock, then run the frames through the matching Decorative Frames 3D Embossing Folder to add texture and detail to each frame.
- Stacked and adhere two of the frames together and using thin foam adhesive adhere to acetate at center of large acetate flap. Then use The Glue to adhere the rest of the frames to fill the front ot the flap in an orderly manner so that they form a grid, trim any frame excess outside of the acetate piece.
- Use Bold Numerals Die to cut a number from Moonstone Glitter Cardstock, and Brushed Gold Metallic Cardstock. Adhere the glitter cardstock on an offset to the gold die cut.
- Using Instant Dimension Foam Tape adhere the layered die cut to the center of the middle frame.
- Add Blush Pearl Dots to the inside of each of the frames on the floating flap.
Using Wax Seals To Embellishments and Story Complements

The fun designs in the wax seal stamps make them versatile. So, I am using the new Cookie Topper Wax Seal Stamp, and Wafer Texture Wax Seal Stamp to create "cookies" that serve dual purpose: embellishing and complementing my project.
Get Creative with Texture and Design with Decorative Frames

Time to get creative with texture and design with Decorative Frames in a different way. Starting with using the die cuts as intended, to highlight images, then using the frame as a means to house extra pieces as a pocket. This calls for a grid design to keep it all clean and concise. Here is how this part of the spread is created:
- Cut a 6.5"x 8.5" of Crafty Necessities Sandy Blush Cardstock for the base.
- Using Decorative Frames die set cut the square design four times from Crafty Necessities Sandy Blush Cardstock and white cardstock. Adhere the colored die cut atop the white cardstock.
- Use Decorative Frames Embossing Folder to add texture and detail to the frames.
- Back three of the frames with photos, and the last one with translucent vellum.
- Adhere the framed photos to the base to create a grid. Use foam adhesive to attach the vellum backed frame to create an open top pocket.

- Using Stylish Greetings 2 die set cut sentiments from Brushed Gold Metallic Cardstock and the shadow from Moonstone Glitter Cardstock.
- Adhere sentiments at the bottom of the grid and on the photo that is set on the back of the floating flap.
- Adhere two leftover frames at the bottom of the page to complete the spread.
Complementing Texture and Design with Finishing Touches
One last step to get creative with texture and design featuring Decorative Frames is to add a few finishing touches that are subtle and simple. I am taking advantage of the back of floating flap by adding a larger photo, this helps to make the title pop, as well as makes the viewer interested on what is on the background of the spread.

I hope this has inspired you to get creative with texture and design using Decorative Frames 3D Embossing Folder Die set. There is so much you can create with these products; I cannot wait to see your projects.
XO!

Save up to 35% off on the Fresh Dye Inks Collection + Get a FREE Mini Blending Brush - Flat Bristles on orders over $75 within the collection from July 9, 2026 at 12:01 AM EDT until July 11, 2026.
Shop here: https://altenew.com/collections/fresh-dye-ink-pads (Exclusions apply)
Supply list