Enchanted Vines Card – Layered Die Cuts and Fall Colors
Hello friends!
Svitlana here. I’m sharing today a cozy fall card I created using the beautiful Enchanted Vines Die Set. I really wanted this intricate Enchanted Vines design to shine as the focal point while adding a touch of dimension and warmth through layered die cuts and rich seasonal colors.

Creating the Enchanted Vines Background
The Enchanted Vines dies make it easy to create both a dimensional background and beautiful accent layers.
The Enchanted Vines Die Set includes three dies:
a large cover die that perfectly fits an A2 card size, and
two smaller accent dies that can be used to enhance the main design.
Adding the Background Layers
I started by die-cutting the large vine cover panel twice — once from Crafty Necessities Maple Yellow Cardstock and 4 times from a dark gray cardstock from my stash. (This is actually a great way to use up cardstock colors you might not love but still don’t want to waste!)

I stacked all die cuts together with liquid adhesive, placing the yellow one on top.
This layering added just enough depth and shadow to create a dimensional background without overwhelming the Enchanted Vines design.
Adding the Accent Elements
Next, I used the two accent dies from the Enchanted Vines set. I die-cut these shapes from Crafty Necessities Orange Cream and Autumn Blaze Cardstock.
I adhered the Autumn Blaze die cuts flat onto the Orange Cream pieces, and then popped those up slightly onto the Maple Yellow vine panel using thin black foam squares. The subtle lift brought the design to life with a nice layered effect.
Once all my die-cut pieces were ready, I adhered them onto a Crafty Necessities Dark Night Cardstock card base.

Building the Sentiment Cluster
For the sentiments, I used Berry Mocha Fresh Dye Ink along with the One-Go: Solid Sentiment Strips 3 Press Plates. These plates allow you to create multiple sentiment labels at once — such a time saver!
After impressing and die-cutting them with the coordinating die, I picked five gratitude-themed messages that fit perfectly with the cozy fall vibe of the card.

I arranged the sentiments in a stacked layout, popping each one up slightly for even spacing and dimension. This trick of using several similar-themed sentiment strips works wonderfully when your Enchanted Vines background is strong enough to stand on its own — it adds meaning and balance without crowding the focal point.
Finishing Touches
To complete the card, I added a few enamel dots from the Warm & Cozy and Citrus Punch sets for small pops of coordinating color.
And that finished the project! The layered die cuts and stacked sentiments give this Enchanted Vines card a bold yet balanced look — perfect for sending a heartfelt “thank you” this season.
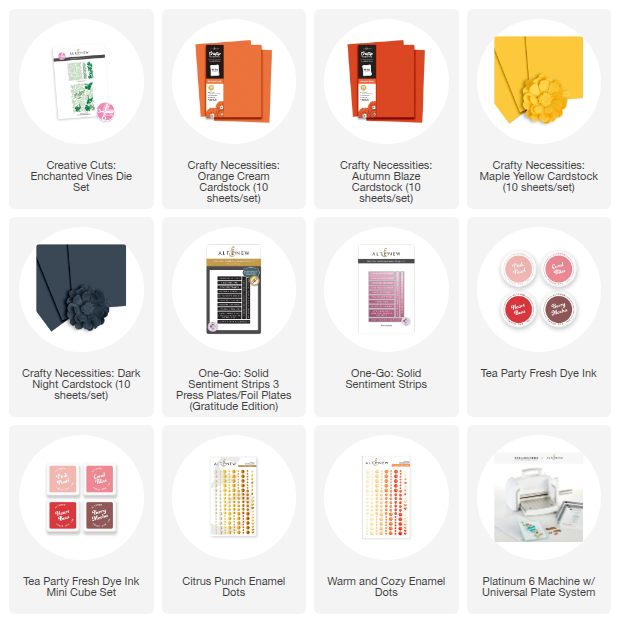
SUPPLY LIST