Elegant A2 Cards with Apothecary Garden | Craft Your Life: Frozen Moments
Hello from Scotland! This is Bibi Cameron. Today I’m sharing a couple of elegant A2 cards created using elements from the Craft Your Life Project Kit: Frozen Moments together with the Mini Delight: Apothecary Garden Stamp & Die Set.
These cards feature die-cut florals, a beautifully detailed die-cut and embossed frame, and soft ink blending, resulting in a clean yet luxurious look.

Card Recipe
DIES, STAMPS, EMBOSSING:
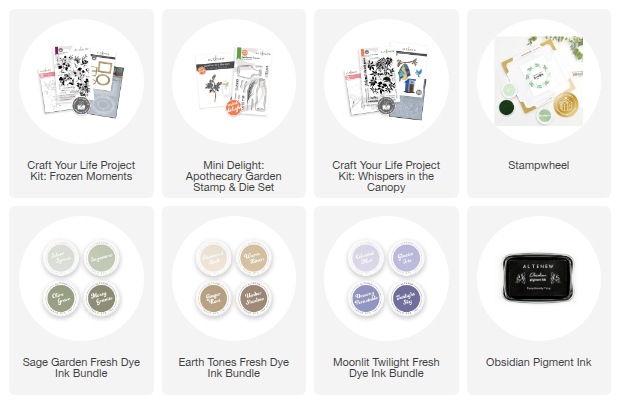
- Craft Your Life Project Kit: Frozen Moments
- Mini Delight: Apothecary Garden Stamp & Die Set
-
Craft Your Life Project Kit: Whispers in the Canopy
COLORING TOOLS
Framed Florals with Dimension

These are A2 cards (4-1/4" x 5-1/2").
For both designs, I began with an embossed and die-cut ornamental frame to create structure and depth. The raised details instantly elevate a simple layout and provide a classic foundation for layering.
Inside the frame, I built a soft floral composition using die-cut flowers from the Apothecary Garden Die Set. Instead of stamping, I focused on layering the die cuts to create natural movement and subtle dimension.
The flowers were blended using:
Glazier Iris and Twilight Sky inks from the Moonlit Fresh Dye Inks for the petals
Olive Grove Ink and Mossy Granite from the Sage Garden Fresh Dye Ink Bundle
The combination of cool violets and muted greens keeps the design refined and cohesive.
I added a small metallic accent to the center of each flower for a touch of warmth and contrast.

Step-by-step
Die-cut the ornate frame from 300gsm white cardstock.
Emboss the die-cut frame using the coordinating embossing folder to enhance all the beautiful details.
Die-cut the flowers and leaves from 300 gsm white cardstock.
-
Ink blend the pieces using:
Moonlit Fresh Dye Inks for the petals
Sage Fresh Dye Inks for the leaves
-
For the “Thanks a Bunch” card, I also
Stamped the floral base image from the Mini Delight: Apothecary Garden Stamp & Die Set
Added the small bow and tiny tag included in the die set to complete the bouquet look.
Trim two panels of 300gsm white cardstock to 3-3/4" x 5" to create the background pieces.
Adhere the panels to A2 card bases (I added a thin gold mat layer for elegance).
Attach the embossed frame over the panel using dimensional foam pads.
Arrange and adhere the florals, tucking some elements slightly under the frame for a natural composition. Use dimensional foam pads to do this.
Add the sentiment and any metallic accents to finish.
I also added a small die-cut bird from the Craft Your Life Project Kit: Whispers in the Canopy to the card with the oval frame.

Design Tips
- Keep the background neutral when using detailed embossed frames.
Build floral clusters in odd numbers for a more natural composition.
Add metallic elements sparingly to elevate without overwhelming.
Ink your die cuts for a more organic and dimensional look.
These designs show how powerful simple die-cut elements can be when paired with texture and thoughtful layering.
By seamlessly combining stamping, die cutting, and embossing, you can create elegant handmade cards with ease.

That's all for today. I hope you have enjoyed the ideas and inspiration.
Bibi
SUPPLY LIST