Creativity Unlocked feat. Enchanted Beginnings | DIY Watercolor Wedding Gift
by Erum Tasneem January 15, 2024


Welcome to Creativity Unlocked, where we highlight a new product from each month's collection or a fan favorite from past collections!
Hello everyone! Erum here with a beautiful watercolor wedding gift featuring the Enchanted Beginnings 3D Embossing Folder and a VIDEO for the Creative Coloring with Erum video series.
Keep on reading for more tips and project ideas using this new 3D embossing folder!

Enchanted Beginnings
Are you looking for the perfect set to create beautiful handmade wedding cards easily? Capture the magic of love with the 6″ x 6″ Enchanted Beginnings 3D Embossing Folder. It reveals a heartwarming glimpse of a bride and groom holding hands on their special day, adding an elegant touch to your projects. The image covers the front of an A2 card perfectly too!
Creating a DIY Watercolor Wedding Gift with Enchanted Beginnings

I had so much fun creating this scene using the Enchanted Beginnings 3D Embossing Folder!
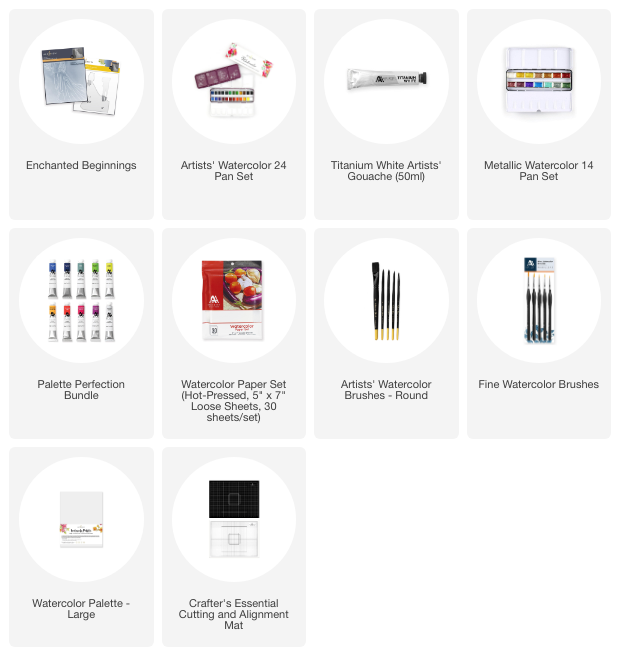
I started by embossing a panel from the Watercolor Paper Set (Hot-Pressed, 5″ x 7″ Loose Sheets, 30 sheets/set). Then, I used the number 3 brush from the Artists' Watercolor Brushes – Round to apply water to the dress.
For the colors, I mixed blue and purple pigments from the Artists' Watercolor 24-Pan Set. I kept increasing the quantity of the pigments in various areas of the dress to add a tonal effect. To add more variation, I chose to incorporate several shades of blue without blending them too much so that once they dry, they will be visible.
While the dress was drying, I added some purple and blue flowers to the bouquet and left a bit of white space to add leaves. I made the bouquet fuller and more flowy.
Notice that this was also slightly larger than the embossing folder, but that doesn't matter – you can do what you like and what pleases your heart! Personally, when I am coloring, it's always about having fun and enjoying the moment, especially when I'm using loose watercolor.

For the guy's suit, I mixed the black pigment from the pan set with a bit of purple to maintain the same color temperature, which worked well!
First, I applied water to the entire area and then added the pigment so that it would spread on its own. To add depth, I added a more concentrated pigment to the edges and let the water do its thing.
Next, I applied a light color wash of the same purple/gray pigment to the background. I made sure the concentration was darker around the couple.
After this, I dried the Enchanted Beginnings panel and ran it through the embossing machine. Next, I used Titanium White Artists' Gouache and added small flowers and faux sparkle to the dress. I also used a bit of Metallic Watercolor to add faux sparkle. To add this detail, I used the smallest of the Fine Watercolor Brushes.
To create my “enchanted” scene, I added a grassy ground. The only mistake I made here was to choose warm greens instead of cooler greens. I picked these colors from my pan set. They were a mix of pigments from the pan set and the Watercolor Tubes. Sorry that I can't list them, as some of it was on my pan, pre-mixed.

Once I had my fuzzy ground painted, I used gouache to add white flowers and splatters. This added so much whimsy and magic to the panel, just as they did to the dress.
You can watch the process below in my tutorial video or on YouTube.
Video: Enchanting DIY Watercolor Wedding Gift
I will frame this and give it to my cousin, adding it to her wedding gift basket.
1 Product, Multiple Ways!
Before you go, here are a few card ideas featuring this new 3D embossing folder!
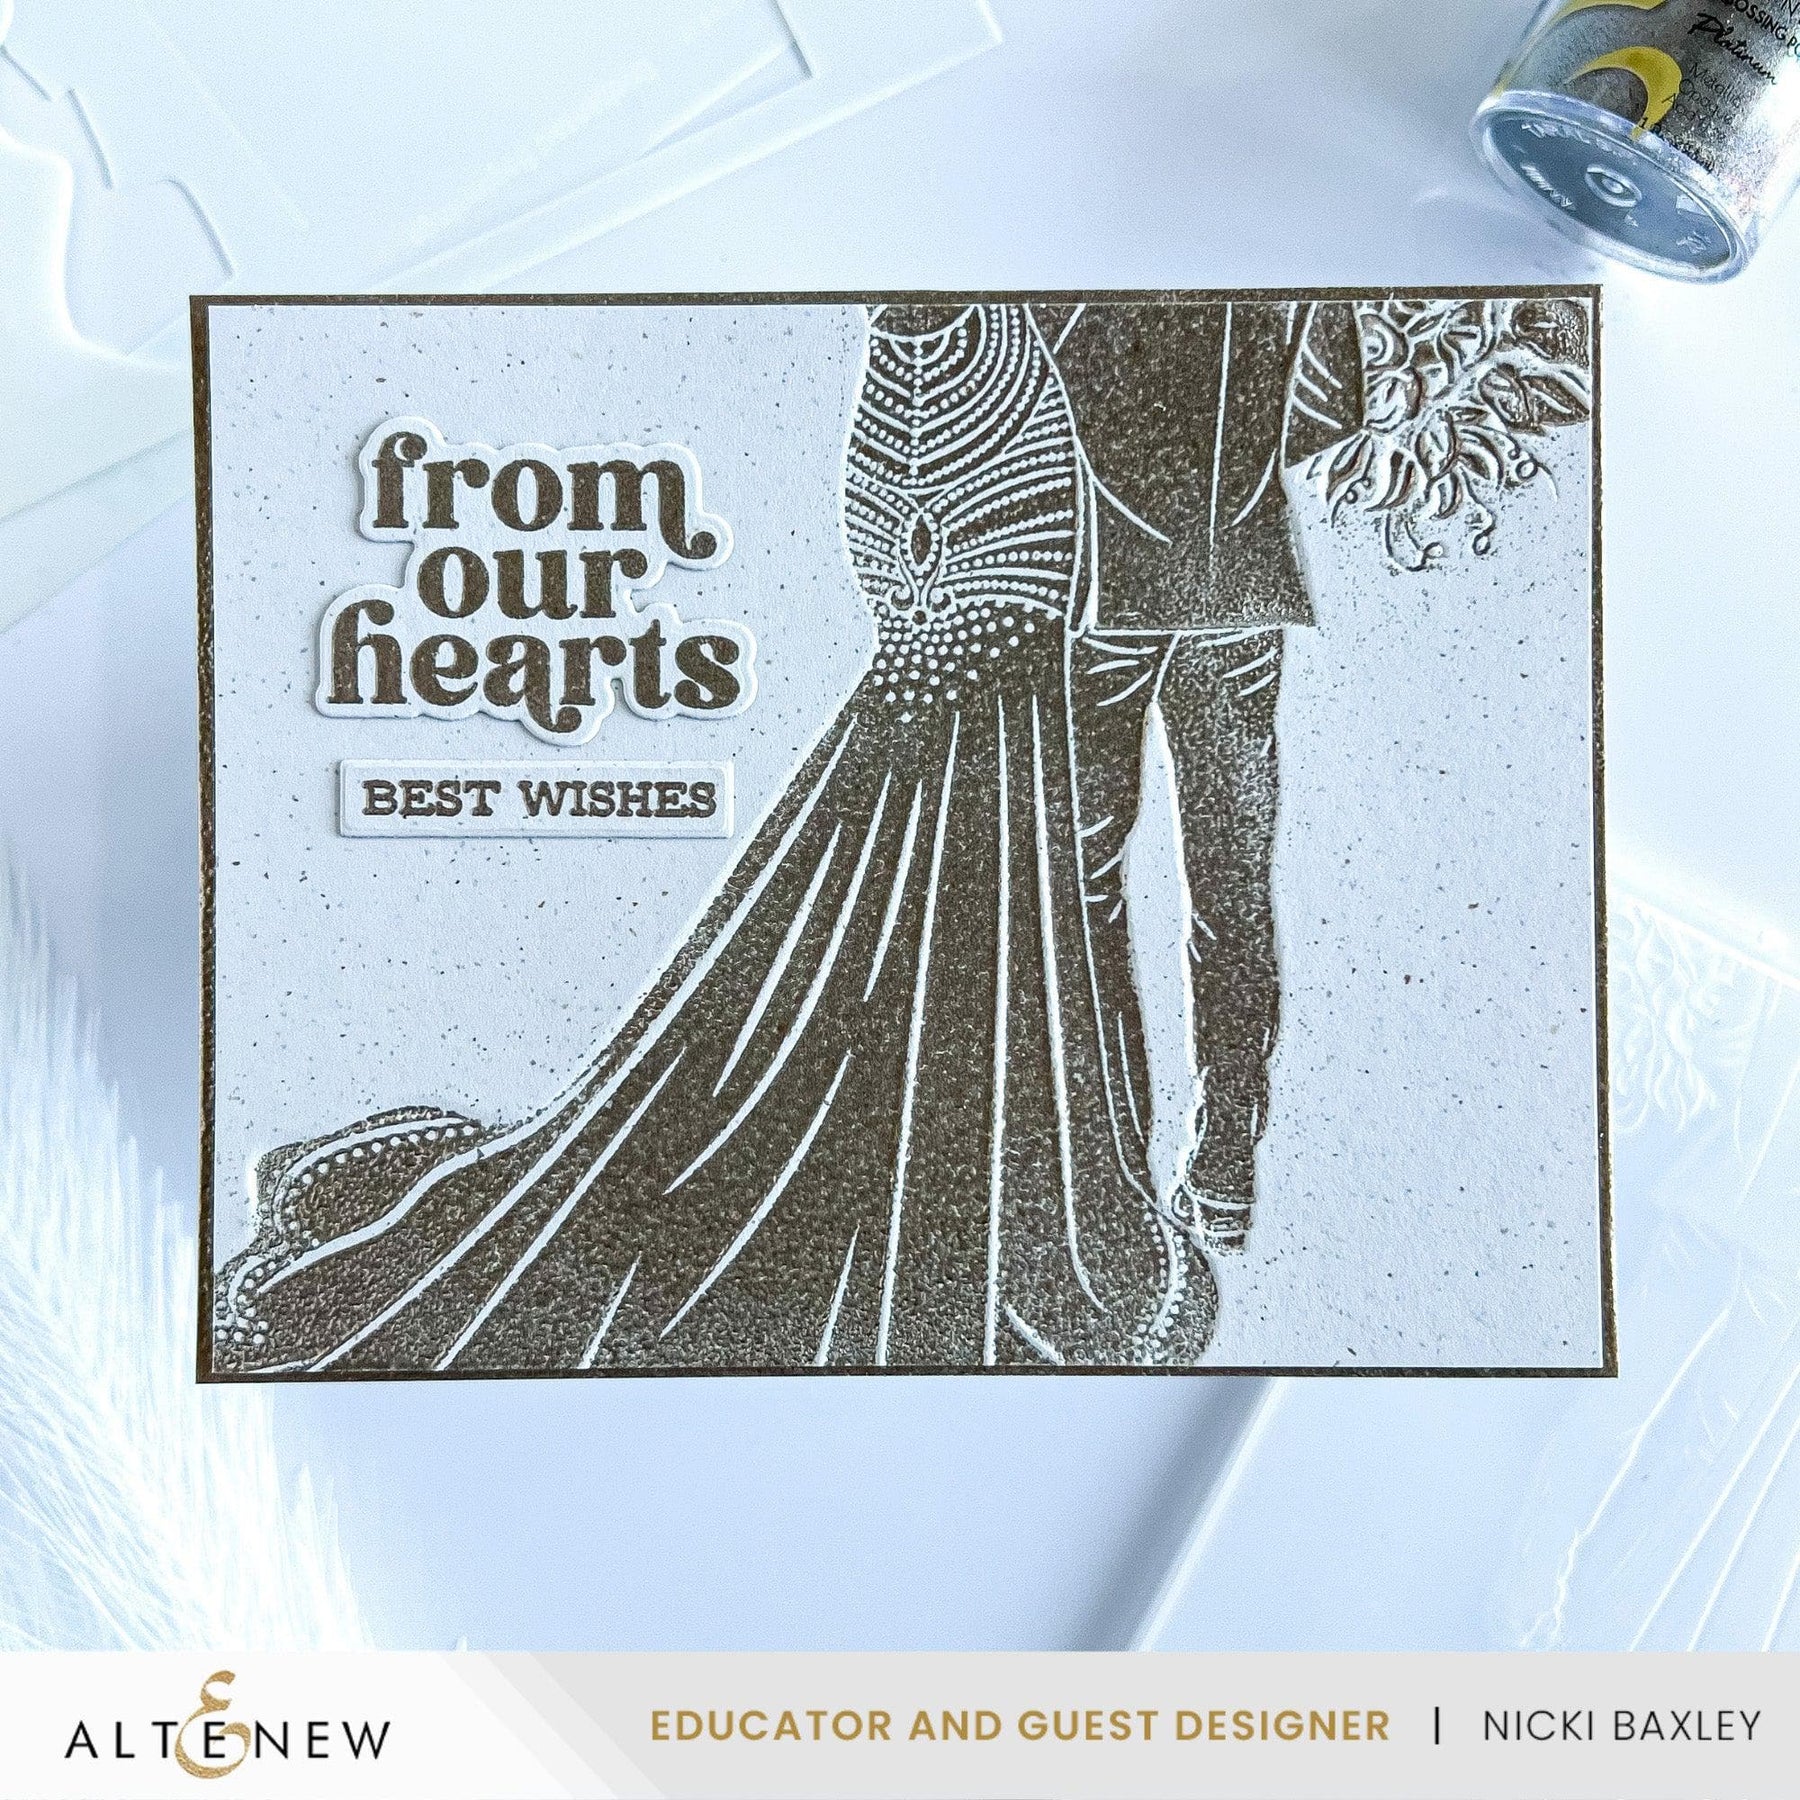
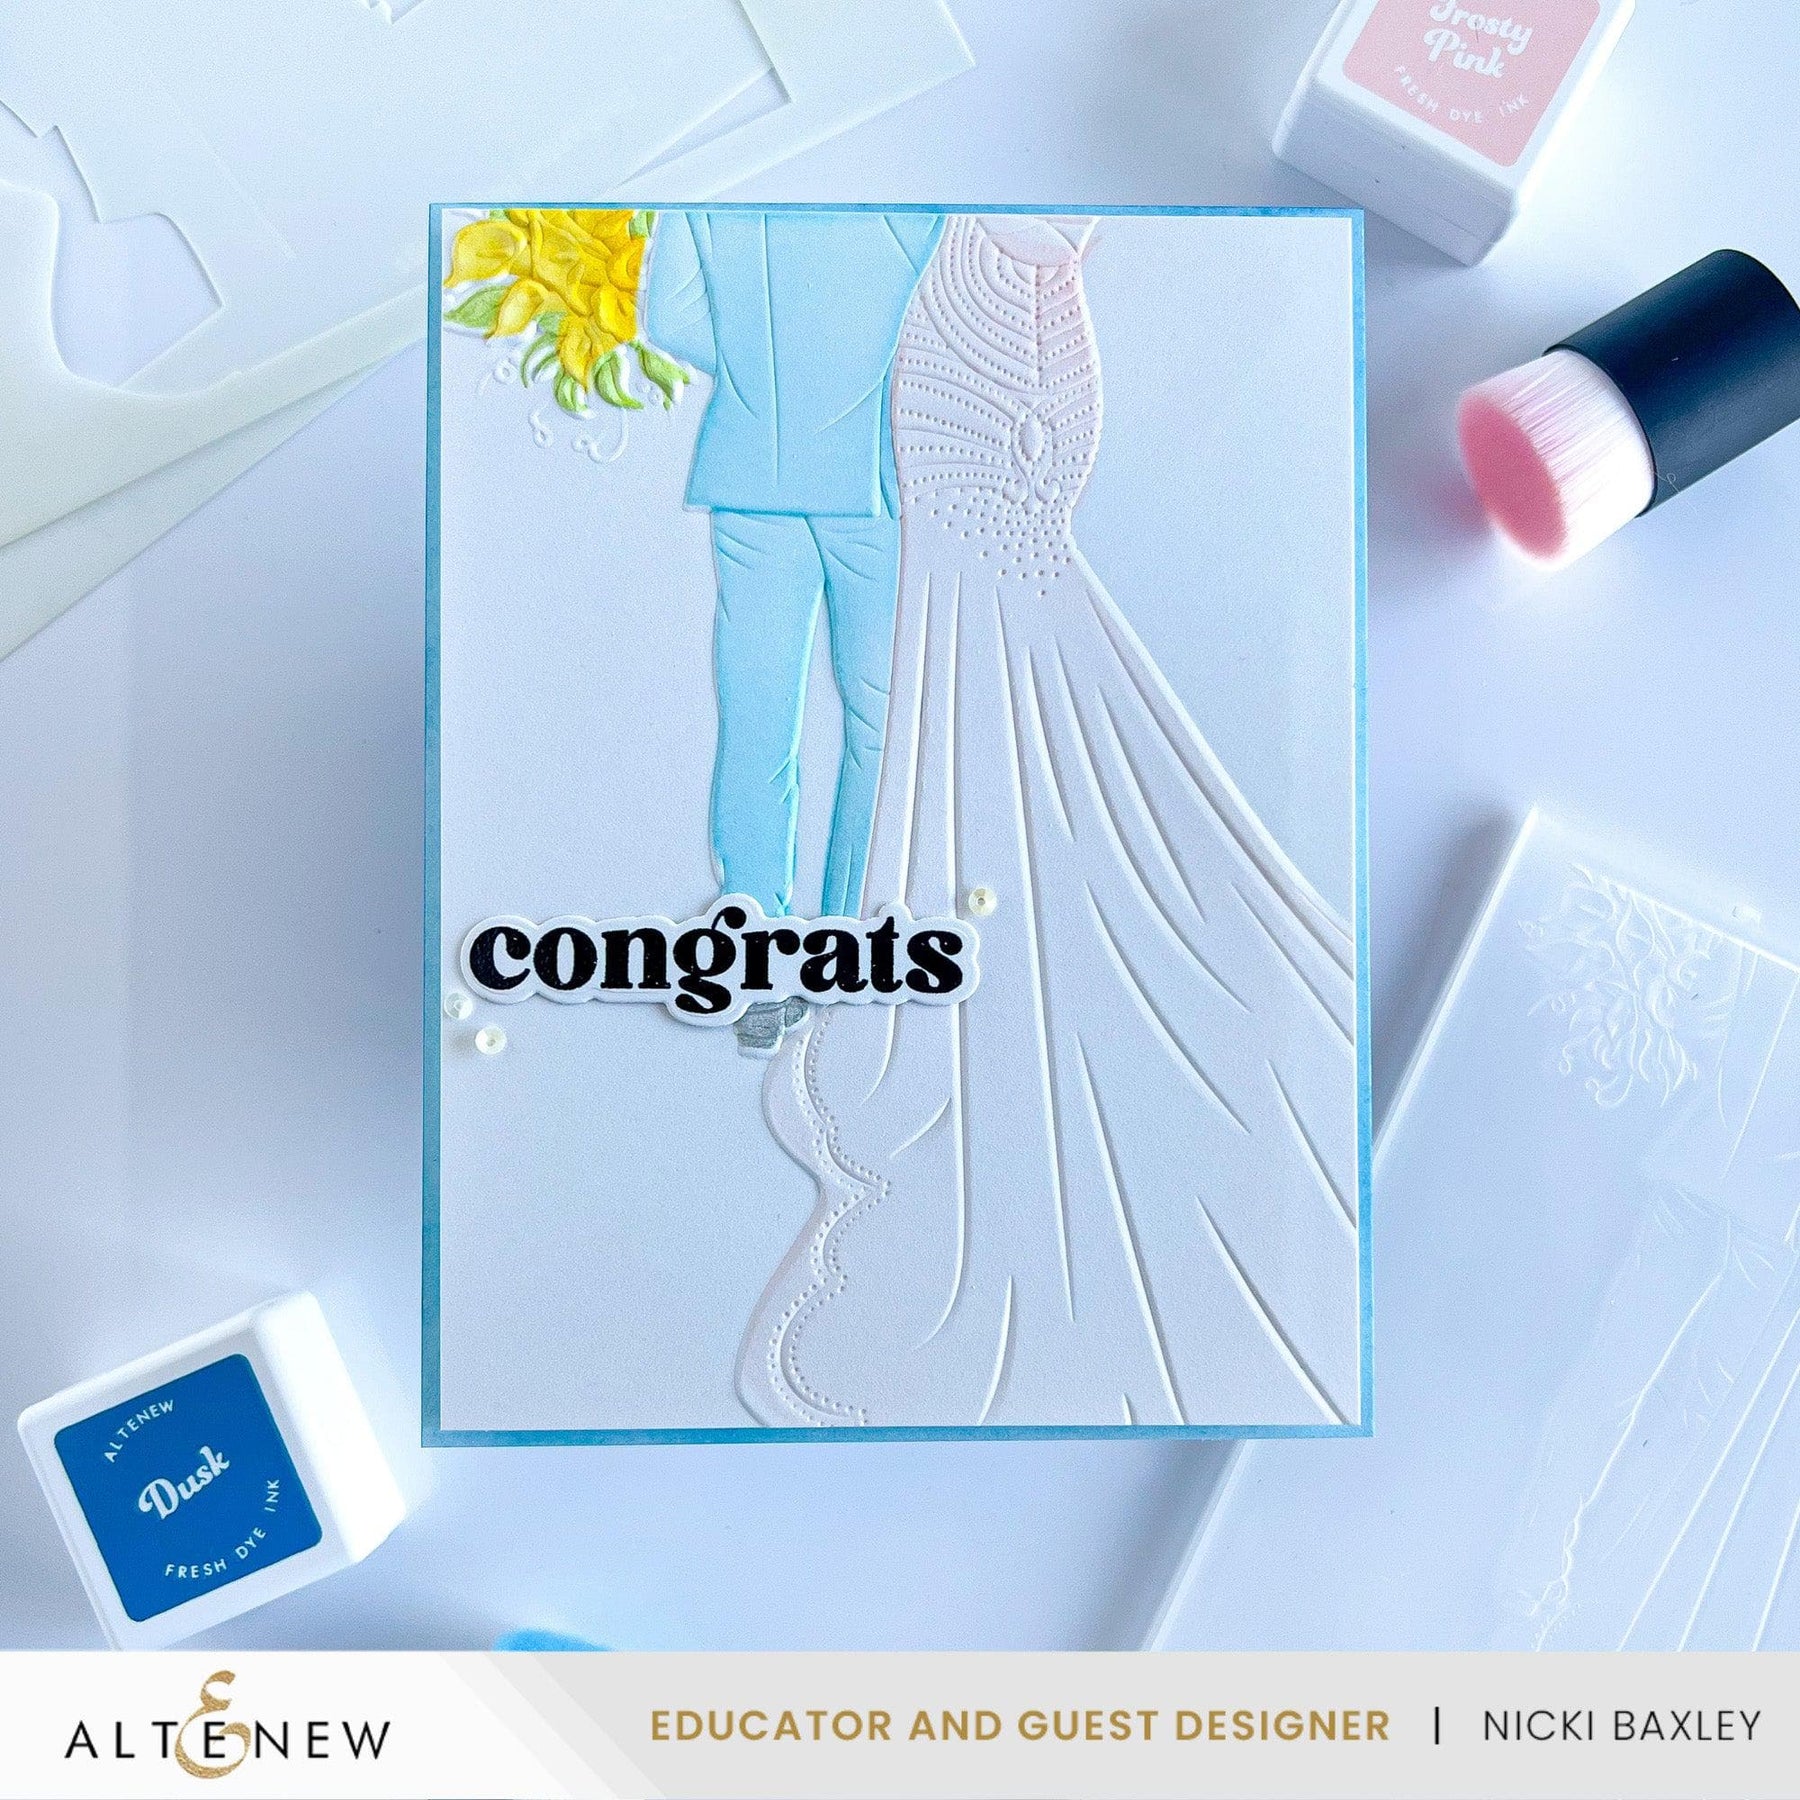
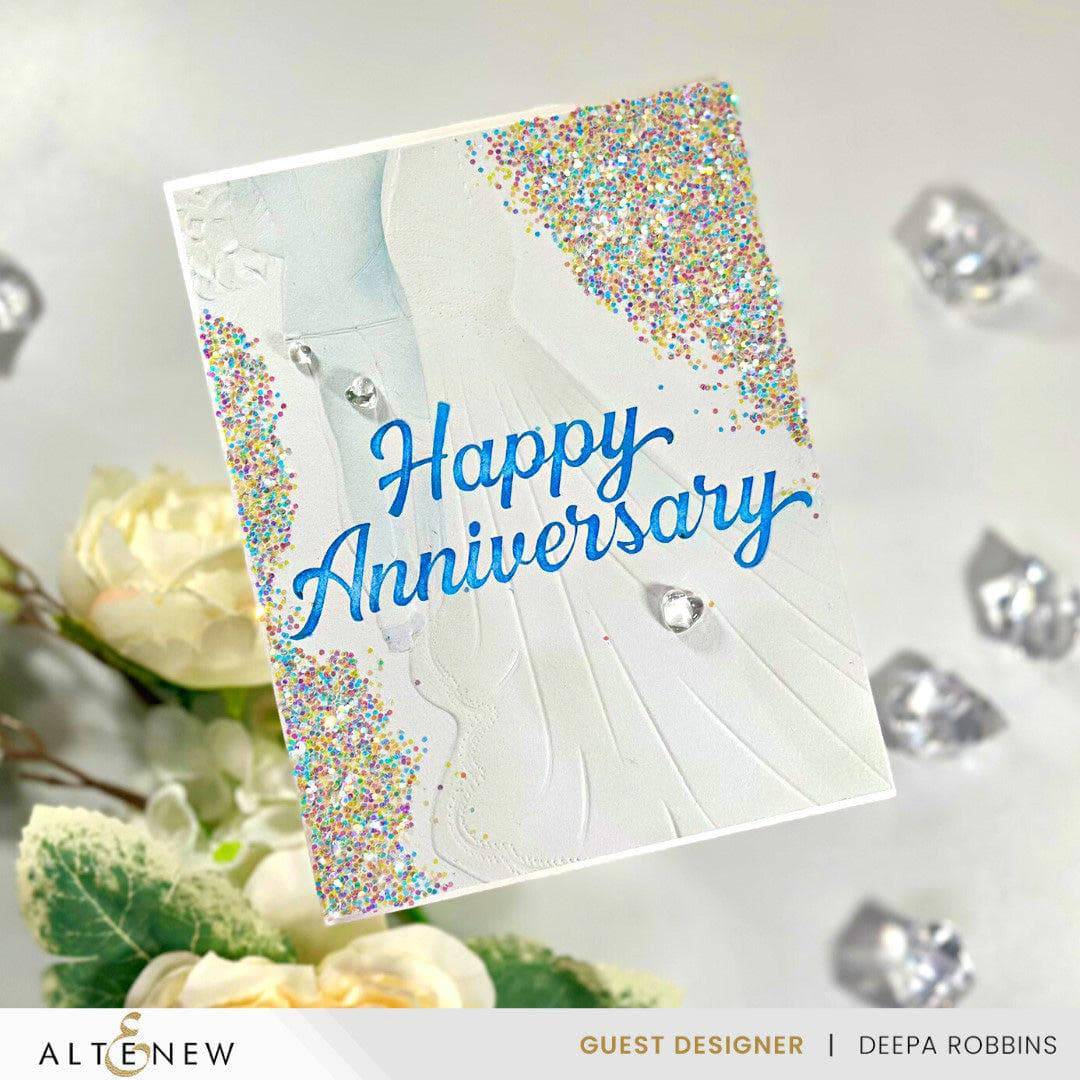
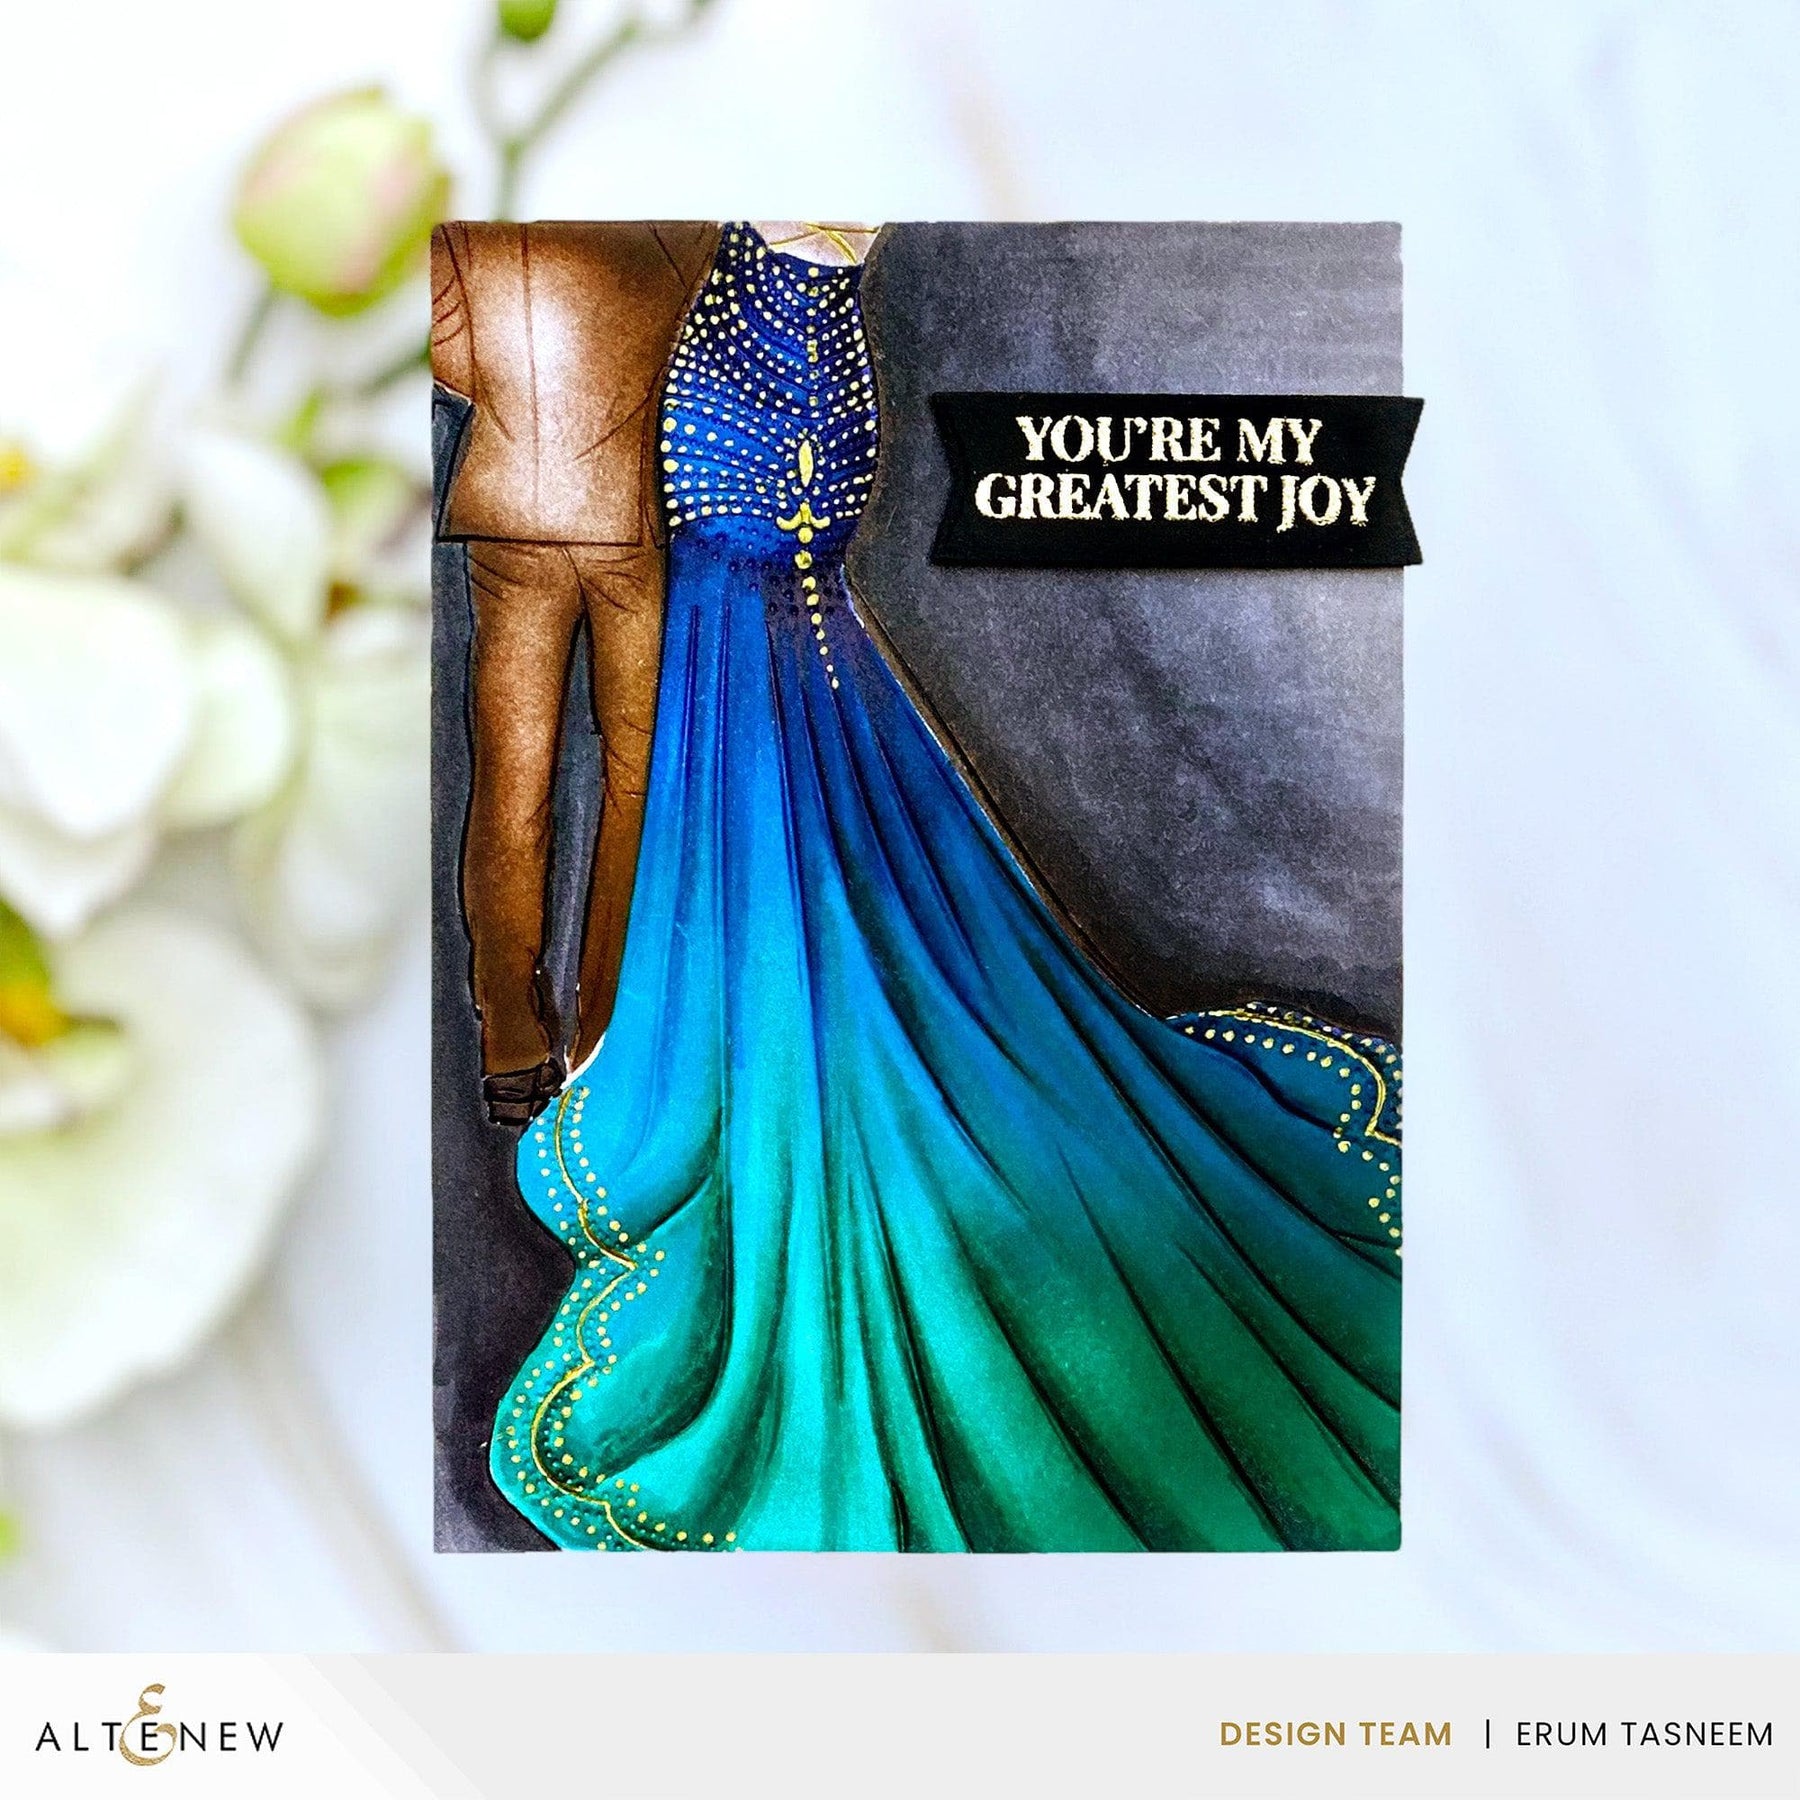
What do you think about the new Enchanted Beginnings 3D Embossing Folder? Which project/s caught your eye? Comment below!
Thanks so much for stopping by!
~SUPPLIES~