DIY Mother’s Day Card Ideas: Monogram Cards & Floral Ink Blending | Perfect Pairings with Jaycee
Mother’s Day is just around the corner, and while it’s a beautiful time to celebrate, I know it can also be a complicated day for many. Whether you are honoring a traditional mother figure, a mentor, a sister, or a "chosen family" member, I wanted today’s project to feel inclusive.
In this episode of Perfect Pairings, we are pairing soft, realistic ink blending with dimensional layering dies to create an "Important Person" card that focuses on the individual rather than just the holiday title.

Celebrating 12 Years of Innovation
April 2026 marks Altenew’s 12th Anniversary, and I am thrilled to showcase a brand-new product type: Emboss & Cut. This system uses coordinating dies and embossing folders to give your die cuts unparalleled realistic texture.
Feel free to take a look at the video over on Altenew's YouTube channel too!
The African Daisy: Texture & Gradient Blending
I started by replicating a set of African Daisies from my own garden. To get that vibrant, "glowing" center:
The Base: Die cut the petals from Fresh Lemon and Lemonade Stand cardstock.
The Blend: Using my Sticky Mat, I applied a gradient of Puffy Heart Fresh Dye Ink about 3/4ths of the way up the petal.
The Depth: I deepened the centers with Midnight Violet for an intense, saturated look.
The Texture: After letting the ink dry, I aligned the pieces in the African Daisy Emboss & Cut folder. Using my Crafty Essential Tweezers helps ensure the outline of the die cut perfectly matches the embossing folder for a crisp, textured finish.
The Butterfly Ranunculus: A Second Chance at Blooms
I have a bit of a "sad story" regarding real Ranunculus corms in my garden lately—let’s just say my thumb wasn't as green as I hoped in 2025! Thankfully, the Craft-A-Flower: Butterfly Ranunculus allows me to create the perfect bloom every time.
To achieve the Tecolote Sunset palette:
Inks: Blend Coral Red first, then deepen the centers with Heart Beat.
Technique: Use a #5 Detail Blending Brush to catch the ruffly edges of the petals, pulling the darker ink toward the center for a realistic, feathered look.
Foliage: Use Fresh Leaf and Reindeer Moss to coordinate with Lime cardstock.

The Monogram: A Timeless Focal Point
To keep this card "Mother’s Day card adjacent," I chose a monogram as my primary sentiment. Nothing is quite as timeless as a large letter—in this case, the Mega Alphabet S.
Design Tip: By stacking four layers of the Mega Alphabet S, you create a sturdy, architectural focal point. It shifts the focus from a generic holiday to the specific person who has made a difference in your life.
I nestled my florals around and behind the 'S' to meld the organic petal shapes with the geometric structure of the letter. To finish the sentiment, I added a white heat-embossed strip from Build-A-Garden: Garland Grace that reads "Forever Grateful for You."

Final Touches to Your Mother's Day Card
To add that signature sparkle, I embellished the panel with:
The result is a card that is as unique as the person receiving it. Remember, cardmaking isn’t just about the date on the calendar—it’s about honoring the people who nurture us every day.
I’d love to know: Who are you crafting for this season? Whether it’s an 'S', an 'M', or a 'J', I hope this inspires you to celebrate your person!


If there are any Alte-newbies out there, welcome! We know how tough it can be to get started in your crafting journey sometimes, so be sure to take a look at this quiz when you have the time. Get product recommendations tailored to your crafting personality and get a fun welcome gift while you're at it! Check it out HERE!
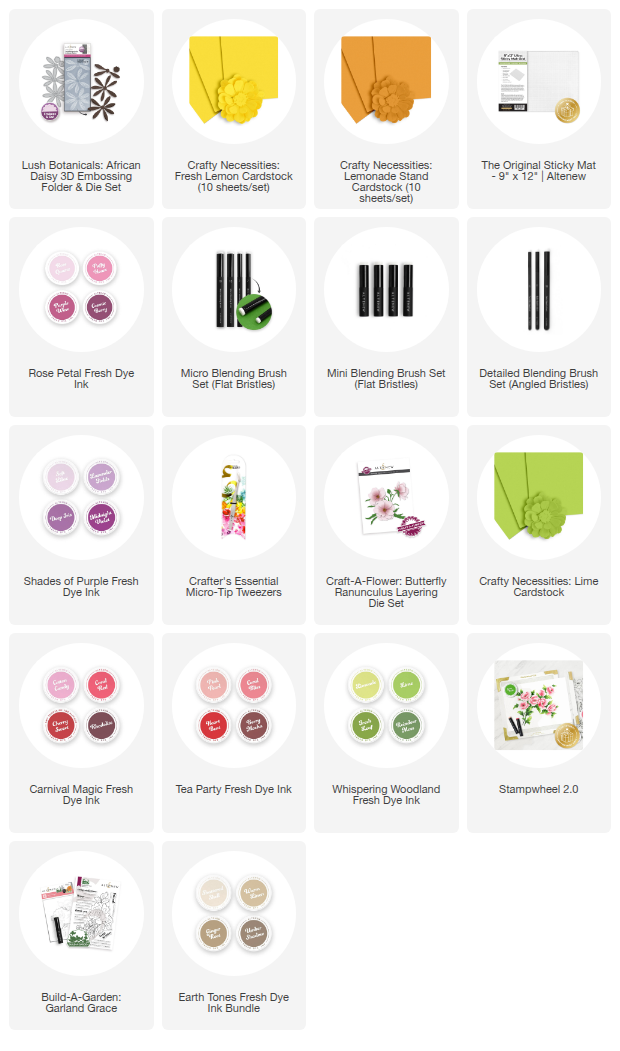
Supply List for Jaycee's Mother's Day Card