Dimensional Watercolor Floral Die-Cuts with Lilac Layering Dies!
by Erum Tasneem October 7, 2024


Hi there, crafters, Erum here! Today, I am excited to share a beautiful and fun floral card using the Lilac Layering Die Set and watercolor brush markers. This project involves watercoloring panels for your die-cuts, layering them into a dimensional bouquet, and finishing it with a stunning two-toned watercolor background.

Welcome to Creativity Unlocked, where we highlight a new product from each month's collection or a fan favorite from past collections!
Dimensional Watercolor Floral Die-Cuts with Lilac Layering Dies
This card combines watercolor and ink blending techniques for beginners and seasoned crafters to create eye-catching depth and texture.
Watercoloring the Panels:
- Begin by prepping two 3″ strips of watercolor paper from the 9 x 12 Watercolor Paper Pad. Cut these strips width-wise.
- First, use a size 16 brush from the Artists' Watercolor Brush Set—Round to apply water to the entire panel. Then, for the florals, apply Ultraviolet Watercolor Brush Marker Refill pigment to one panel, creating light and dark patches for texture. Add splatters of Purple Wine Watercolor Brush Marker pigment for an extra touch of color.
- First, apply water to the entire panel. Then, for the foliage, apply Emerald Watercolor Brush Marker Refill to the second panel, adjusting the depth of color to your liking. Let both panels dry, or use a heat tool before die-cutting.
Die-Cutting and Shaping:
- Using the Craft-a-Flower: Lilac Layering Die Set, die-cut the floral pieces from the purple panel and foliage from the green panel.
- For added dimension, shape the petals and leaves with the rounded end of a Fine Watercolor Brush or a flower-molding tool.
Ink Blending for Extra Depth:
- Use the Hydrangea Fresh Dye Ink and a Detailed Blending Brush to darken select petals for contrast.
- Add Puffy Heart Fresh Dye Ink to enhance the pink hues on some flowers.

Creating the Background:
- On an A2 Hot-Pressed Watercolor Cardstock, create a two-toned dripping background using purple and green pigments from the Artists' Watercolor 24 Pan Set. Start by adding a mixture of Shades of Purple and Lapis Lazuli to the topmost portion, including drips. Allow gravity to pull the colors down the panel and dry completely. Tip: tilt the panel at an angle so the drips and watercolor flow automatically to the bottom of the panel.
- Then, add a mix of Green Meadows and Sea Shore pigment without overworking it. Mixing this into purple will give you a grayish color, so just drop it in and leave it be.
- Add diluted splatters of purple for more texture. Dry the panel completely.
- Add very fine black splatters from Jet Black Ink Spray; use a fine paintbrush for this.
Assembling the Card:
- Layer the leaves and branch onto the watercolor background, adjusting placement before adhering them with Glue Tape.
- Then, adhere flowers with liquid adhesive. And adhere the flower centers too.
- Color some Iridescent Gem Sparkles purple using the Hydrangea Artist Alcohol Marker.

Final Touches:
- Finish by adding Iridescent Gem Sparkles to the flower centers.
- Add a few more black and white splatters for added drama.
- Stamp the sentiment from the Mini Delight A Floral Congrats Stamp Set.
Video: Dreamy Lilac Card Tutorial
You can check the process video on YouTube by clicking the photo below or THIS LINK.

I hope you enjoyed this watercolor floral die-cut tutorial. If you try this technique or a similar look on your projects, tag us. Thanks for stopping by!
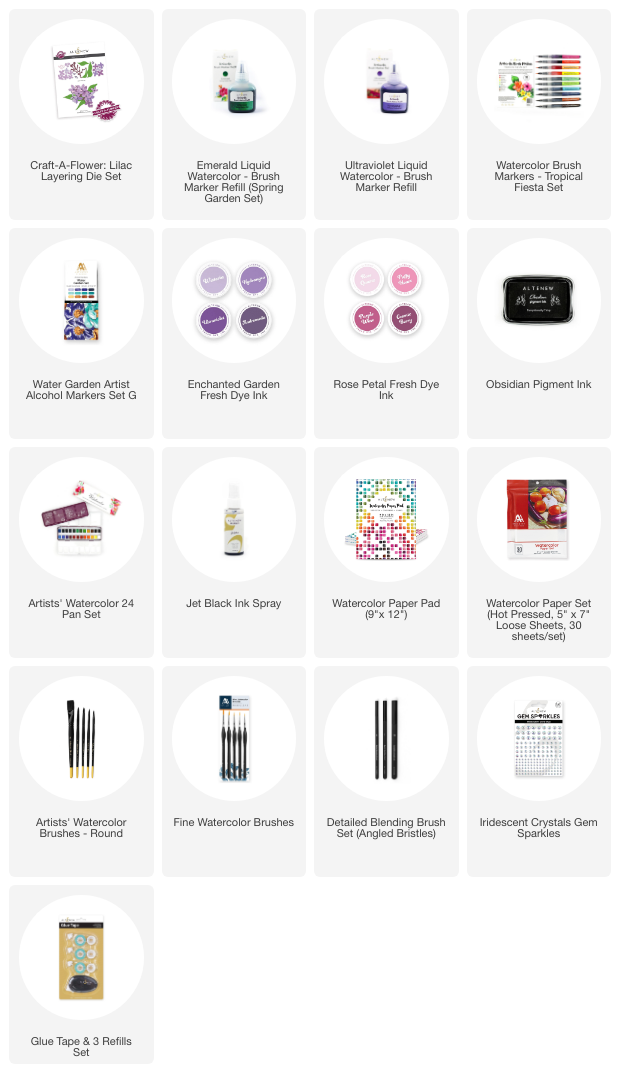
~SUPPLIES~