Debossing Magic! An Easy Way to Add Texture to Die-Cuts (with Video Tutorial)

Get ready to stamp, layer, and celebrate with the Festive Triangles Stamp Set and Press Plate! This playful set features three triangle sizes, each with mix-and-match pattern layers composed of florals and geometrics. Whether you're crafting modern designs or festive creations, the possibilities are endless! Pair your unique patterns with 14 versatile greetings to add the perfect finishing touch to your projects.
Hello there, Michelle here with Terrific Tags with Michelle and another edition of Creativity Unlocked featuring Festive Triangles. Today I am adding texture to die-cuts in an easy way using debossing!
Festive Triangles Tag with Debossing Magic

I started off my tag by die cutting one of the largest tags from Terrific Tags Die Set three times - once from Classic Crest 110lb Solar White Cardstock and two from Crafty Necessities: Jet Black Cardstock.
I cut a little off the bottom of the white tag - approximately 5/8" and placed it in my Stampwheel. I then stamped the largest solid triangle from the Festive Triangles Stamp Set on top, using Dew Drops Fresh Dye Ink.

Debossing Magic!
I took the Nesting Triangles Die Set and die cut the second smallest triangle, that matches the Festive Triangles set, from Crafty Necessities: Aqualicious Cardstock. I die cut the next size up from Crafty Necessities: Pink Diamond Cardstock.
I then placed the die-cuts onto an embossing mat face-up. I took two plates from Festive Triangles Press Plates set and placed them on top of the die-cuts, design side down. I then ran them through my die-cutting machine to press the plates onto the cardstock.

This debosses the patterns onto the cardstock and adds texture to them in an easy way! I was just going for the debossed look today, but you can certainly add ink to the plates before debossing too, for the letterpress look.
I die cut another three layers of the triangles and adhered them behind the debossed ones for some added dimension.
Assembling the Tag

I adhered the two tags cut from Jet Black Cardstock back to back using Glue Tape. I then adhered the stamped one on top, so that a little of the black cardstock was showing at the bottom. This helps to ground the trees/triangles.
The debossed trees were then adhered on top, either side of the stamped one, using liquid glue.
Stamping the Sentiment

I took the 'seasons greetings' sentiment from Festive Triangles Stamp Set and stamped it onto Crafty Necessities: Jet Black Cardstock using Embossing Ink. I applied Pure White Crisp Embossing Powder and heat set.
It was cut into a strip and adhered to the tag using a combination of Instant Dimension Foam Tape and liquid glue. I then threaded twine through the top of the tag and tied in a bow.
To finish, I embellished with Stellar Sequins - Iridescent.
Video Tutorial: Debossing Magic!
I hope I have inspired you to try andding debossing to die cuts. It adds just that right amount of texture to a clean and simple project. Don't have press plates? You can achieve a simular look with embossing folders!
You can watch the full process video of how I made the tag below or on YouTube.
Thank you so much for stopping by today, I hope you have a wonderful day!
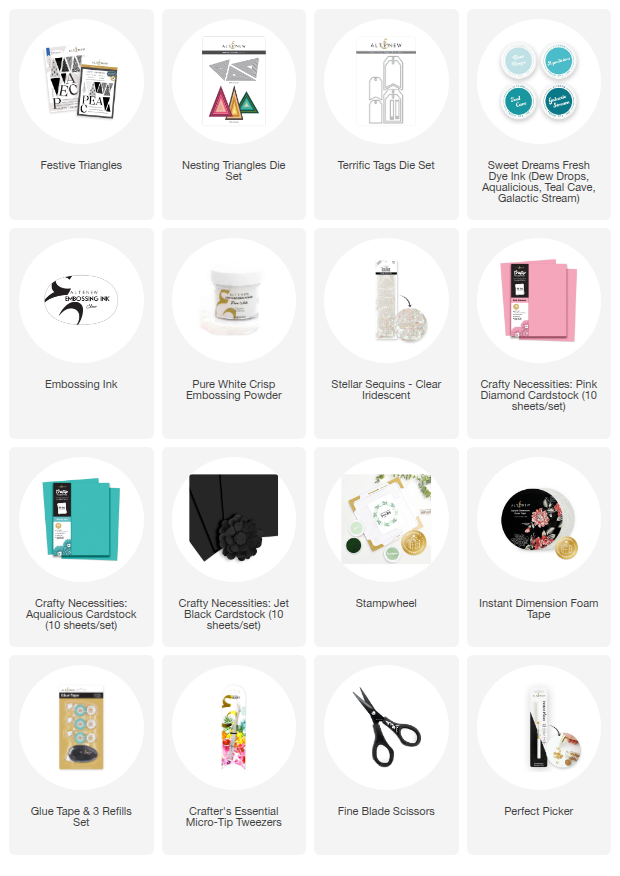
SUPPLY LIST
Leave a Reply