Create Coordinated Cards and Envelopes in One Go with the Stampwheel 2.0 | Sakura Blossoms

Key Takeaways
Efficient Workflow: Use the Stampwheel 2.0 with two sticky mats to stamp two A2 card panels and two envelopes simultaneously for a perfectly coordinated set.
Masking Technique: Place a Post-it note on envelopes before stamping to reserve clean space for the recipient's address.
Layered Ink Blending: Build depth using Fresh Dye Inks (Coral Berry, Snapdragon, and Cosmic Berry), blending from the center outward and keeping petal tips lighter.
Dimensional Details: Use a white gel pen for highlights on flower centers/anthers and apply ink splatters (or Carbon Black Gouache) for texture.
Professional Finish: Frame masked areas with a calligraphy pen and use heat-embossed sentiments on dark cardstock for a high-contrast, polished look.

If you’ve been seeing the beautiful Sakura Blossoms everywhere lately, I wanted to share a slightly different take on using this set. Instead of creating just cards, we are making coordinated card panels and envelopes all in one go.
This approach not only saves time but also gives your projects a polished, cohesive look. Plus, it is a great way to make the most out of larger stamp designs.

VIDEO: - Cards AND Envelopes in ONE GO! Stampwheel 2.0 Technique
Watch the video tutorial below or CLICK HERE to learn more about this cardmaking technique! Or read step-by-step instructions after the video.

Stamp the Images
- Stamp the floral image from the Sakura Blossoms Stamp Set onto two A2 card panels and two envelopes.
- To fit everything, place both sticky mats to extend your Stampwheel platform. If needed, slide a Watercolor Palette under the smaller mat to level the surface.
- Arrange the panels and envelopes side by side so you can stamp everything in one go.
- Place a Post-it note over part of one envelope to leave space for the address. This also adds a clean, modern design element.

Ink Blend the Flowers
- Apply Coral Berry Fresh Dye Ink, starting from the center of the petals and blending outward, leaving the tips lighter.
- Add Snapdragon Fresh Dye Ink to the tips for a vibrant blend. You can keep it subtle or go bold depending on your preference.
- Deepen the centers using Cosmic Berry Fresh Dye Ink. Extend the color slightly on overlapping petals to create depth.
- Repeat the process with the rest of the stencils, adding more Cosmic Berry to the background flowers for dimension.
Tip: Use a heavy hand when applying ink on envelopes for better coverage.

Add Details to Anthers, Branch & Leaves
- Use Milk Chocolate Fresh Dye Ink for the anthers and branches.
- Blend the ink with more pressure at the base of the branch and keep the top lighter for a natural look.
- Apply Honeydew Glow Fresh Dye Ink as the base layer.
- Add depth using Sugar Kelp Fresh Dye Ink, focusing on the base of the leaves.
- On the last stencil layer, enhance the branches and leaves by adjusting your colors if needed. Small changes can add extra depth and interest.

Add Finishing Details to the Cards & Envelopes
- Use a Flex Calligraphy Pen to outline the masked area on the envelope.
- Add controlled splatters around the flowers on both the envelopes.
- Highlight the flower centers with a white pen for added detail. Highlight the anthers on the coordinating card as well.
- For the second card, add splatters using the Carbon Black Gouache.
- Heat emboss the sentiment in Pure White Embossing Powder on Jet Black Cardstock strip and adhere it vertically to the right side of the panel.

I love how vibrant and cohesive these projects turned out. Creating cards and matching envelopes at the same time is such an efficient and satisfying process.
I hope this inspires you to use your larger stamps in new ways and try this coordinated approach. I would love to see what you create!
Thanks so much for stopping by! Happy crafting!

Get a FREE Stamp Condition Eraser Set (worth $4.99) on orders over $49 from May 4, 2026 at 12:01 AM EDT until May 5, 2026 at 11:59 PM EDT. Shop here: https://altenew.com/collections/all-the-paper-crafting-supplies-you-need
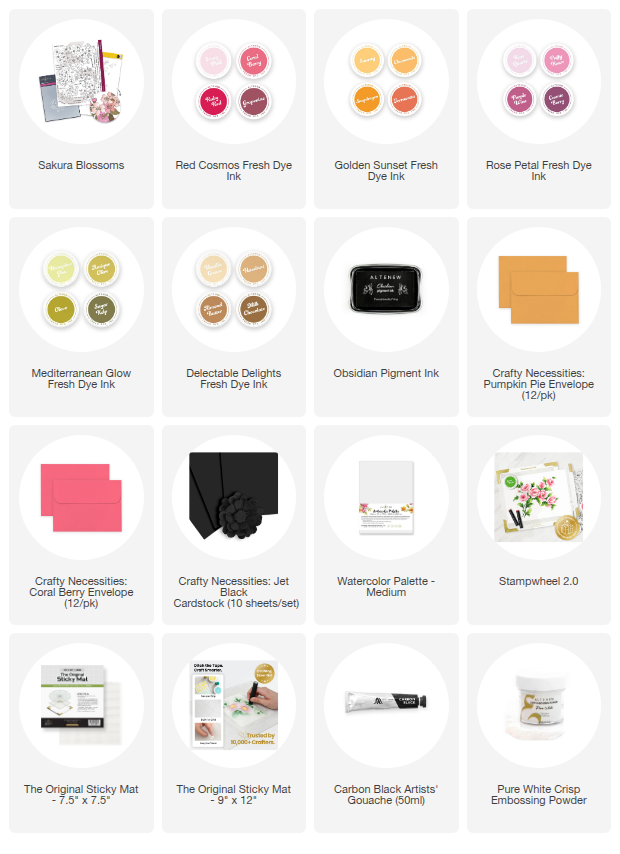
SUPPLY LIST
Leave a Reply