Adding Hand Stitching to Your Projects (With Video Tutorial) | Inspired By A Cards with Nathalie
by Nathalie DeSousa April 19, 2026
KEY TAKEAWAYS
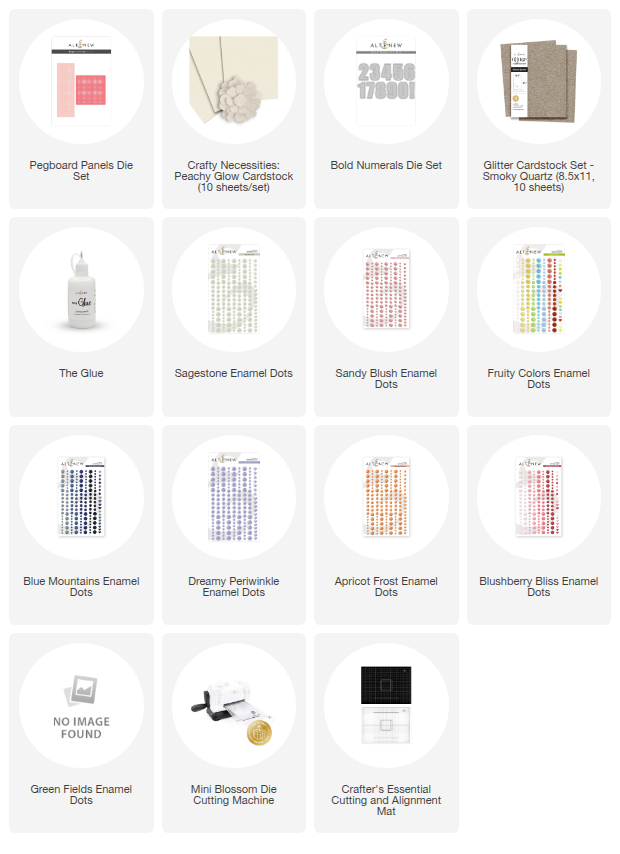
Tool Used: The Pegboard Panels Die Set creates pre-made perforations that serve as a built-in guide for embroidery.
Expanding Designs: You can create larger focal points by partially die-cutting and realigning the plates to extend the perforated pattern across larger cardstock pieces.
Monochromatic Base: Using a monochromatic color scheme for the background and die-cut panels ensures the hand-stitched texture remains the primary focus.
Layered Stitching: Add depth by doubling the stitching using different thread colors (e.g., Anchor and DMC floss) and varying the cross-stitch sizes (e.g., 3-perforation vs. 5-perforation spacing).
Embellishment: Finish layouts by layering bold die-cut numerals over the stitched seams and using enamel dots in a rainbow gradient to complement the texture.
Hello crafty friends! It's Nathalie with you to share a new creative idea on adding hand stitching to your projects featuring the new Pegboard Panels Die Set. I am loving this new die set and wanted to use the premade perforations to add texture and color through hand stitching to a cover for my 6x8 Journal. The design of the panels works perfectly to create smaller designs, or in this case to cover a larger area in smaller size pieces.
Let's take a look at what I have created for my memory keeping album:

Using Pegboard Panels as a Hand Stitching Guide
First, I want to show you how to expand the size of the pegboard dies before adding hand stitching to your projects. This makes the panel a focal point in the page without having to add much more to the spread

The square design in the Pegboard Panels die set is the one used for this spread. Its size allowed for the design to create a continued design that fits nicely inside the page of a 6x8 spread and a larger area for adding hand stitching to your projects. I am combining the same design to create the background and the focal elements. The key was to keep one simple while the other is the one featuring the hand stitching texture. In order to highlight the panels, it was important to create a subtle background, in my case a monochromatic approach when selecting background paper and pegboard panels color

Here is how I created the background and stitching panels for this spread
- Trim two (2) 6.5"x3.5" and two (2) 3.5"x 3.5" pieces of Crafty Necessities Peachy Glow Cardstock.
- Use the square design in the Pegboard Panels die to create to die cuts from the two (2) 3.5" square pieces of Peachy Glow cardstock.
- Trim a 6.75"x8.5" piece of Crafty Necessities Peachy Glow Cardstock for the background of the spread. Adhere the first die cut at along top and 3" from right edges. Adhere the second die cut along bottom and 3" from right edges.
- Using the same die partially cut the design from the 6.5"x3.5" piece so that one side of the design is still attached to the paper.
- Carefully align the last two rows of perforations (on the side still attached to the uncut piece of cardstock) and partially cut the design making sure you get a larger panel -rectangular shape die cut-. Repeat with another cardstock piece.
Adding Hand Stitching To Your Projects using Pegboard Panels

The perforated design in the Pegboard Panels Die Set offers the perfect guide for adding hand stitching to your projects. All you need is time, an embroidery needle and lots of embroidery floss. I have opted to build the texture in the panels by doubling the hand stitching in two different colors and sizes.
Adding Texture Through Hand Stitching

The idea of using the pegboard panels as stitching guides in my spread helped with making it the highlight of the page. Here is how it is created:
- Using four (4) strands of Anchor 1009 embroidery floss create cross stiches that are 3 perforations apart. Continue until the entire panel is filled, then repeat in the second panel.
- Using four (4) strands of DMC 988 embroidery floss create cross stitches that are 5 perforations apart. Continue until the entire panel is filled, then repeat in the second panel.
- Adhere first panel at about 1.25" from top and 0.75" from right edges. Adhere second stitched panel below the previous panel, so that the panels are at center of the page.

- Using Bold Numerals Die set cut pieces from Smoky Quartz Glitter Cardstock.
- Using The Glue adhere the numeral die cuts atop the center line created at the junction of the two hand stitched panels.
- Using a selection of enamel dots attach them to the stitched panels so that they sit in rainbow color order from top to bottom of the panels.
Adding Hand Stitching To Your Projects - Process Video-
Watch the video tutorial below to learn more about this technique, and go about adding hand stitching to your projects

I hope the video has inspired you to use this new creative idea on adding hand stitching to your projects using the Pegboard Panels die set. There is so much you can create with these new die designs. I cannot wait to see your projects.
XO!

Flash Sale: Get 40% off Green Meadows Fresh Dye Ink Mini Cube & Re-inker Bundle from April 19, 2026 at 12:01 AM EDT until 11:59 PM EDT. Shop here: https://altenew.com/products/green-meadows-fresh-dye-ink-mini-cube-reinker-bundle
SUPPLIES