Add A Touch of Class to Your Gift Wrapping Feat. Find Joy Layering Stencil (+Video Tutorial)

Hello crafty friends! It's Nathalie with you to share a new creative idea on how to add a touch of class to your gift wrapping featuring the new Find Joy Layering Stencil Set. I always look at the possibilities that each new product brings, and this stencil set is a combination of a great detailed frame and a beutiful script sentiment, they can be used separate or combined them together for great results, plus imagine how you can personalize each panel with different color choices.
This is a little different from my usual memory keeping, but I think personalizing is what I love best, so let's take a look at today's project:

Customize Your Gift Wrap Packaging With Find Joy Stencil
The first step on how to add class to your gift wrapping is to customize your wrapping packaging with Find Joy Layering Stencil Set, I am using the three (3) first stencils in the set to customize my paper bag (and I might just made that too from scratch)

The floral frame in the Find Joy Layering Stencil set lends itself to repetition. So, I am using the frame to create sort of block formation on the papers using tones of ink from Earth Tones Fresh Dye Ink, Sage Garden Fresh Dye Ink set, Moonlit Twilight Fresh Dye Ink Set.

Here is how you can start to add a touch of class to yout gift wrapping: start with costumizing your packaging
- Create your gift bag by folding a 11"x17" piece of white cardstock into a 5"x 8.5"x 2.5" bag.
- Place stencil #1 from Find Joy Layering Stencil on a slight angle at the top the left corner of the paper.
- Use Silver Sprout Fresh Dye Ink and Celestial Mist Fresh Dye Ink to create the leaf and bloom images on the cardstock, respectively.
- Rotate stencil an place to the right of the previous impression -use a ruler and the extra stencils to aid you with image placement.
- Use Sagestone Fresh Dye Ink, and Glacier Iris Fresh Dye Ink to create the impression of the leaves and flowers on the paper.
- Continue creating the frame impression until you fill the entire space.
- Use Stencil # 2 from Find Joy Layering Stencil set, and set it in place atop the first frame created on the page.
- Create the impression of the stencil using Dreamy Periwinkle Fresh Dye Ink with a mini ink blending brush. Continue creating the impression in all the frames on the paper.
- Select stencil #3 from Find Joy Layering Stencil Set and place it on top of the first frame created on paper.
- Use Warm Linen Fresh Dye Ink to create the centers of the flowers, and Olive Grove Fresh Dye Ink to create the stems impressions on the paper. Continue until all the complete all the frames on the paper. Set aside to dry.
- Use Ultra Sticky Tape to either wrap your present or create the gift bag.
Add Texture and Shine to Your Gift Tag

There is nothing better than a matching tag/card to add a touch of class to your gift wrapping, this time I am taking advantage of the four (4) stencils in the Find Joy Layering Stencil, the same tones of Fresh Dye Inks, but adding texture and shimmer with a bit of Brass Shimmer Relief Paste.
Taking Wax Seals To A New Level

To make the tag/card extra especial and focal point of the package, I am chosing to reduce the white space around the sentiment and replace it with color. Here is how it is created:
- Cut a 4.25"x 5.5" of heavy white cardstock for base
- To create the frame, use Sagestone Fresh Dye Ink and Glacier Iris Fresh Dye Ink for the leaves and flowers respectively.
- Using Dreamy Periwinkle Fresh Dye Ink create create the impression in stencil #2 on the panel.
- Use Stencil # 3 and Warm Linen Fresh Dye in for the center of the flowers and Olive Grove Fresh Dye Ink to create the stems.
- Use Brass Shimmer Relief Paste and a Mixed Media Palette knife to create sentiment impression in stencil #4. Set aside to dry.
- Trim a 4.25"x 11" piece from Shattered Shell and score at 5.5" fold to create a bottom opening card, Trim top corners of card to create a tag like shape.

- Using detailing scissors carefully fussy cut around the outside edge of the stenciled frame leaving a small offset around the shape,
- Using thin foam adhesive adhere the shape to the form of the tag/card panel. Create the tag perforation.
- Using twine tie to attach the tag to present.
- If you created a paper bag, then fold back about 1.5" from the top edge, and create two perforations about 1.5" from both left and right edges.
- Thread twine through perforation and tag and tie into bow.
Add A Touch of Class to Your Gift Wrapping - Process Video
Watch the video tutorial below to learn more about this technique, and check how you can take wax seals to a new level!
I hope the video inspires you to add a touch of class to your gift wrapping or any other crafty project of your own. I cannot wait to see what you create with these ideas.
XO!
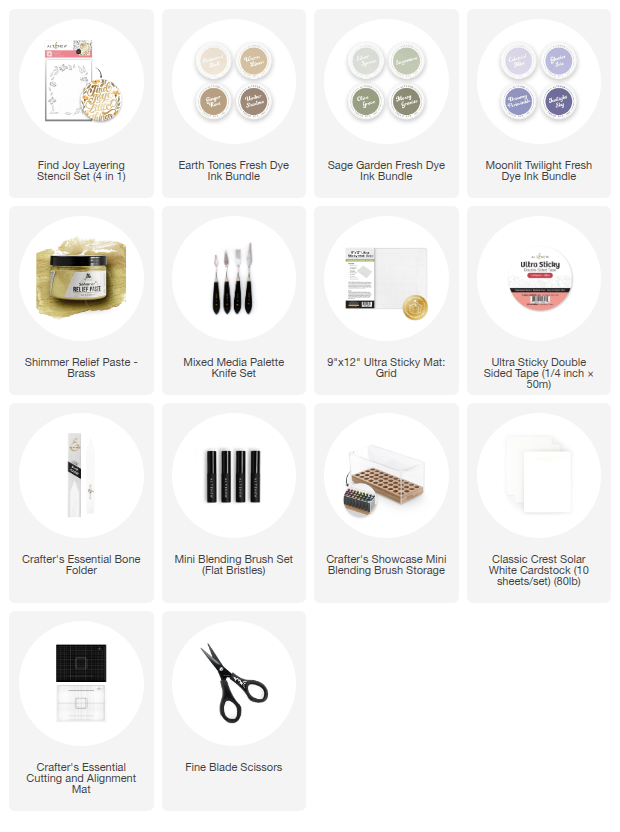
Supply List
|


Leave a Reply