A New Creative Idea Featuring Wax Seals | Inspired By A Card with Nathalie + VIDEO

The new Cookie Topper Wax Seal Stamp, Wafer Texture Wax Seal Stamp, and A Gift For You Wax Seal Stamp are the perfect companions for memory-keeping projects, and I wanted to incorporate them into one of my 6x8 Journal entries. The detail, design, and cuteness of these stamps make them perfect for all sorts of projects, especially those holiday-inspired ones.
Hello crafty friends! It's Nathalie with you to share a new creative idea featuring wax seals. Let's take a look at what I have created with these new wax seals for my memory-keeping album:

Using Wax Stamp Seals As A Highlight
First I want to show you how wax seals can be easily used to create a highlight/title/focal point. There is so much detail in each of the seal stamps that they can complement your stories/projects seamlessly.

The trio of photos of my littlest one decorating cookies was the inspiration for this page. In order to highlight them, it was important to create a subtle background and a also bring an element that will effectively bring a focal point to the page, hence the use of the new A Gift For You Wax Seal.

Here is how I created the photo side of the spread
- Trim a 4"x8.5" piece of white cardstock for the base.
- Use the Lattice Blossoms Stencil, Mint Choc Fresh Dye Ink, and Pool Fresh Dye Ink to create the subtle ombre effect on the white cardstock.
- Start with the lightest color ink at the top of the page, once you have completed about half the impression, shift the stencil to the bottom of the page, and continue the design with the darker ink.
- Use Mint Choc Wax Beads to create the wax seal.
- Use the gold marker in the Essential Permanent Marker Set to highlight/color the sentiment only in the seal.
- Use colors from the Acrylic Marker 24 Color V1 and Acrylic Marker 24 Color V2 sets to highlight the smaller details in the wax seal.
- Wrap twine around the photo, and adhere it to the base
- Using strong adhesive (foam adhesive), attach the wax seal to the twine on the photo.
Using Wax Seals To Embellishments and Story Complements

The fun designs in the wax seal stamps make them versatile. So, I am using the new Cookie Topper Wax Seal Stamp, and Wafer Texture Wax Seal Stamp to create "cookies" that serve dual purpose: embellishing and complementing my project.
Taking Wax Seals To A New Level

The idea of using the seals as "cookie" in my spread helped with bringing the photo and journaling side of the spread together. Here is how it is created:
- Cut a 6.25"x 8.5" of white cardstock for base
- Repeat the application of ink through the stencil to create the background for the page.
- Using Crafty Necessities: Dew Drops Cardstock, create a 4.25"x7.5" tag.
- Using Brushed Metallic Gold Cardstock and Best Wishes Tags Die Set, create the hole reinforcer for the tag, and set in place. Thread twine and set on the base.
- Using the two wax seal stamps and Wax Beads in the All In One Wax Seal Stamping Bundle, create at least one of each of the designs in each color. Clean the extra wax outside of the seals, so that each piece has a clean edge.
- Once again, use the Acrylic Markers and Essential Permanent Gold Marker to highlight the details in each seal.
- Using Wrapped With Love and Obisidian Pigment Ink create a stamped title, and press plate sentiment strip.

- Using strong glue and foam adhesive create a cluster of "cookie" wax seals at the top left corner of the tag.
- Using foam adhesive secure the stamped title to the center of the "cookie" wax seal cluster at the top of the page -Note: the number of seals depends on the space needed to add the story-
- Use three (3) "cookie" wax seals to create a small cluster at the bottom right corner of the tag.
- Use foam adhesive to secure the small press plate sentiment to the small cluster. Choose the sentiment to help complement/cap the story.
Maximizing Your Wax Seal Appeal - Process Video-
Watch the video tutorial below to learn more about this technique, and check how you can take wax seals to a new level!
I hope the video has inspired you to use this new creative idea featuring wax seals for a project of your own. There is so much you can create with these new seal designs. I cannot wait to see your projects.
XO!
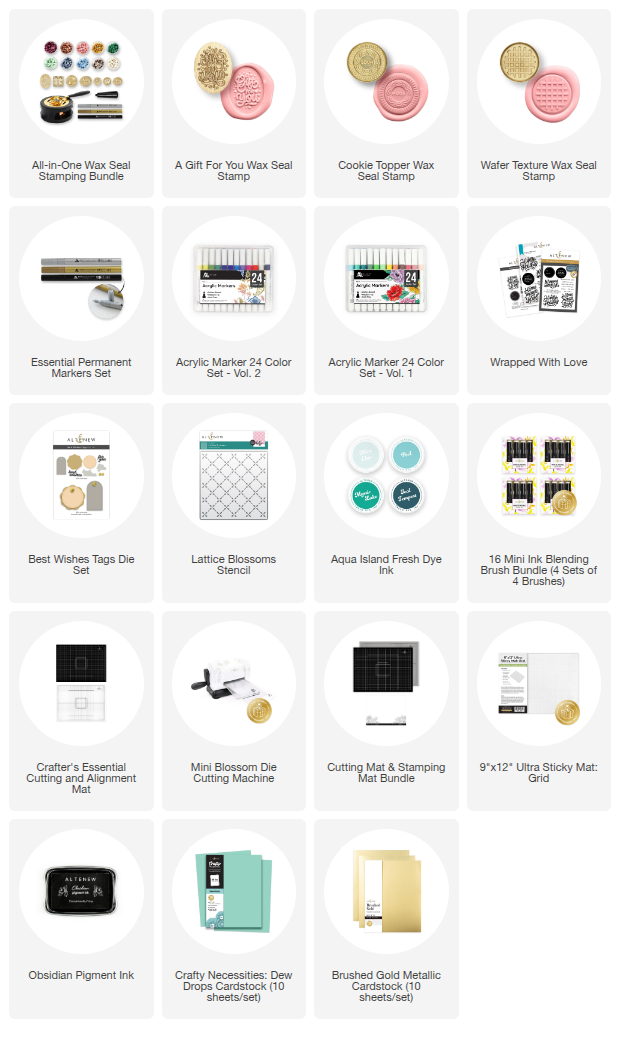
Supply List
Leave a Reply