7 Easy Watercoloring Ideas and Must-Try Watercoloring Techniques for Every Artist
by Altenew LLC January 25, 2021
Are you a beginner looking for easy watercoloring ideas? Watercoloring is a fun and easy way to get in touch with your inner artist. It helps spark your creativity and allows you to relax and slow down. One quick look at watercolor painting ideas on Pinterest or Instagram might overwhelm you, but, as a beginner, all you need to learn are the basic and most essential techniques. The result doesn’t need to be perfect. You just need to let your creativity flow and, of course, enjoy the process!

Before you start your watercoloring journey, it’s essential to learn a few tips and tricks in watercoloring. Beginner or not, these will be the foundations of your practice.
-
Heat emboss your images. The heat-embossing will function as “walls” that will contain your watercolor. It will keep it easier to stay inside the “lines” when you watercolor unless you’re going for a freehand watercolor technique.
- When doing a wet-on-wet technique, tilt your paper to spread the pigment around effortlessly. This works best with florals and foliages.
- Always have a glass or cup of clean water nearby. You will need a lot of clean water for watercoloring. Water activates the watercolor pigment and helps in diluting it.
- Prepare at least three different paint brushes. Depending on how many colors you are using for your image, you will need one paintbrush for each color. You also need another paint brush for blending and another one for the clean water. This way, you don’t have to worry about cleaning the brushes while watercoloring.
- Pro tip! The more water you add, the more movement there will be in your pigment. Similarly, the less water you add, the less movement.
- Always let the water do its work. Watercolor pigment reacts well to water. This is why it’s essential to let it go with the flow.
- When coloring flowers, do every other petal to avoid the colors from spreading to the petal next to it.

Keep these watercoloring tips and tricks in mind; these will surely come in handy the next time you pick up your brush and start watercoloring. So, are you ready to learn 7 essential watercoloring techniques for beginners? Keep on reading!
1. Wet on Wet Watercolor Technique
This is probably one of the easiest watercolor painting ideas. It gives fast results, and that’s why it is recommended for beginners in watercoloring. Simply put, this technique means adding wet pigment onto a wet paper. Water is used mainly to wet the paper. Here are some tips and reminders when doing the wet-on-wet watercolor technique.

- Heat emboss the image/s.
- Cover it with water using a clean paintbrush.
- Add pigmented watercolor and spread it all over the image.
- Apply concentrated pigment on the base of the image.
- Pull out the concentrated pigment with a clean paintbrush.
- Let the water do the work for you. The pigment will spread on its own, so don’t control it too much.
-
Use the paintbrush to move around the pigment. This will depend on how you want your image to look.
Need some inspiration? Here’s a quick and easy how-to video tutorial showcasing the wet-on-wet watercolor technique.
2. Scribbling Watercolor Technique
The scribbling watercolor technique is super easy and fun; even kids can do it! If you are looking for watercoloring techniques for beginners that you can do with your non-artistic family or friends, this is the one! All you’ll need are the necessary supplies such as watercolor paper or cardstock, a paintbrush or water brush, and a watercolor paint set, and you’re all set!

Check out these tips and reminders on how to do the scribbling watercolor technique:
- Heat emboss the image/s.
- Start by scribbling some pigments randomly on your image. Make sure to choose colors that complement each other.
- Don’t worry about the mess or if your pigment goes over the image’s lines. This is why heat-embossing the images is vital; you can simply cut it out or die-cut it later.
- Spread or move around the pigment with a clean paintbrush.
- Spritz some clean water onto the image generously.
- Make sure to air dry your watercolored image. You can use a heat gun if you prefer to speed up the process.
- The watercolored images look different every time you do this technique because of the different color combinations and how they are mixed.
Do you want to see this technique in action? Watch this short how-to video tutorial by Altenew’s design team member Erum where she used the scribbling watercolor technique to create a simple but beautiful handmade card.
3. No-line Watercolor Technique

The no-line watercolor technique has become one of the best watercolor painting ideas to try for beginners. This technique gives off a freehand watercolor vibe, making it look like a real watercolor artist painted it. According to Kristina Werner, “The whole idea behind no-line watercoloring is to take stamped images and make the stamped line disappear after you've colored it. So, you'll want to stamp in light ink and then get to the watercoloring.”
Are you ready to get started with no-line watercoloring? Here are some useful reminders and tips!
- Pro tip! Place a tiny line or a dot of pigment in one area of the image.
- Pull it down or spread it around using a clean, wet paintbrush.
- Let the water do its work! The pigment will spread on its own, so don’t try to control or contain it.
- Don’t overwork it! Again, just let it go where the water flows.
- Always let one area dry first before adding more colors.
- You can add depth by using black watercolor pigment.
- Use a fine brush or a size zero brush to add more fine details.
Are you wondering about which watercolor medium to get? Should you get a watercolor paint set in a pan or tubes? Are watercolor pencils better than watercolor brush markers? It depends on your preference. The important thing to remember is to test them out first and make sure you’re comfortable using them. Do not overspend on watercolor supplies, especially if you are a beginner.
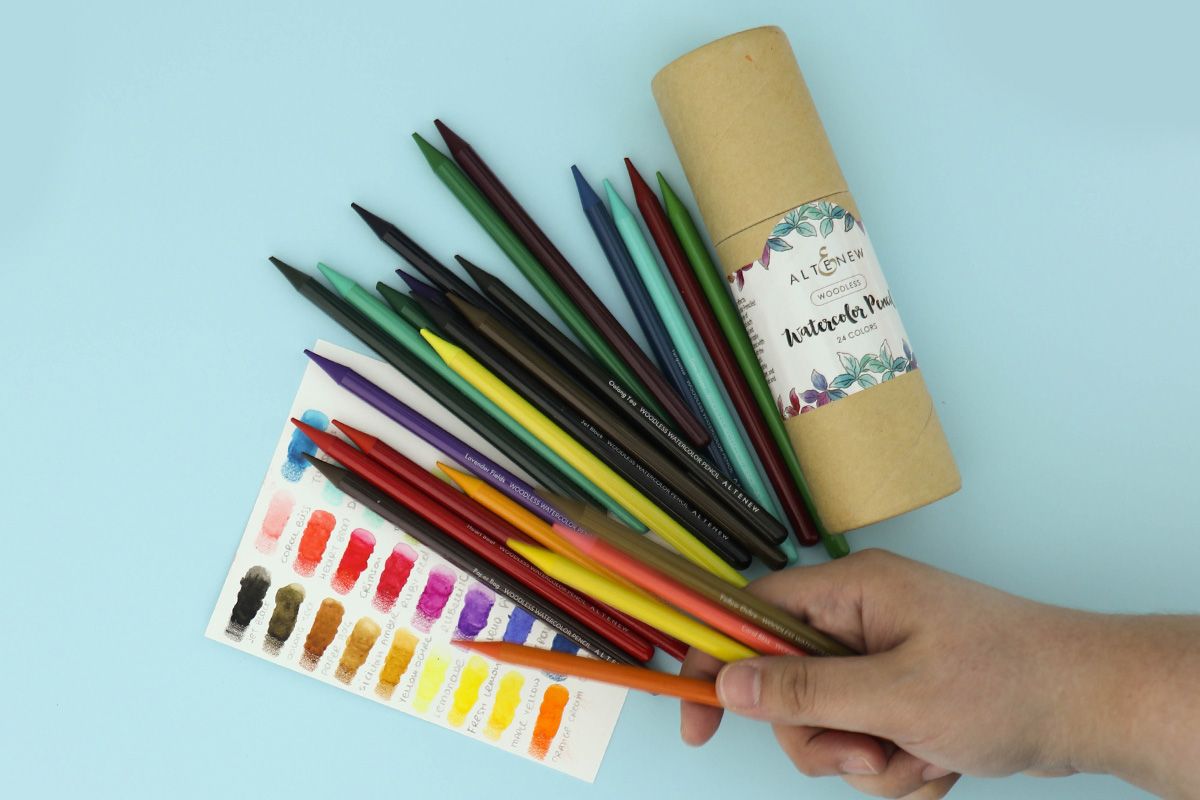
Check out how Lydia created a lovely no-line watercolor look using Woodless Watercolor Pencils here and how Erum did the same technique with the help of Watercolor Brush Markers here.
4. Ghost Watercolor Technique
The beauty of watercolor is that there is never a scarcity of easy watercoloring ideas out there. You can even “invent” your own technique by experimenting with a few different methods. The ghost watercolor technique is another quick and easy one that even the little ones can do. Here are a few steps and tips that you can follow.
- Use a water-reactive ink to stamp your image.
- Add a pigment (a shade or two darker than the ink you used to stamp the image) and move it around with a wet brush.
- The darker pigment will create some shadow or depth on the image.
- Generously spray water onto the watercolored image.
- This will move the pigment around and create a “ghost watercolor effect.”

- Pick up the excess watercolor with a paper towel or tissue paper.
- Keep on spraying water onto it until you’re happy with the look.
- Feel free to tilt it down or to the side to spread the pigment around.
- You can leave it as is or add more pigment to the image.
In this quick video tutorial, Erum demonstrates how to do this super fun and easy watercoloring technique for beginners! Make sure you give it a try.
5. Ink Smooshing Watercolor Technique
The ink smooshing watercolor technique is so easy; you can do it with your eyes closed! The results of this incredible watercolor painting idea are always beautiful and unique. If you’d like to see a video tutorial on how to do this watercolor technique, click here. We’ve listed a few steps and useful tips below as well.

- Stamp your images onto a strip of watercolor paper or cardstock, making sure to keep a bit of distance between them.
- Scribble your selected watercolor pigments all over a watercolor palette.
- Keep the pigments close to each other but not overlapping.
- Spray some water onto the pigments on the watercolor palette.
- Smoosh your watercolor paper facing down onto the pigments to pick up the colors.
- Repeat the process until you get the color combination and results that you like.
- Dry it with a heat gun in between smooshing.
6. Lifting or Blotting Watercolor Technique
As the name suggests, this one’s a no-brainer. It’s also a great way to “correct” a mistake, especially when you added too much pigment on your image or forgot to dilute your colors. With this watercolor technique, you just add watercolor pigment onto your watercolor paper, and then, while the pigment is still wet, you lift the color. This is done by gently blotting it with tissue paper or paper towels. Depending on how you blot the pigment, it will either give a diluted color or leave a white area on your paper. This is a great way to quickly create clouds or other shapes in your painting. With this technique, you have to work fast and make sure that the paint is still wet to lift the color easily.
7. Watercolor Wash Technique

Watercoloring is all about building up layers of pigments. A watercolor wash is done by applying a layer of diluted pigment, which slightly transparent, onto watercolor paper. This is often used as an effective and quick background for handmade cards, scrapbook pages, and other smaller paper crafts.
There are five types of watercolor wash:
- Dry flat wash
- Wet flat wash
- Gradient or ombré
- Variegated
- Wet on wet watercolor wash
Here are some essential steps and useful tips when doing a watercolor wash:
- Let your paper dry before adding more layers.
- When doing ombré watercolor wash, make sure to blend the colors well.
- With gradient watercolor wash, you have to slowly get rid of the pigment by dripping your brush in clean water as you add the next layers.
- The key to watercolor washes is working quickly! You cannot activate it anymore when it’s already dry.
- Want to try the wet on wet watercolor? It is one of the most effortless and most fun watercolor painting ideas for beginners. You can let it flow and just play around with it while also allowing the water to do its thing.

It’s always overwhelming whenever you try something new, whether it’s watercoloring, a sport, or a new hobby. But it’s also exciting and fun! Always remember to practice whenever you can. Nobody gets better at something without constant practice. Watercolor, as you already know by now, is a wild and unpredictable medium. There’s a reason why “water” is in its name. It’s only natural that it will flow and will be harder to control. So don’t try to control it. Take note of the 7 essential watercoloring techniques for beginners mentioned in this blog post, but don’t feel the need to stick to them. Remember to embrace your mistakes and flaws, let the water do its work, and enjoy the process of creating!