5 Easy Textured Cardmaking Ideas to Elevate Your Designs (With Video!)
Key Takeaways
Texture Elevates Designs: Adding physical or visual texture is the easiest way to transform a flat, simple card into a professional, layered project.
5 Easy Techniques: You can build texture using everyday supplies through embossing folders, heat embossing, layered die cuts, stencil embossing, and stencils with paste.
Surprise Bonus Technique: Incorporating flocking powder is a unique way to add an unexpected, luxurious velvet feel to your card elements.
Versatile Supplies: The same core products (like The Drawing Room collection) can produce completely different styles—from elegant frames to soft, wallpaper-inspired backgrounds—depending on the texture technique used.
Need some inspiration to add texture to your cards? Today I’m sharing two designs created with similar products, but using a variety of techniques to build different looks and really stretch your supplies.
From embossing and layering to stencilling and dimensional details, these ideas are simple to try and can make a big impact on your cardmaking. Plus, there’s a fun bonus technique you might not expect!
Hi there, it's Therese, and I'm back with another edition of Take 2 with Therese!

Why Use Textured Cardmaking Ideas?
Adding texture is one of the absolute easiest ways to bring a clean card design to life. It’s exactly what takes a project from looking flat and ordinary to feeling deeply layered, professional, and interesting… even if you’re only using simple, everyday supplies.
In these featured cards, I used a mix of clever techniques to create different types of visual and physical texture. If you want to replicate these looks, here are the five easy ways I explored:
- Embossing folders - for instant raised detail
- Heat embossing - to add shine and a slightly raised finish
- Layered die cuts - an easy way to build dimension
- Stencil embossing - for soft, pressed background texture
- Stencil with paste - to create more tactile, dimensional details
Card #1: Embossed Frame with Gold Accents
Shop the supplies used to make this card:
For this card, I kept things elegant and let The Drawing Room embossing folder do most of the work. Using it to create a feature frame instantly adds dimension and draws your eye into the centre of the design.

To dress it up, I lightly added some Enchanted Gold Shimmer Relief Paste over the raised details (because everything’s better with a little gold), which really highlights the texture and gives it a more refined finish.

I also added texture with an Antique Gold heat embossed chair and a soft seat, using my Bonus idea which was to add Flocking for an elelgant velvet feel.
Then I finished it off with a simple sentiment from The Regal Flourishes Block Stamp Set, along with a few Gold Metallic Ink splatters for a touch of sparkle.

Card #2: Stencilled Texture with Layered Details
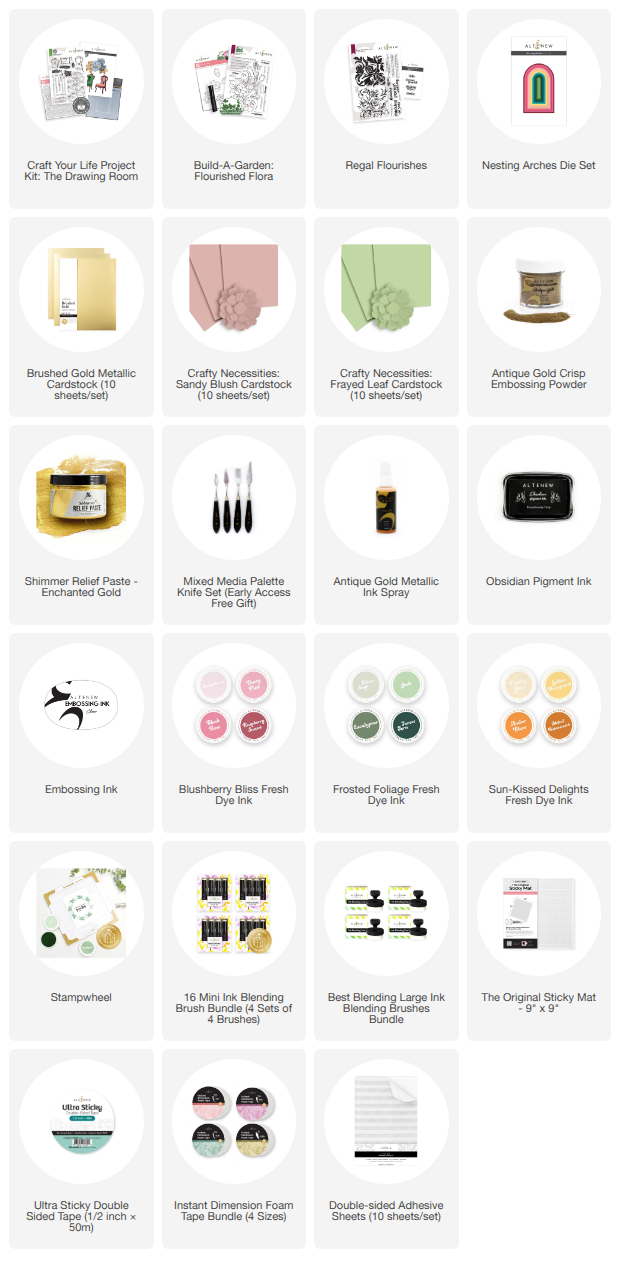
Shop the supplies used to make this card:
- Craft Your Life: The Drawing Room
- Build A Garden: Flourished Flora
- Nesting Arches Die Set
- Brushed Gold Cardstock
- Frayed Leaf Cardstock
- Enchanted Gold: Shimmer Relief Paste
- Antique Gold Embossing Powder
- Blushberry Bliss Fresh Dye Ink Bundle
- Sun-Kissed Delights Fresh Dye Ink Bundle
- Frosted Foliage Fresh Dye Ink Bundle
- Obisidan Pigment Ink
- Mixed Media Palette Knife Set
For my second card, I leaned into building layers and texture to create a softer, wallpaper-inspired background.

I used The Drawing Room stencil in a slightly different way to add subtle texture, then layered in a simple Nesting Arches frame with vellum to create a gentle focal point. From there, I added a floral element with a touch of Enchanted Gold Shimmer Relief Paste detail for a bit of shine and extra texture.

And of course there's the other Drawing Room chair with it's luxurious green velvet seat and Antique Gold heat embossed details - it's almost texture overload on this card!

If you'd like to watch the instructions for this stencil project in-depth, take a look at the video on YouTube.

Which Texture Technique Will You Try First??
I hope these textured cardmaking ideas inspire you to add a little texture to your own cards! It really doesn’t take much to make a big difference - even one simple technique can completely change the look and feel of your design.
I’d love to hear which texture technique you would try first… or are you going straight for the bonus? Let me know in the comments!

Memorial Day Weekend Special Offer:
Enjoy FREE U.S. Shipping on orders over $39 (no code needed) from May 22, 2026 at 12:01 AM EDT until May 24, 2026 at 11:59 PM EDT. Shop here: https://altenew.com/collections/all-the-paper-crafting-supplies-you-need
SUPPLY LIST