3D Embossing Folders.. worth the hype?
by Erica Andersson January 13, 2026
Hello, hello texture loving friends! It's Erica back on the Altenew blog and YouTube channel, with a question for you: 3D embossing folders... where do you stand on them? Are you an embossing pro, beginner or maybe just simply not a fan at all? I'm hoping that this post, in which we are going to have a little play with the stunning Joyful Gardens 3D Embossing Folder and coordinating layering stencils, might sway you over to the textured and embossed side if you aren't sure it's for you.
Joyful Gardens 3D Embossing Folder
The 3D embossing folder you can use on its own, you don't need the layering stencils to be honest, but they are great fun! If you want to stick to just the embossing folder itself, don't worry, I will show you some ways to use that on its own, no stencils needed at all.
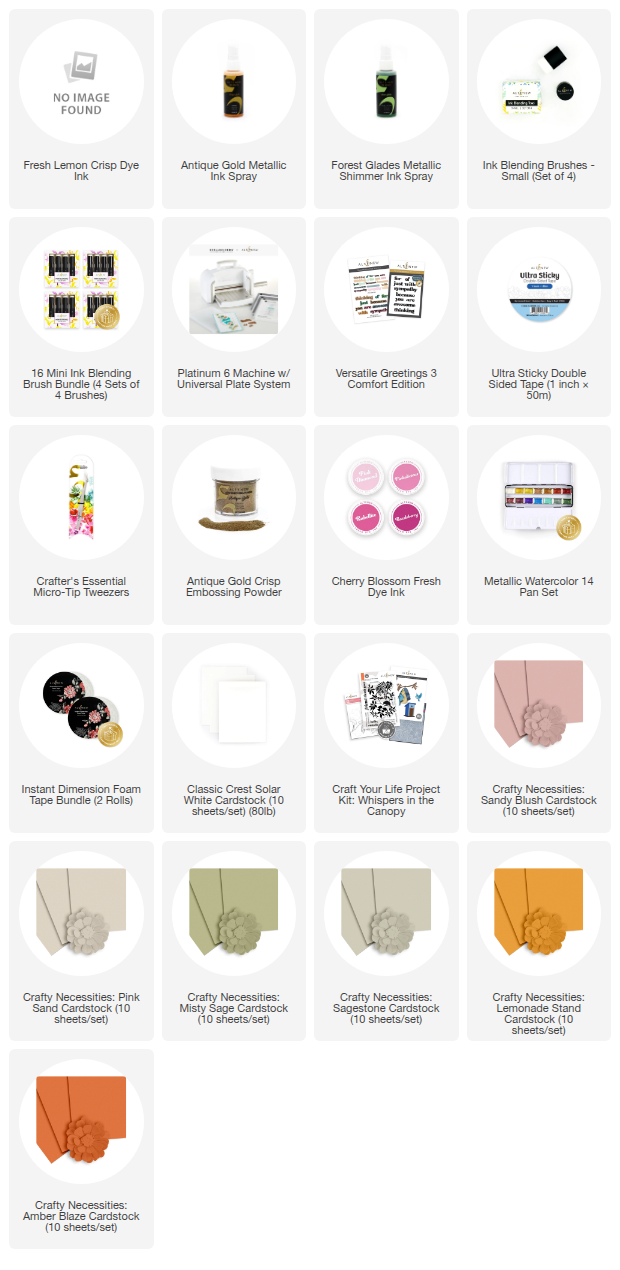
Also, I'd be amiss if I didn't mention some of the absolutely LOVELY additions to the Crafty Necessities Colored Cardstock range! There are some top-notch neutrals in it, as well as some vivid pops of color. I will be using a fair few of these for today's cards. If you watch the YouTube video you will see me show these colors up close, but they are listed here too in case you don't have time to watch the video right away.
I tried to not go too crazy but I picked out so many colors: Pink Sand, Lemonade Stand, Amber Blaze, Sandy Blush, Sagestone, and Olive Grove. I cut a sheet of each color in half, and then again in half to create A2 card panels, easy to emboss. Don't put away the second A2 panel though, we are going to use some of those as backgrounds, both as contrasts and compliments to our embossed panels.
Coloured cardstock + Embossing folder = Chef's kiss!
I thought we'd start with some techniques you can use when you don't want to use the layering stencils for adding some interest, color and details to your embossed panels. A really fab way of still having some color is to use some of that gorgeous Crafty Necessities Colored Cardstock, it looks fab on its own, but we are going to take it up a notch by adding some details.
The first one is to ink blend some ink in a darker shade than that of the cardstock itself, around the corners and edges. This creates a vignette look and is very impactful with very little effort.
Another way to add some interest is to splatter some metallic watercolor, or a Shimmer Ink Spray on top.
A third way is to go very lightly with an ink blending tool, over the entire panel, so that the embossed pattern catches the color, but the flat parts do not. I haven't used this technique on any of the cards today, but I thought it was worth mentioning it anyway.
Embossing Folders + Layering Stencils = Amazingness
I have to mention that you will get some gorgeous results by using the coordinating layering stencils too, as you can mix and match colors here to fit pretty much any occasion or colors that the recipient loves. This works on both white card stock and the colored cardstock, if it's not too dark that is. If you go for a dark shade of cardstock, ink blend with a White Pigment Ink to make the embossed pattern stand out. That looks really cool too!
As mentioned, I have used many, many colors of the new additions of Crafty Necessities Colored Cardstock with this 3D embossing folder and they all look great as they are, but yes, I have jazzed most of them up a bit. Let's get into the details, shall we?
The first finished card is actually done with white card stock, Cherry Blossom Fresh Dye Ink and Costal Mist Fresh Dye Ink bundle. Also, a pop of yellow for the middle, I believe I used Fresh Lemon.

This card is finished off with a heat embossed and stamped sentiment from the Craft Your Life Project Kit: Whispers in the Canopy. For a touch of bling, I have used the Crystal Moonlight Stellar Sequins.

The next card has another sentiment from the same Whispers in the Canopy set; I had some leftovers from a crafty session with that gorgeous kit.

This panel, which is Lemonade Stand Crafty Necessities Colored Cardstock, is embossed with the 3D embossing folder and then simply spritzed with Antique Gold Metallic Ink Spray. It's subtle until you tilt the card towards the light!

The embossed panel was also trimmed down a little bit before I adhered it to a white card base. I do like having that white frame around a panel, it draws the eye in, I find.

The next couple of cards are fun! If I may say so myself. One is done with Amber Blaze card stock and the other one in Sandy Blush.
The Sandy Blush one is very simple. I ink blended a little bit of two shades from the Earthy Embrace Fresh Dye Ink bundle, to create that vignette look and then I splattered some metallic watercolor from the Metallic Watercolor 14 Pan set on top. That was it for the background itself. So simple!

The sentiment had to be heat embossed too, to coordinate with the gold on the background. It just makes sense! I have also added a few Rose Gold Stellar Sequins.

The next card is done with Amber Blaze cardstock! This is a fabulous color! As it's so dark, I started with doing the same vignette ink blending around the edges. It looked fab, but then I thought I'd try stenciling in a few layers using the Joyful Gardens layering stencils. Just to highlight some of the embossed details on the background. I used inks from the Earthly Embrace Fresh Dye Ink bundle and ink blended very selectively. This was a very successful experiment if you ask me. I like how it turned out!

This one is also finished off with a heat embossed sentiment and some gold splatters for some shimmer.

Lastly, but not least, we have two sympathy cards. Sympathy cards are never easy to make, so sometimes it's better to create some while you are not in need of them.

I thought the Pink Sand and Sage green cardstocks offered a neutral, yet soothing color palette. I have done something similar here with some selective ink blending for the Pink Sand embossed panel, and splatters of Forest Glades Metallic Shimmer Ink Spray.

Both of these panels have been trimmed down a smidge, to leave a slim white frame around the background, and they both have sympathy sentiments made with the Versatile Greetings 3 Comfort Edition

Well, with that I'm all done for today! Thank you so much for hanging out with me and hopefully being completely converted on 3D embossing folders, if you weren't already!
With love and light, creativity and sparkle, your texture loving gal, Erica.