3 Ways to Make Die-Cuts Pop! (With Video Tutorial)
by Michelle Short October 4, 2025
It's no secret that die-cutting is one of the best and most popular ways to add interest and beautiful texture to your projects. That's why it's so much fun to explore different techniques and tricks to make the experience even better.
Hello there, Michelle here with another edition of Terrific Tags with Michelle. Today I am sharing 3 ways to make die-cuts pop:
- Add details to die cuts by adding color and shine.
- Layer up die-cuts.
- Add die-cuts to a neutral background.

Add Detail to Die-Cuts
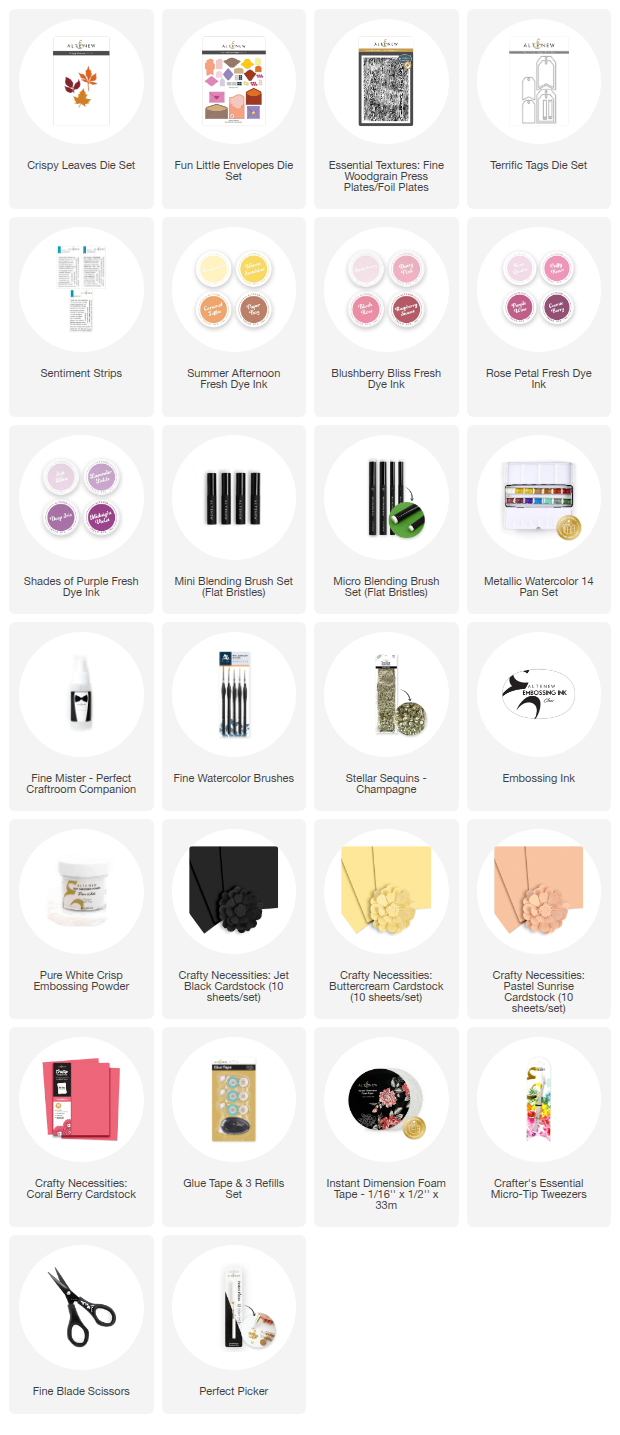
I started off by die cutting the Crispy Leaves Die Set from Crafty Necessities Cardstock, cutting the three leaves each from a different color. I used Buttercream, Pastel Sunrise and Coral Berry.
The first way to make die-cuts pop is to add interest to them with color and shine. I added ink blending to the leaves first, with Mini and Micro Blending Brushes.
- Leaf 1 cut from Buttercream Cardstock has Caramel Toffee and Cosmic Berry ink blending.
- Leaf 2 cut from Pastel Sunrise Cardstock has Cosmic Berry and Midnight Violet ink blending.
- Leaf 3 cut from Coral Berry Cardstock has Blush Rose, Rasberry Sunset, Cosmic Berry and Midnight Violet ink blending.
I then mixed Gold Pearl Metallic Watercolor with water and splattered it onto the leaves for some added interest and shine!

Layer Up Die-Cuts
The second way to make die-cuts pop is to layer them up. Die-cuts when small, make a bigger impact when layered or grouped togther.
I die-cut an envelope from Fun Little Envelopes Die Set from white cardstock and folded up the sides but left the top open. I also die-cut the hearts from the set from Crafty Necessities: Coral Berry Cardstock and added ink blending to these using the residual Cosmic Berry and Midnight Violet Inks that were on the brushes.

Add a Neutral Background
Whilst colorful backgrounds look great, die-cuts (unless white) can get lost. I find the best way to make them pop is to use a neutral background. Usually for me, this is white or black. Today I am using black.
I die-cut the largest tag in the Terrific Tags Die Set twice from Crafty Necessities: Jet Black Cardstock.
To add more interest, I ran it through my die cutting machine inside the BetterPress Letterpress System with the Essential Textures: Fine Woodgrain Press Plate. This added the most beautiful texture to the tag!
I cut the tags down to make them shorter and adhered them back to back using Glue Tape.

Tag Assembly
I adherd the leaves first onto the tag with liquid glue, followed by the envelope with Instant Dimension Foam Tape. The hearts were adhered on top using liquid glue.
I then stamped and heat embossed a sentiment from Sentiment Strips 2 Stamp Set and cut it into strips. They were adhered with a combination of liquid glue and foam tape.
I added twine through the top of the tag and tied in a bow and to finish, embellished with Stellar Sequins - Champagne.
Video Tutorial: 3 Ways to Make Die-Cuts Pop!
I hope I have inspired you with some ways to make die-cuts on your projects pop! You can watch the video tutorial below or over on YouTube.
Thank you so much for stopping by today, I hope you have a chance to work on a similar project that speaks to your creativity! But before you go, we all know it's World Cardmaking Day, and to celebrate, Altenew has a very special treat lined up! For 3 days, get a FREE roll of Enchanting Tanzanite Glitter Tape on orders over $49 while supplies last. Shop Now!

SUPPLY LIST