Versatile Die-Cutting: 3 Creative Ways to Express Thanks
Today’s cards are all about showing just how versatile one die can be! The Chocolate Flowers Project Kit is packed with creative options, including a zero-waste die, a coordinating stamp set, a 3D embossing folder, and a builder stencil that works seamlessly with the rest of the kit.
Hello Altenew friends, Hannelie here, and today I want to show you what I created using The Chocolate Flowers: Craft Your Life Project Kit. For today’s cards, I chose to shine the spotlight on the die, while letting the 3D embossing folder play a subtle, supportive role in one of the designs.
I made three cards, and each design expresses thanks in its own way, while also experimenting with a color palette of Buttercream, Arctic Mountain, Rouge, and Velvet. It’s not my usual choice for florals, but stepping out of my comfort zone made the results even more exciting—especially when paired with three different roles for the die-cuts.
1. As a bold focal point,
2. A textured background, and
3. Playful shaker elements.
To bring everything together, I finished each card with gold accents in the sentiments and embellishments, adding a touch of elegance and warmth to the overall designs.

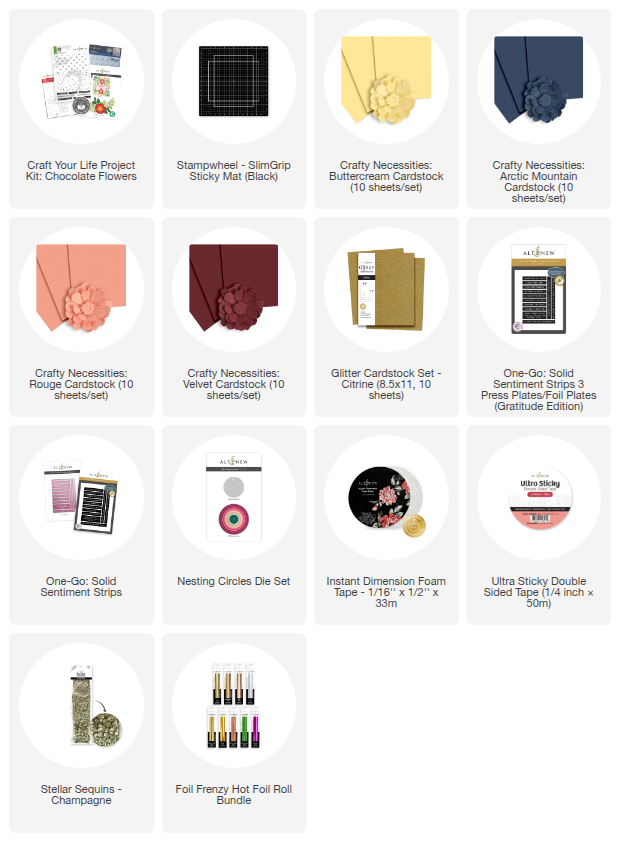
To make today’s cards you will need :
- White card stock
- Chocolate Flowers Craft your Life Project Kit
- Die cutting machine
- Sticky Mat
- Card stock: Buttercream, Arctic Mountain, Rouge, and Velvet
- Glittered card stock: Citrine
- One-go-solid sentiment strips 3 press plate gratitude edition with coordinating die
- Glimmer Hot Foil system and gold foil
- Circle die (8cm)
- Timeless sentiments die set: Holiday edition
- Instant dimension foam tape
- Double-sided tape
- Acetate
- Champagne sequins
- Adhesive of choice
Step by step instructions to make the “sending thanks” card with the die-cuts as focal point:
-
Die-cut your pieces.
Run the Chocolate Flowers zero-waste die through your machine once with each cardstock color — Buttercream, Arctic Mountain, Rouge, and Velvet. In a single pass per color, you’ll get a full set of flowers and leaves ready to use. Keep the extras aside, as you will need them for the other two cards.
-
Make the card base.
Trim and fold white cardstock to A2 size (4.25" × 5.5").
-
Create the embossed panel.
Place another piece of white cardstock (A2 size) into the 3D embossing folder and run it through your machine. Trim this panel slightly smaller than the card base, so a thin border remains. Tip: line up the natural grooves of the embossing for a balanced look, then adhere the panel to the card base.
-
Build your floral pieces.
Start assembling flowers by combining different colored petals and leaves. Use liquid glue for flat layers and small bits of foam for elements you want to lift. Varying the heights adds depth and visual interest.
-
Arrange the focal cluster.
Position a small cluster of flowers and foliage in the bottom-left corner (or your chosen spot). Once you like the placement, secure the cluster — use Instant Dimension foam tape behind the main grouping to make it “pop,” leaving a few smaller elements flat to create interest.
-
Hot-foil the sentiment.
Foil your sentiment using the One-Go Solid Sentiment Strips 3 press plate with gold foil in the Glimmer Hot Foil system. Die-cut the foiled strips with the coordinating die. Save the extra strips for your next project.
-
Adhere the sentiment and finish.
Mount the sentiment strip with Instant Dimension foam tape so it sits slightly above the embossed background and reads clearly against the flowers. Add a few Champagne sequins around the cluster for sparkle.

Step by step instructions to make the “Filled with Gratitude” card with the die-cuts as background:
-
Make the card base.
Trim and fold white cardstock to A2 size (4.25" × 5.5"). Secure the base to your sticky mat or a low-tack work surface so it won’t move while you place pieces.
-
Position the placement guide.
Lay the negative piece (the leftover cardstock from your first die-cut pass) over the card front and secure it lightly — this will act as a guide for all the background elements.
-
Fill the openings.
Place the die-cut flowers and leaves into the corresponding openings. Start with larger shapes, then tuck smaller pieces into remaining gaps. Alternate colors and sizes so the background reads balanced and interesting. A glue pen works well here.
-
Remove the mask carefully.
When the panel is filled, lift the negative guide slowly so the pieces stay adhered. If anything lifts, press it back down and secure with a tiny dot of glue.
-
Add dimension and trim.
Build up a few flower centers with additional die-cut layers or tiny foam bits for subtle depth. Trim any overhanging pieces flush with the card edge using scissors or a craft knife.
-
Attach the sentiment.
Mount your pre-foiled gold sentiment strip across the panel. Use Instant Dimension foam tape if you want the sentiment to sit slightly raised.
-
Embellish & finish.
Adhere Champagne sequins for sparkle, placing them where they balance the composition.

Step by step instructions to make the “Grateful” card with the die-cuts as shaker elements:
-
Make the card base.
Trim and fold white cardstock to A2 size (4.25" × 5.5").
-
Prepare the shaker panel.
Trim another piece of white cardstock to A2 size, or slightly smaller if you prefer a border around the shaker.
-
Create the aperture.
Use a circle die to cut an aperture in the upper center of the shaker panel.
-
Add the acetate window.
Attach a small piece of acetate behind the aperture using double-sided tape. Ensure it is smooth and completely sealed.
-
Build the shaker cavity.
Apply Instant Dimension foam tape around the back edge of the aperture, ensuring the strips are unbroken so the shaker contents don’t escape.
-
Add shaker elements.
Gather small die-cut flower and foliage pieces from earlier and mix them with small sequins. Place these inside the aperture area on the card base.
-
Assemble the shaker.
Carefully adhere the shaker panel (with acetate and foam tape) to the card base, making sure all shaker pieces are contained behind the window. Gently shake to ensure free movement.
-
Prepare the sentiment.
Die-cut the word “Grateful” from Citrine Glitter cardstock. Add dimension by cutting it two or three times from white cardstock and stacking the layers together.
-
Attach the sentiment.
Adhere the sentiment across the shaker window, centering it so it becomes the focal point while allowing the shaker elements to peek around it and becoming the embellishments of the design.

Take a look at the completed cards!

Working with the Chocolate Flowers Die in these three different ways reminded me just how much versatility a single die can bring to cardmaking. Whether it’s taking center stage, building subtle texture, or adding playful details, the possibilities are endless. Pairing the unusual color palette with finishing touches in gold gave each card its own unique personality, yet kept them connected through a common theme of thanks. And the best part? There are still plenty of leftover die-cut elements from this project to inspire a whole bunch of additional cards — so the creative possibilities truly keep growing.
I hope these ideas inspire you to look at your dies in fresh ways and try a color combination that’s a little outside your comfort zone too!
Happy crafting!

Before you go, we all know it's World Cardmaking Day, and to celebrate, Altenew has a very special treat lined up! For 3 days, get a FREE roll of Enchanting Tanzanite Glitter Tape on orders over $49 while supplies last. Shop Now!