3 Elegant Card Layers with Infinite Possibilities | Perfect Pairings with Jaycee (Creativity Unlocked!)
by Jaycee Gaspar August 11, 2024


Hey there, Altenew friends, it's Jaycee! Today, I'm excited to share a card making tutorial featuring stunning card layers and the beautiful Whimsical Flower Vine die set. This versatile die set is perfect for creating statement pieces that can stand on their own or be layered for a more intricate look.

This post is also part of our Creativity Unlocked series, where we highlight a new product from each month's collection or a fan favorite from past collections!

Let’s dive into this project, where we’ll combine our favorite Altenew products and showcase the art of card layers!
Video Tutorial
Click the image below to watch the video tutorial, or watch it over on YouTube here.

1. Cutting the Main Elements
Start by die-cutting the Whimsical Flower Vine using black cardstock. Next, cut the first layer from Brushed Gold Metallic Cardstock. Finally, cut a second layer from white cardstock to complete the elegant color palette.
2. Assembling the Flower Vine
Begin stacking your two black cardstock vines. Then, attach the metallic gold layers to their respective alignment areas. Finish by gluing the white cardstock petals to cover the alignment holes, creating a seamless floral design.
3. Creating the Background Panels
Cut two panels, one from vellum and one from heat-resistant acetate, both measuring 5.5 inches tall by 4.75 inches wide. You’ll also need an A2 white cardstock panel for blending and stamping. Overlay the vellum panel on top of the white cardstock in your stamp wheel, aligning the right edge and leaving the left to overhang.

4. Layering with Blooming Delight
To enhance the whimsical nature of the card, use the Build-A-Garden: Blooming Delight bundle with the Whimsical Flower Vine. Position the floral grouping toward the center of the panel. Prepare your vellum layer for white heat embossing by stamping the outline image, ensuring it stays flat with a stick mat.
Next, you’ll also want to stamp the same outline on the white cardstock using Permanent Mist Gray Pigment Ink. Once both panels are stamped, use the coordinating stencils to add color.
5. Coloring the Flowers
Using a primary and secondary color palette similar to the Soft Pastel 6 Crisp Dye Ink Set, color the flowers with the following:
- Rouge for the smaller flowers
- Fresh Lemon for the large flower base
- Chamomile and Hydrangea for the details
- Finish with Mountain Mist and Ocean Waves for the leaves and centers.
6. Adding the Sentiment
With the ink blending complete, stamp your chosen sentiment in Obsidian Pigment Ink in the center of the panel. For an extra touch, add gold metallic speckling using Gold Pearl.

7. Scoring and Folding Panels
Score your vellum and acetate pieces along the overhang at 4.25 inches. For the acetate, apply more pressure using the back of your tweezers to achieve a deeper score line. Reinforce the fold through your die-cutting machine without any added dies.
8. Assembling the Card Layers
Now it’s time to assemble your card layers! Start by adhering the flap of the vellum outline to the back of your rainbow ink-blended panel, ensuring that everything lines up correctly. Next, attach this assembled piece to the clear acetate sheet with the Whimsical Flower Vine die cut. Make sure the flaps align perfectly.
9. Finishing Touches
To complete your card, add three Satin Gold Sequins around the Whimsical Flower Vine image to enhance the overall design and elegance.

And there you have it—a beautifully layered card using the Whimsical Flower Vine die set and Build-A-Garden: Blooming Delight!
This technique of layering various elements creates a stunning aesthetic that is perfect for any occasion. I hope you enjoyed this tutorial and feel inspired to create your own stunning layered cards.
Don't forget to explore other combinations using different images on your vellum panels to add even more character to your designs!
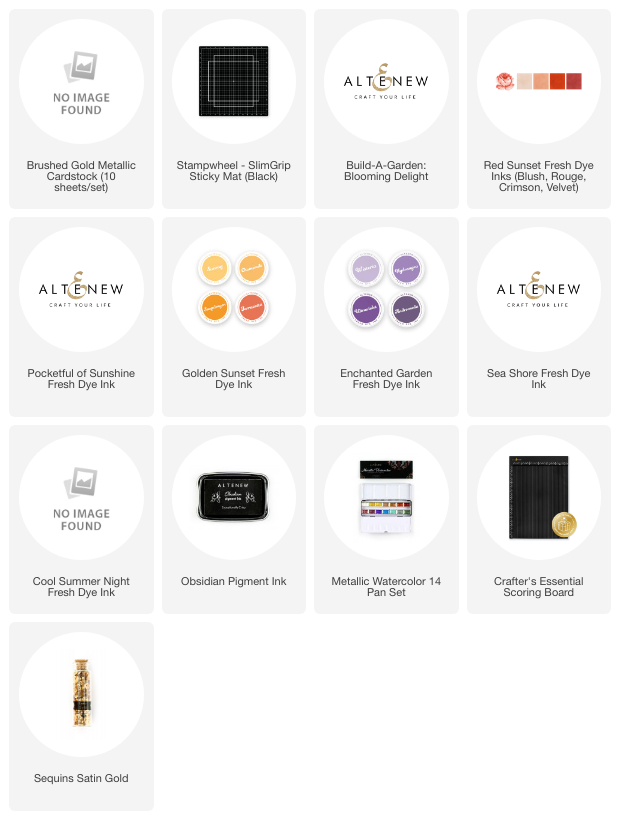
~Supply List~