Wax Seals, Shades of Pinks and Stencils | Six cards done fast!

Pretty in pinks!
Hi Altenew fans and friends! It's Erica back on the blog today with some ideas on how to use pinks of all shades for some quick cards.
Now, I'm usually a blue kind of gal, I love blue, but I have perhaps overused blues a bit in the last few months. Not that I think anyone can blame me with the gorgeous range of blues Altenew carry, but still, it was time for a new color and my next favorite color is pink!
The great thing about the range of products from Altenew is that there are not just inks. We have alcohol markers and inks, colored card stock, wax beads, sparkle and embellishments galore. We are going to use quite a few of these today, for some pinkalicious cards for all sorts of occasions. The layout and design of these can so easily be adapted for different occasions and the colour is super easy to swap out too, if for instance whoever you are making a card for loves yellow or purple.
One of the most fun ways, hands down, to add color to your projects has got to be ink blending. Whether you use layering stencils or a background stencil, it's so fun and you can easily mass produce lots for future uses.
Two of my favorite stencils from Altenew are the Dancing Drops Stencil and the Vintage Motifs Stencil. Both are so lovely!
Pink Perfection = Cherry Blossom inks
My favorite pink ink is the Cherry Blossom Fresh Dye Ink Bundle, it's pink perfection if you ask me. All the way from soft, soft pink to an intense deep pink. Gorgeous. I reach for these so often. I did add Magenta ink too, from the Bubblegum Dreams Fresh Dye Ink Bundle.
In the YouTube video I have only shown one background being ink blended, and then I have shown the rest of the panels I made and which products I used for them. For some shimmer and shine, I have used some Shimmer Relief Paste in Enchanted Gold, and I have also spritzed a little bit of Frosty Pink Metallic Shimmer Ink Spray as well as some gold watercolor from the Metallic Watercolor 14 Pan Set. Yes, even on the background made with the Shimmer Relief Paste. Can you ever have too much shimmer? The correct answer is no.
Wax Seals for Added Luxury (And Fun!)
If you are brand new to wax seals, you are in for a world of fun! It can be a bit addictive though, full disclosure.
There are a few things you need to get started, I will link them below so you can see, and the range of wax beads are stunning by the way. In this range there are some gorgeous pinks, but my favorite is the Cosmic Berry Wax Beads. It's such a rich, gorgeous pink and it looks FABULOUS when it's melted and sealed.
I normally melt mine for quite a while and then pour it onto my silicone mat, the one from Altenew is heat resistant so perfect for this sort of thing. While you have your supplies out, you might as well make one or five... you know, for practice, for future uses or just for the sheer joy of melting the wax and seeing the gorgeous results.
It's important that you pour your melted wax as quickly, but safely, as you can, and then place your wax seal in the middle of it gently. Press down to make sure the entire seal is covered, you will know you have enough wax if you can see a little bit around all sides of the seal itself. Then let it be right as it is, while it cools. You can always use another seal while you wait for the wax to cool down on your first and then alternate them.
Composition and layouts
So, this seems to be the stage where most of us get a bit stuck and start to second guess our choices. My top tip to overcome this is to puzzle your backgrounds, your embellishments and sentiments around. There is no need to commit to something right away, so take a step back, try a few things, take some pictures with your phone and then compare them. Weight your options and then decide.
I have finished the six cards differently, so that they are all unique. The things they have in common is first and foremost the gorgeous pinks, both pink card stock and inks, as well as pink sprays and wax seals. I really went for it with the pink, but would you believe it that I stopped before adding any bling?? And there are so many gorgeous pink Gem Sparkles too, if that's your jam. It's usually mine, but I am trying to slowly, slowly step outside of my box of crafting comforts. I suppose if I had really wanted to challenge myself, I would have picked orange, instead of pink but hey, baby steps, right?
Finished cards
The first finished card is made with the lightest color pink card stock, Pink Diamond, and I ink blended some darker shade of pink over it using the Cascading Elegance Background Stencil. On top of this I spritzed a little bit of that gorgeous Frosty Pink Metallic Shimmer Spray. Just a little, mind you.

To finish it off I have die cut some word die cuts out of the same pink cardstock, and some white, to spell out 'just for you'. These are from the Versatile Greetings 3 Comfort Editions. I finished it off with a wax seal with that gorgeous Cosmic Berry wax and the Gift Box Bow Wax Seal.

For the second card, I have gone for the next shade up of the pink cardstock, this one is called Puffy Heart, and I ink blended some Rubellite ink as well as some Bronze Pigment Ink over the Dancing Drops stencil.

This panel I trimmed down a little, to get that white frame around it once it was adhered to a card base. Before I did that thought, I wrapped some gold string around the panel for some interesting texture and detail.
I used the same Versatile Greetings 3 Comfort Editions, but this time with white card stock and Brushed Gold Metallic cardstock, for some shine.

The third card is made with the next shade up of pink cardstock, it's called Rubellite, and it's a fab shade of pink. On this one I used the Luminous Diamond Rings Stencil and Shimmer Relief Paste in Enchanted Gold. Once this was dry, I splattered some gold watercolor on top because obviously it wasn't shimmery enough!

On this I decided to use one of the wax seals I made with the Cosmic Berry wax beads and the A Gift For You Wax Seal Stamp. It's basically the sentiment for this card. I also cut two strips of Brushed Gold Metallic Cardstock and placed these on top of the panel and then the wax seal on top. Kind of to make it look like a present.

Next up are two cards made with the same stencil, the gorgeous Vintage Motifs stencil, and different shades of pink ink. The first is ink blended in a pink ombrè, and the second on is done in darker pinks but only two thirds of the panel.

The ombré one is very simple; it just has a 'thank you' die cut sentiment on it and a Cosmic Berry wax seal done with the Gift Box Bow seal. I ink blended the word part of the die cut a bit to add some more pink.

The other one is splattered with some more of that Frosty Pink Metallic Shimmer Ink Spray, a strip of pink cardstock, a wax seal done with the Soft Peonies Wax Seal Stamp.

On this one I left the top bit white, which I think helps the pink pattern stand out a little bit more. I also blocked it off with a strip of pink card stock, this is probably Puffy Heart cardstock, but I can't be 100% sure as I used some already cut strips I had on hand.

The sixth and final card, was a bit of a surprise one. I used the Dancing Drops stencil again, with some soft pink inks and some metallic gold watercolor splatters, some more strips of Brushed Gold Metallic card stock and A Gift For You Wax Seal Stamp done in Shimmer Gold Wax Beads.
I know shimmer and sparkle isn't everyone idea of fabulous, but I think it's great. It adds something so special and each card will be unique as you will never get two cards with the exact same splatter. Plus, this combo? White, pink and gold? I'm a fan.
Ok, so that's it for me for today but I hope you found this an inspiring post and like these cards. Please do let me know which one you like the best! Also, remember that all of these can be adapted color wise and occasion wise.
With love and light, creativity and sparkle, from your color loving gal, Erica.
Altenew Cyber Monday Sale Alert!
The Altenew Cyber Monday Deals are starting soon, running from December 1st through December 3rd!
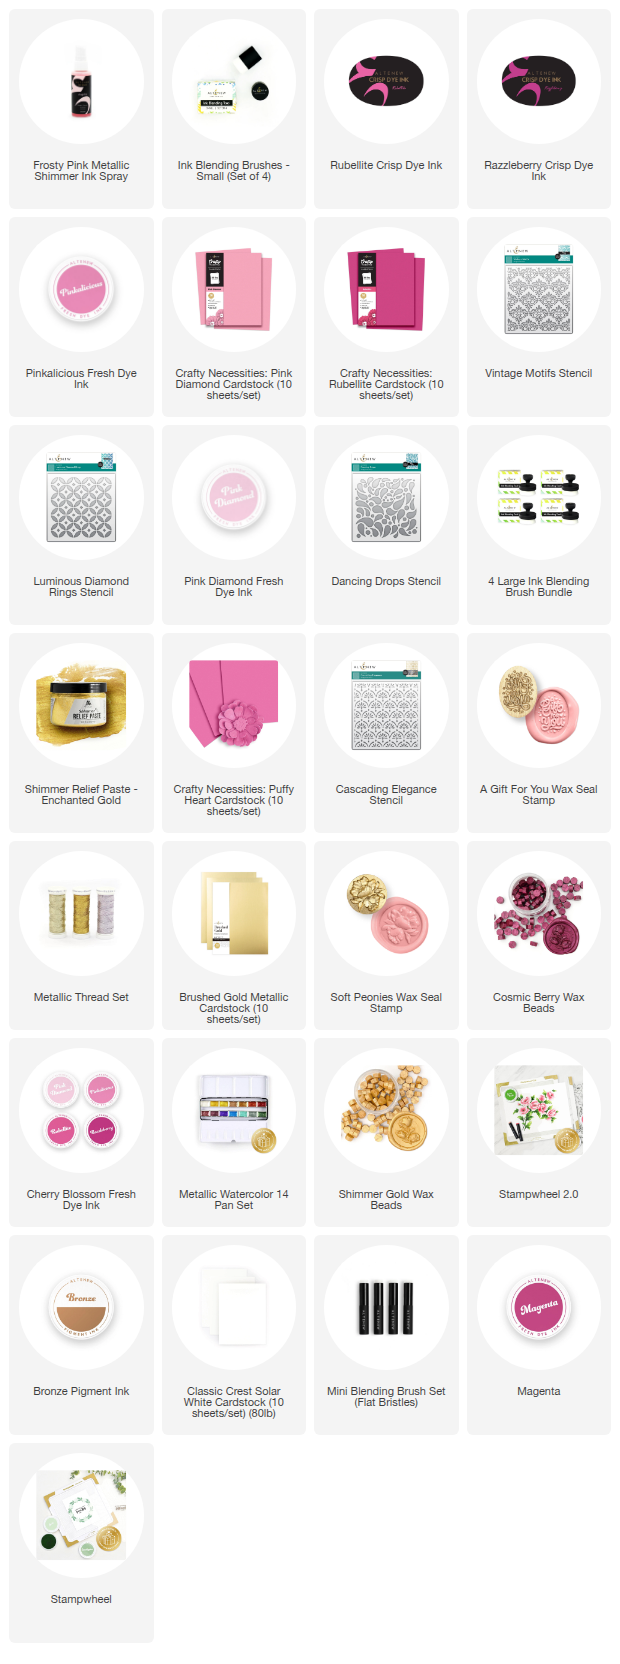
This is the perfect time to stock up on the crafting supplies we used today and more:
Up to 60% OFF Coloring Essentials
Up to 60% OFF 550+ Select Items (including many inks and papers!)
Up to 40% OFF Tools & Adhesives
Mark your calendars and click the link below to shop the sale starting December 1st!
Leave a Reply