

To the Moon + A Tutorial
Hi everyone! It's Jocelyn here. I have a card and a quick tutorial today.
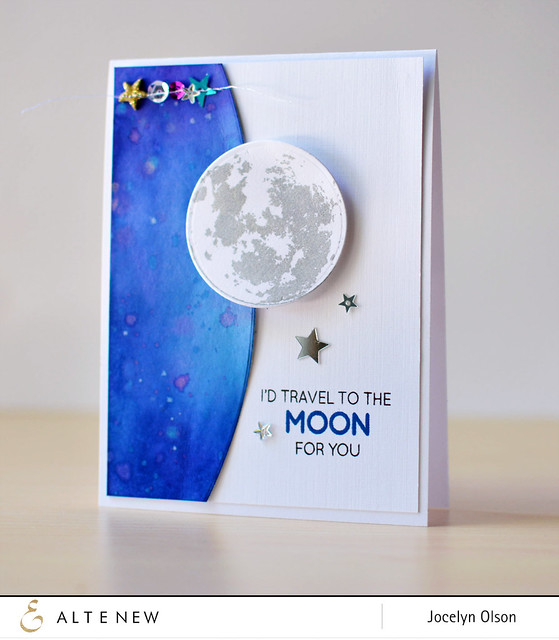
I used the To the Moon stamps–what a pretty set! To make this card, I started with the background. There are several ways to make a nighttime background, but here's how I made this one:

- Blend the center using a light blue. Don't worry about any uneven spots.
- Blend a darker blue from the outside toward the center. Lightly cover the lighter blue in the center.
- Use a violet ink and blend around the edges. At this point, you'll want to smooth out any uneven spots.
- Before the panel has dried, use a combination of spray mists and water to splatter on the card. Allow the panel to dry, or, if you're impatient like me, dry with a heat gun.
- Once the panel dries, splatter white and dark blue mists for add more dimension.

I had so much fun making the panel, I made three! I die-cut one of the panels for a little different design:

For the moon, I stamped one of the layers from the To the Moon set in silver ink. The sentiment is from the same set. I felt like the card needed a little something else, and I added sequins, a chipboard star, and resin stars. Here's a close-up of the moon:

Thanks so much for stopping by!