The Eclipse Technique: Adding Interest to Clean & Simple Cards
Hello there, Michelle here with another edition of Terrific Tags with Michelle. Today I have a fun technique to share - the eclipse technique. This is one of my favorite techniques to add interest to clean and simple cards.
I am using a tag shape for my eclipse today, but this can be any shape or even a word die! The idea of the eclipse is that you can both see it and cannot see it at the same time. So fun!

Creating the Base Layer
I started off my card by taking a 4.25" x 5.5" panel of white cardstock and stamped one of the floral images from the Twin Blooms Stamp Set on top using Obsidian Pigment Ink and the Stampwheel.
I then placed the Twin Blooms Layering Stencils on top, one by one, to add color to the image with ink blending.
Using a Mini Ink Blending Brush, I added Fresh Dye Inks in the following colors:
- Bubblegum Dreams (Baby Pink, Fuchsia & Magenta) for the flower petals.
- Golden Sunset (Sunray, Chamomile & Snapdragon) for the flower center.
- Green Valley (Firefly & Grass Field) for the leaves.

The Eclipse Technique
For the eclipse technqiue, I took the largest top layer die from the Ornate Tags Die Set and placed it on top of the panel. I held it down with low-tack tape and ran it through my die cutting machine.
I then carefully removed the postive piece (the tag itself) but made sure to keep all the negative pieces (the bits around the tag) safe.
I adhered the main negative piece (that surrounds the tag) onto a white A2 sized card base using Glue Tape.

I then die cut the same Ornate Tag Die four times from white cardstock. I placed one inside the negative on the card. I then adhered all the tiny little bits of the negative back in. My Perfect Picker really helped with picky up all the tiny bits at the top of the tag!
I adhered the plain white tags on top of the other one, one by one, to add diemension. This helps with the eclipse look, but can be created with foam tape also. I then adhered the stamped one on top, lining up the image on the tag with the rest of the image on the card. This creates the eclipse.
The idea of the eclipse is that you can see it but you can't see it at the same time! Kind of like an illusion! It is based on a solar eclipse, where the moon covers up the sun but you can stilll see the edges of the sun around it.
It is a fun technqiue and an easy way to add interest to clean and simple cards.

The Finishing Touches
I finished off the card by stamping a sentiment from Twin Blooms Stamp Set onto Crafty Necessities: Jet Black Cardstock using Embossing Ink. I applied Pure White Crisp Embossing Powder and heat set.
It was cut into a strip and adhered to the card with Instant Dimension Foam Tape. To finish, I embellished the card with Stellar Sequins - Clear Iridescent.
Video Tutorial:
I hope I have inspired you to try using the eclipse technique. I used an intricate die for my design today but as mentioned above, you can use any shape for this, even a simpel rectangle looks great! You can watch the video tutorial below or over on YouTube.
Thank you so much for stopping by today, I hope you have a wonderful day!
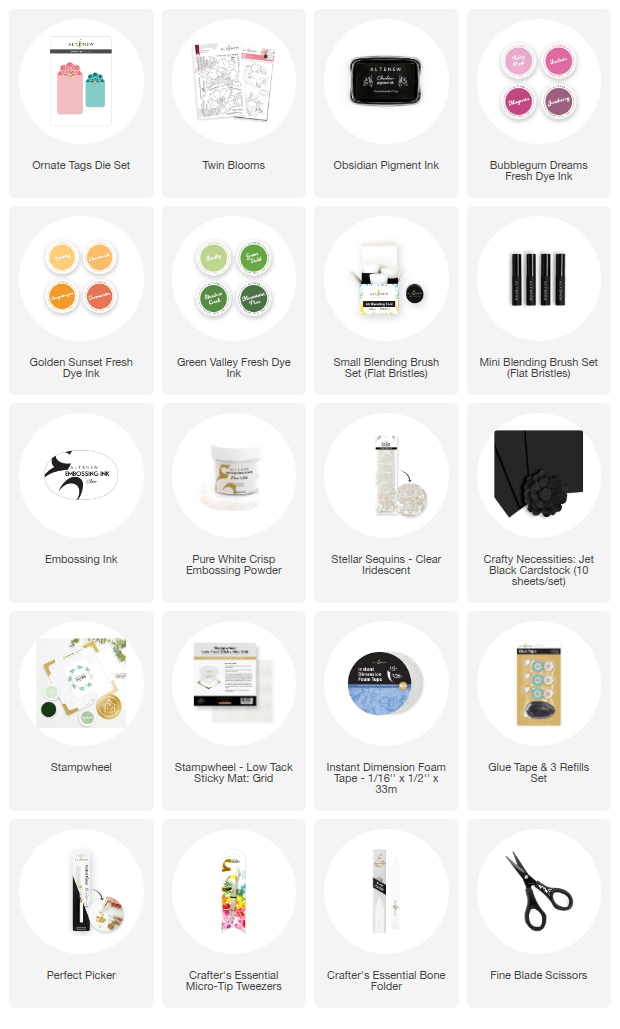
SUPPLY LIST