Stretch Your Stamps - Two Looks With One Set + Video Tutorial

Today, we’ll be diving into some fun ink blending techniques to achieve both bold and bright, as well as soft and subtle styles. Whether you’re feeling dramatic or dreamy, you’ll find inspiration here!
Hello and welcome back to Inking It Up with Mindy! Today, I’m showing you just how versatile one stamp set can be—by creating two completely different looks using the same set and even the same colors! I’ll be walking you through everything step by step in the video tutorial, from ink blending techniques to final touches.
Today, I'll be using the Build A Garden: Captivating Floral Swag for both sets of cards. For the first set, I’m going with beautiful, bright colors to really make the florals pop. I’m also using a fun inking technique that combines two colors on each flower, adding extra depth and interest to the stamped images.
The Captivating Floral Swag is a beautiful, large stamp that's incredibly versatile. It can easily fill an entire A2 card front, be split in half to create two separate cards, or even stretched across a 5"x7" card for a bold floral statement. Its size and design make it perfect for experimenting with different layouts and inking techniques.

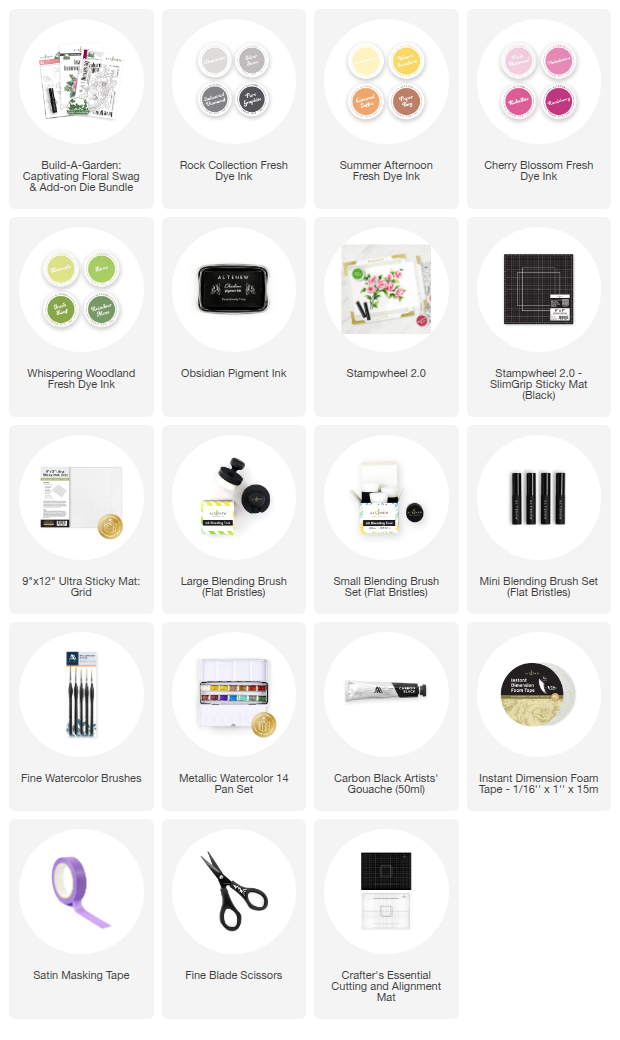
SUPPLIES
For the second set of cards, I used the exact same color combination, but with a softer approach. This time, I blended ink only into the flowers and left the leaves as the white of the cardstock. It creates a light, airy feel and really lets the florals shine without overwhelming the design. It’s a simple tweak that gives the stamp set a completely different look!
On the original set of cards, I added a touch of shimmer with metallic watercolor splatters, which really complemented the bright, vibrant colors. For the second set, I went in a different direction and used black gouache for the splatter, adding a bit of contrast and a more modern, graphic feel. It’s a small detail, but it makes a big impact on the overall look of each card.

SUPPLIES
Be sure to check out the video tutorial HERE to see exactly how these cards came together, step by step! I’m also sharing some of my favorite tips and tricks along the way to help you get the most out of your stamps and inks.
Leave a Reply