One-Layer Floral Background Card With Build-A-Garden: Posh Petals

Hi everyone, Aga here today! A one-layer floral background card is one of my absolute favorite designs. They are clean, elegant, and allow the florals to truly shine. There is something so satisfying about building depth and detail on a single layer while keeping the card beautifully flat and easy to mail.
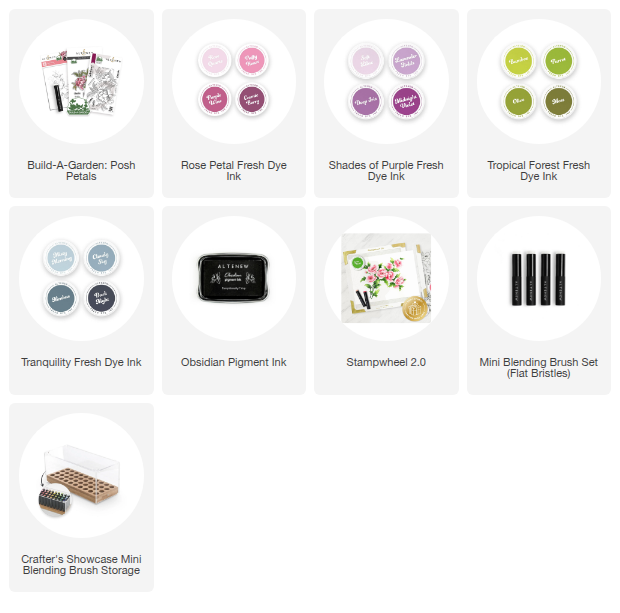
For today’s project, I am featuring the gorgeous Build-A-Garden: Posh Petals bundle for this floral background card. The beautiful floral arrangement with arching leaves and intricate ornamental details is perfect for adding timeless elegance to your projects.
I used it to create a seamless background, and I love how effortlessly they fill the entire card front of the floral background card with lush, layered blooms. I hope you have a chance to try out this technique and experiment with different ways to make stunning floral background cards of your own. Remember, just because they're one layer, doesn't mean they have to look flat or dull! Trust in the power of gorgeous stamps and ink blending!

How To Create One Layer Floral Background Card With Build-A-Garden: Posh Petals
To create my floral pattern, I used the Stampwheel 2.0 and stamped the floral arrangement with Obsidian Pigment Ink onto white cardstock panel. Using a stamping tool like this makes it so much easier to achieve a crisp impression and restamp if needed.

To add color to the stamped background, I used the coordinating layering stencil set, which includes four stencils designed to perfectly align with the Build-A-Garden: Posh Petals stamp set.
For each layer of this floral background card, I used more than one color to add depth, dimension, and a soft blended look. Mixing shades within each layer helps create a more natural and realistic result.

Ink Colors for Your Floral Background Card
For the flowers, I blended Bamboo, Purple Wine, and Deep Iris Fresh Dye Inks. For the leaves, I used Olive, Moss, and Cloudy Sky. Combining these shades gave the background a rich, vibrant feel while keeping the overall design elegant and harmonious.

I trimmed the panel and attached it to my floral background card base. At this point, I did not have a plan for the sentiment yet, but as I looked at the finished background, I noticed the perfect spot between the stamped images. That little open space felt just right, so I stamped the HELLO sentiment there to complete the design.

There You Have It! Ready to Make Your Own Floral Background Card?
Sometimes the best placement decisions happen naturally once the background is finished, and I love how the sentiment nestles perfectly among the florals without overpowering them.
That’s it from me for today. I hope you feel inspired to create your own one-layer floral background card. It is such a fun way to build a detailed design while keeping your card clean and elegant.
Thank you so much for stopping by, and happy crafting!
Don't Miss This Deal on Floral Stamps!
Before you go and create your own floral background card, you might want to take a look at this fun Altenew promo starting tomorrow!
Save up to 40% OFF on the floral stamps collection from March 10, 2026, at 12:01 AM EST until March 12, 2026, at 11:59 PM EST. SHOP HERE or click the image below!

Supply List for Today's Floral Background Card
2 Comments
This is a total “WOW”!!! A 15/10!!!
Your card is so beautiful; truly elegant. Your ink color choices and stenciling/blending with them really bring this fine detailed stamp image to life. Love it!!
Leave a Reply