It's All About Enamel Dots!
Hi Altenew friends and fans, it's your embellishment crazy gal back on the Altenew blog and YouTube channel. That would be Erica, just in case it wasn't obvious to you. I am somewhat of an over-embellisher, I LOVE adding details with embellishments, and today we are going to focus on enamel dots. I feel like enamel dots take a bit of a backseat to Gem Sparkles and Stellar Sequins, despite being the OG embellishments from Altenew.

So, what can you do with the humble enamel dot? Quite a lot, if you ask me. I will share a few techniques and how to embellish your cards with these little cuties. If you get a chance to watch the YouTube video, I will also share a tip on how to decide on placing of the enamel dots, before committing to actually sticking them down on your project.
Enamel dots, happy little pops of colour

I have skipped the actual card making process for these cards, as that's not what the focus is for this post. I hope you don't mind for now, but if you would like to see the process, please do let me know and I will make a note of it for a future post.
Perfect colour matched products
One of the things Altenew has down absolutely pat, and one of my favorite things about this wonderful company, is how perfectly the colored cardstock, the inks and enamel dots match. If this is your jam, you are 100% in the right spot.
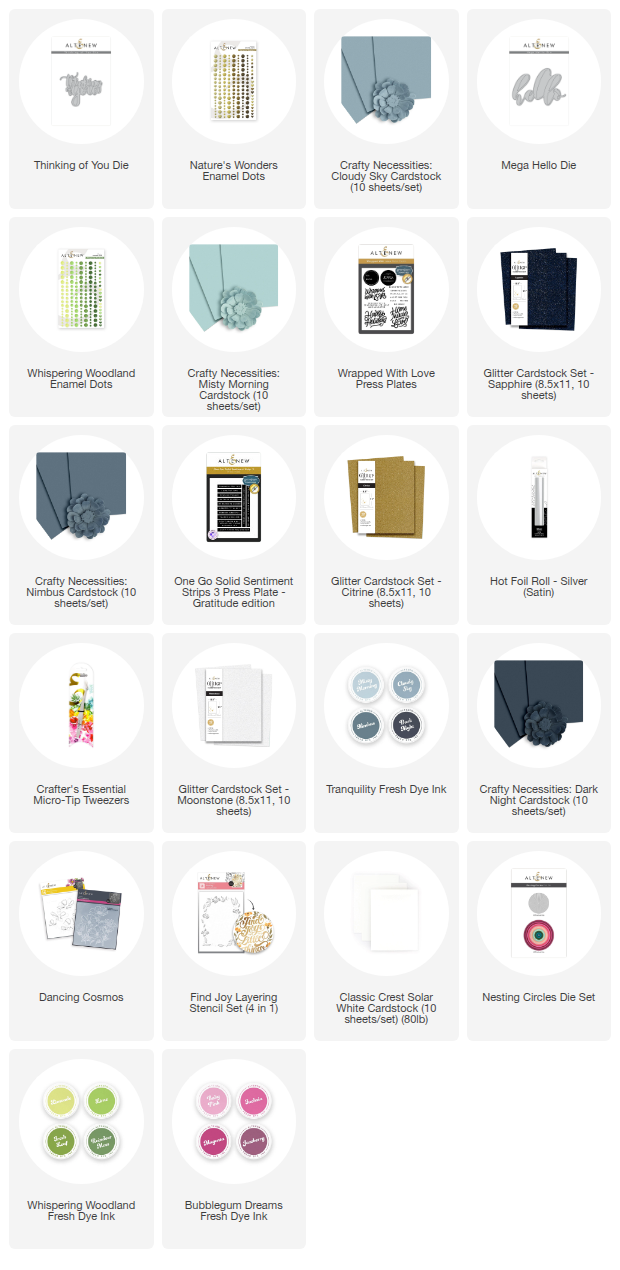
Take the gorgeous Tranquility family for instance. You have the Fresh Dye Ink bundle, the coordinating Crafty Necessities Colored Cardstock and the lovely enamel dots.
I fell in love with the Tranquility ink colors as soon as I saw them, however today we are not going to use them. I had a fun idea to use the coordinating Crafty Necessities Cardstock and the enamel dots. I also used the Nesting Circles die cuts and cut out a whole bunch of circles, puzzled and layered them in different patterns to create four different cards. I wanted them to be different as well as the placement of the enamel dots on them, to show different looks you can get.

My favorite out of the four is probably the one below, maybe because of the pattern I chose for it, or maybe because it so seamlessly goes from card stock to enamel dots.

On this card I have used three different sized enamel dots to carry on the pattern of the circles, but they are all the same color rather than mixing and matching them.
I also love how the Thinking of You Die cut stands out, with that beautiful Glitter Cardstock in Moonstone.
The next card is probably my least favorite of the four. I can't quite put my finger on the 'why' though. It might be that the background is just a bit too busy, with that Mega Hello die cut? Funnily enough, seeing as I have a bit of a problem with lots of white space, on this one I think there isn't enough and it might have helped the circles and the enamel dots pop a bit more.

It's funny the things you notice along the way, things you thought would work and not in your head vs what actually works on the card.
The next card is an example of exactly that. I thought it would look fab with just the layered circles on the card, a little sentiment and then enamel dots. However, as I was puzzling it together, it was lacking something... I decided to try something that could honestly go either fabulously well or spectacularly wrong: I drew a line from the top of the card down to the top of the circles, like a string on an ornament. I used the Permanent Marker in Silver for this, to coordinate with the Satin Silver hot foiled sentiment from the Wrapped With Love set.

Along the silver line, the part that went over the circles, I placed enamel dots in a straight line. Two of each size, and then in the middle of the 'bauble' I placed a die cut bow. This is from the Elegant Bows set, it has a 3D Embossing Folder as well as coordinating layering stencils and die cuts. I used the embossing folder with Glitter Cardstock in Sapphire, and then die cut them out.
The final card feels very retro! I used more of the smaller circles, and lots of enamel dots, to create a fun background. Sentiment wise it's fairly simple: A heat embossed 'hugs' that's been diecut out, stacked and then framed with a rectangular frame cut out of Glitter Cardstock in Citrine.

Enamel dots for extra texture
The next card is one of those 5-minute ideas that are perfect for when you need to get a card done in as little time as possible!
The background is done by swiping a mini ink cube directly across a card base, to add color. I have used Misty Harbor but pick one a color you have the coordinating enamel dots for.
On top of the color, splatter some metallic watercolor for extra shimmer! I used Enchanted Gold from the Metallic Watercolor 14 Pan Set.
Add a sentiment, whether it's stamped, or die cut, that's your choice. I went with one from the Stylish Greetings Die Set, cut out of white cardstock and Glitter Cardstock in Citrine.
The final touch is to add some enamel dots to bring the focus in towards the sentiment.

Mixing Enamel Dots for Extra Impact
The next card is a bit of a love note to two of my favorite Fresh Dye Ink bundles. The Bubblegum Dreams and Whispering Woodland. They each have coordinating enamel dots too!

I love a 3D embossing folder and the Dancing Cosmos is beautiful! It has coordinating layering stencils, and I used those to add pops of pinks and greens to the embossed image. Once the flowers had their colors added it was time for a sentiment, I used one from the Build-A-Garden: Climbing Clematis, and finally a touch of enamel dots!

Enamel Dot Placing Top Tip!
Here I have mixed and matched, not only sizes, but colors as well! Before settling on the placement of the enamel dots I wanted to try a few combinations, and the way to do this without risking your project is to use a sheet of acetate. Place the colors, sizes or the groupings you want to try on the acetate and then hold it over your card to see whether you like it or not. This is a top tip when it comes to placements as the enamel dots have sticky backs so once they are on your card, it can be very tricky and difficult to move them without ripping.
If you head on over to the YouTube video there will be yet another project there too, but I figured I have kept you long enough. Hopefully you have found this post eye opening to the many uses of enamel dots, and I hope you will get a chance to enjoy the video too!
With love and light, sparkle and creativity from your embellishments-crazy gal Erica
Don't Miss This!

Save UP TO 50% OFF a wide selection of Stamps and Bundles across the store! It’s the perfect time to stock up on your favorites.
Please note: Exclusions apply