Inking on Dark Cardstock: A Creative Twist for Embossed Panels | Video Tutorial

Looking for a creative way to use your embossing folders—especially on dark cardstock? In today’s blog post and video tutorial, I’m sharing three vibrant card panels made with one embossing folder and a few clever inking tricks. If you love dry embossing, layering inks, and adding bold texture to your handmade cards—this one’s for you!

Hi friends! Erum Tasneem here, and I’ve got some fun inking techniques to share using the Magnolia Dreams 3D Embossing Folder. The secret? A layer of white pigment ink that lets dye inks pop beautifully on dark backgrounds. Each background has a different finish, and you can embellish them using die-cuts or florals already in your stash!

Emboss Technique Overview
We'll use:
Dry embossing for rich texture
Pigment + dye inks to add vibrant color to dark cardstock
Alcohol markers for subtle background enhancement
Simple layering with florals, tags, and die-cuts to finish each card
VIDEO: Emboss & Get Inky! Easy Technique That You will LOVE!
Watch the video tutorial below or CLICK HERE to learn more about this cardmaking technique! Or read step-by-step instructions after the video.
Panel 1: Bold Background with Soft Emboss Pattern

Emboss three (3) 4 1/4" x 5 1/2" Rubellite Cardstock panels using the Magnolia Dreams 3D Embossing Folder.
Apply Cloud White Pigment Ink to raised areas using a foam dauber.
Dry thoroughly using a heat tool.
Gently swipe Tangerine Dream Fresh Dye Ink across the embossed surface.
Dry again and, optionally, darken the background using Rubellite and Pinkalicious Alcohol Markers.
Trim the panel and mount it on Caramel Toffee Cardstock.
Add the Fancy Hugs Die cut from Bronzite Glitter Cardstock, part of the Sunrise Glitter Cardstock Set.
Adhere Red Jasper Gem Sparkles.

Panel 2: Soft White Emboss Glow & Warm Overlay

- Swipe the Cloud White Pigment Ink pad directly across the embossed panel.
Let it dry thoroughly (this may take longer).
Swipe Tanngerine Dream Fresh Dye Ink across the raised areas.
Add soft Cherry Sweet Fresh Dye Ink to edges for depth.
-
Decorate using flowers from the Sweet Apricots + Cute Open Rose Dies and a sentiment tag from the Best Wishes Tag Die Set.
To ink the flowers, I used Tangerine Dream and Fresh Lemon Fresh Dye Inks and applied them to the center of the flower.
The leaves were from the Cute Open Rose; for this, I use Lettuce Celebrate Fresh Dye Ink.
I also added Titanium White Gouache to the card front.
Embellish with Champagne Sequins.

Tip: If your pigment ink is too wet, try drying the panel overnight. Also, experiment with other cardstock colors for unexpected results!
Panel 3: Color Layering Magic

Repeat the dauber + ink method from Panel 1.
Add Tangerine Dream, dry the panel, and then swipe on Tickled Pink Fresh Dye Ink for extra richness.
Finish the card with Sweet Apricots die-cuts, inked with Fresh Lemon + Tangerine Dream .
Layer leaves using Fresh Lemon + Lettuce Celebrate for contrast.
Added some Titanium White Gouache to the leaves and the background.
Adhere Citrine Gem Sparkles for some sparkle and shine.

The key takeaway? Don’t shy away from bold cardstock! Using white pigment ink as a base lets you bring out dye inks on even the deepest colors. It’s such a fun way to get more from both your inks and embossing folders. I hope this inspires you to experiment — layer, blend, and play until you find a look you love. Sometimes it’s not about finishing a full card, but about discovering something new along the way.

Thanks so much for stopping by! Happy crafting!
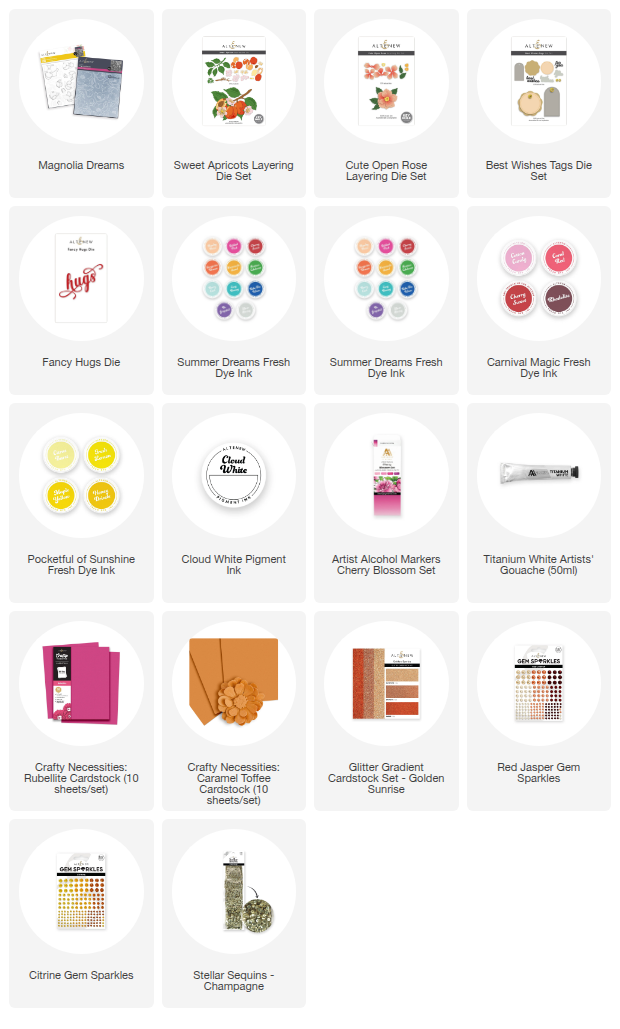
SUPPLY LIST
Leave a Reply