Ink Blended Botanicals on Colored Cardstock | Video Tutorial
by Erum Tasneem May 5, 2025

Do you ever wonder how to achieve a beautiful, ink-blended, vintage botanical-looking project that doesn't take you hours to create? Well, I have got you covered. Hi there, everyone! Welcome to Creative Coloring with Erum. Today’s card is so gorgeous and SO easy to make—you’ll want to mass produce it in different colors and styles. Let’s get started!

Stamping on Colored Cardstock
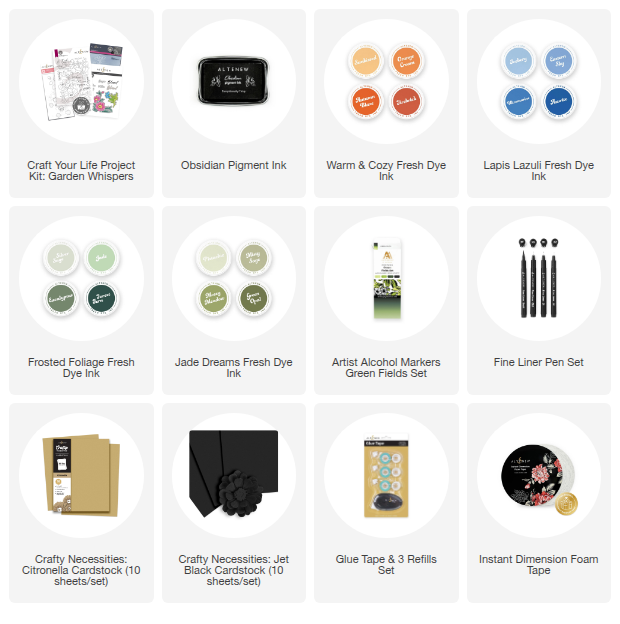
- Start with Altenew’s Citronella Cardstock as your base. I used the Craft Your Life Project Kit: Garden Whispers and stamped the two large floral images in Obsidian Pigment Ink.
Tip: If you're planning to create multiple cards, cover the whole sheet with images and remember to keep an extra panel of Citronella for your background.
- Use a heat tool to make sure your stamping is completely dry before inking.

Ink Blending the Flowers
Stencil 1:
- For the larger flower: apply Sunkissed Fresh Dye Ink, keeping the petal tips light.
- Add Orange Cream Fresh Dye Ink at the base of the petals.
- For the smaller flower: cover the entire petal area with Ultramarine Fresh Dye Ink, then deepen the base with Azurite Fresh Dye Ink.
Stencil 2:
- Add depth to the flower centers using the same ink colors as above, concentrating pigment at the base.

Blending the Leaves
- Start with Forest Fern Fresh Dye Ink at the base of the leaves.
- Blend Mossy Meadow Fresh Dye Ink toward the tips.
Detailed Layer (Stencil 3):
- Use the same colors (Forest Fern and Mossy Meadow) with a heavier hand.
- Deepen with Green Opal and Forest Fern Fresh Dye Inks to add darker accents.

Finishing Touches
- Use a Jet Black Artist Alcohol Marker (bullet tip) to color the stamens.
- Add white dots with a gel pen.
- Then, using a Fine Liner Pen (size 1 or 2), add dot details in varying sizes to give it that vintage botanical flair.
This pen detailing elevates your work and gives your card a one-of-a-kind look. I also added some white gel pen detail once I assembled the card.

Die-Cutting & Card Assembly
- Use the coordinating dies to cut out the floral images.
- Arrange them on a 4¼” x 5½” Citronella Cardstock panel.
- Temporarily adhere with Glue Tape, trim excess, then permanently adhere with Instant Dimension Foam Tape.
- Tuck in and adhere leftover cut pieces to cover the entire card front.
Finish with a sentiment of your choice. (This part took me a while—trial and error until it looked just right!)
Video: Ink Blended Vintage Botanicals | Stamping + Stenciling on Colored Cardstock
You can watch how I created my vintage botanical-inspired card on the Altenew YouTube channel by clicking THIS LINK or the photo below!

I hope this tutorial inspired you to try ink blending on colored cardstock for a vintage botanical look! It’s such a simple technique with striking results—and that pen detail really takes it to the next level. If you give this a try, be sure to tag me or Altenew so we can see your beautiful creations. I’d love to know if you have ever added pen details to your stenciled images. Or tried ink blending on colored cardstock to completely change the vibe of your project? Let’s chat in the comments! Thanks so much for stopping by, and happy crafting!
~SUPPLIES~