How to Use Alcohol Ink Backgrounds to Make 2 Different Cards | Take 2 with Therese (with Video Tutorial!)
by Therese Calvird August 17, 2022

Hi, it's Therese, and I am back with another edition of Take 2 with Therese.
Today's post is about creating two fun cards using an Alcohol Ink background!
 How to Make 2 Cards Using Alcohol Ink Background
If you own Artist Markers, then you probably already have some Alcohol Ink Refills on hand!
These backgrounds are so fun to create and just a little addictive too. I did take it one step further and added a little foiling, and you can see how easy that was to do in the video linked below.
Idea # 1 – Masculine Design – Die-Cutting
 Die cutting is a fabulous way to use these backgrounds, and it doesn't have to be letters!
How about die cutting a ‘Craft-A-Flower' image? How gorgeous would that be?
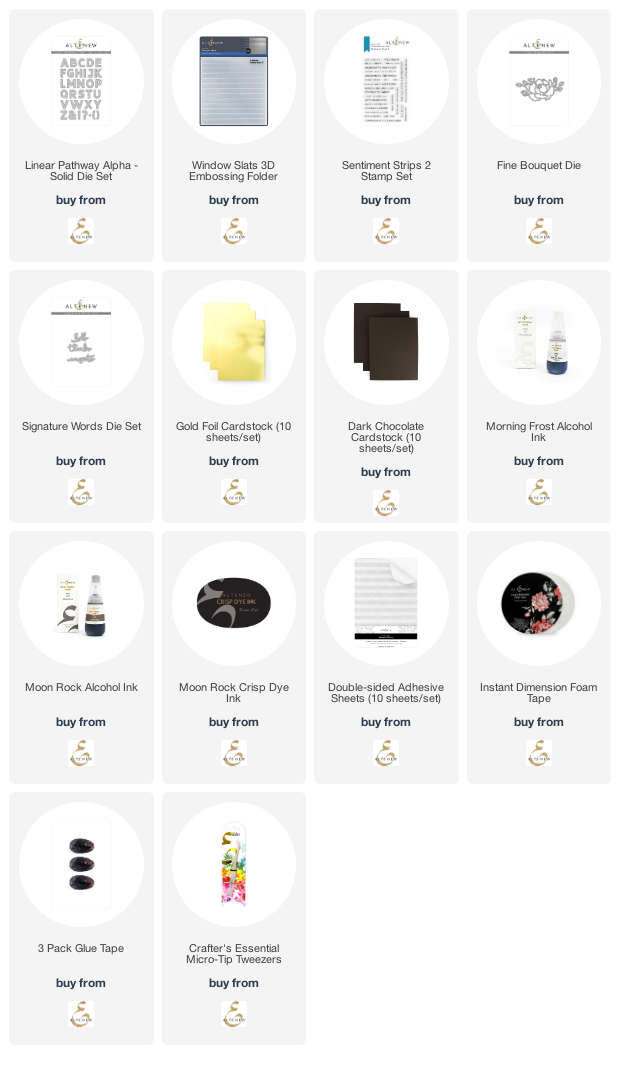
 This card is very clean and simple, so I thought it would be great to add an embossed background. I used the Window Slats 3D Embossing Folder and finished it off with a quirky sentiment from the Sentiments Strips 2 Stamp Set.

Idea # 2 – Feminine Design – Background Panel
 For my second design, I decided to use a piece of the alcohol ink background as a feature panel, which I popped up on the front of the card.
 I added a beautiful Gold Foil flower from the Fine Bouquet Die. And this time, I added a sentiment from the Signature Words Set die cut from some Dark Chocolate Cardstock.
 You can see my video here or watch it in HD on YouTube.
SUPPLIES USED: