Mixed Media Floral Card with Press Plates + Relief Paste
by Nicki Baxley May 31, 2026

Key Takeaways
Core Project: A dramatic, textured mixed media floral card featuring the Altenew Grand Dahlia Die Set.
Background Technique: Crafted an artistic, soft-focus background using a watercolor wash of Altenew Glacier Iris ink combined with a subtle Making Moments press plate impression.
Floral Coloring: Built deep shadows and seamless blending on the main floral layers using alcohol markers.
Adding Texture: Applied Altenew white relief paste over the colored petals to create a striking, raised contrast against the smooth marker coloring.
Key Design Principle: Balancing soft, watery background layers with bold, highly tactile dimensional elements to create an elegant, eye-catching card.
Today, I’m sharing a step-by-step tutorial for creating a dramatic mixed media floral card featuring the beautiful Craft-A-Flower: Grand Dahlia Layering Die Set. By combining layered textures, elegant press plate details, and white relief paste, you can achieve an incredible amount of dimension and movement on your handmade cards.
For this paper crafting project, I wanted to take a slightly different approach with my press plate background. Instead of creating a perfectly crisp and clean impression, I opted for a softer, more artistic mixed media feel. By introducing a little water and layered texture, the background transforms into a stunning work of art while still allowing the focal florals to remain the absolute star of the card.

How to Create a Textured Mixed Media Background
I started by creating the foundation of the background using high-quality watercolor paper. First, I applied a light watercolor wash across the surface using Glacier Iris Fresh Dye Ink to establish a soft, dreamy color palette.
Once the watercolor wash dried completely, I brought in the Making Moments Press Plate. Using strategic ink blending over the plate, I created a soft impression and a subtle, distressed word effect on the background piece. This technique creates an incredibly elegant foundation and adds sophisticated visual interest behind our oversized floral focal point.

Bringing the Florals to Life
The Craft-A-Flower: Grand Dahlia Layering Die Set flowers are definitely the focal point of this mixed media floral card, so I spent extra time building up the details on the petals to make them pop.
Step 1: Alcohol Marker Coloring
I started by using alcohol markers to color the die-cut pieces. This allowed me to create soft, seamless blending and establish deep shadows throughout the various flower layers.
Step 2: Adding White Relief Paste for Dimension
Once the alcohol marker coloring was complete, I added White Relief Paste over select portions of the petals to give them an extra boost of texture and dimension.
I absolutely love the combination of smooth alcohol marker coloring paired with the raised, tactile texture from the relief paste. It creates such a dramatic look in person and really helps the florals stand out beautifully against the artistic mixed media background.

Final Thoughts on Mixed Media Cardmaking
This card ended up being one of those projects where all of the little layers and textures work together harmoniously to create something truly bold and elegant. Between the artistic press plate background, soft mixed media details, dimensional die-cut florals, and tactile relief paste texture, there is so much visual interest packed into one single card layout.
If you enjoy adding texture, depth, and dimension to your handmade floral cards, I think you’ll have a lot of fun experimenting with these mixed media techniques in your craft room!
Video Tutorial: Step-by-Step Mixed Media Floral Card
Watch the video tutorial below to learn more about this advanced cardmaking technique! Be sure to watch the full video for all of the step-by-step details, tips on handling relief paste, and to see how everything beautifully comes together from start to finish.

Happy Crafting!
Nicki 💙
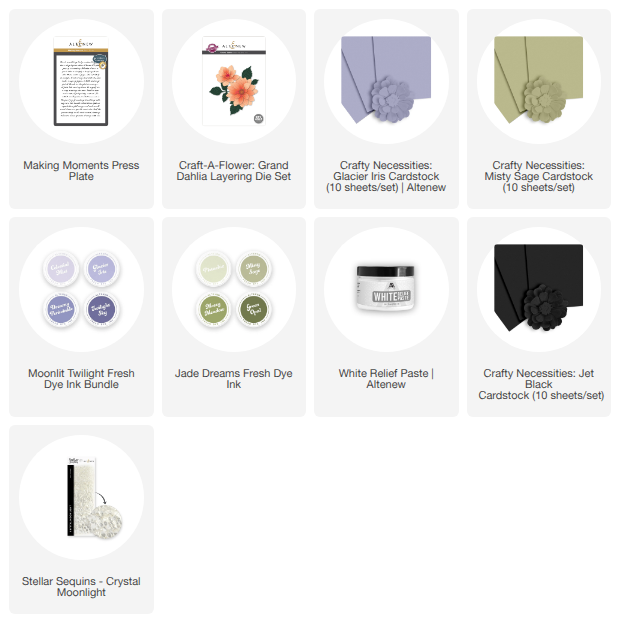
SUPPLY LIST