Heritage Chevron Weaves Stencil – 1 Stencil, 2 Stunning Looks!
Hello Altenew friends! Hannelie here today and I am super excited about the two cards I'm sharing with you today, using the Heritage Chevron Weaves Stencil!

Every time I reach out to use one of my background stencils, I realize that background stencils are one of the most versatile tools in any card maker’s collection. With just one stencil, you can create endless looks using different techniques—ink blending, texture paste, water coloring or even shifting and rotating, they’re affordable, easy to store, and work beautifully with a wide range of styles, from clean and simple to richly layered. Whether you're making a subtle backdrop or a bold focal point, background stencils let you stretch your creativity without breaking the bank.
Take a look at the two cards I made, can you believe I used the Heritage Chevron Stencil on both, and achieved two completely different looks!

- For the first card, the birthday card, I used the Heritage Chevron Weaves stencil with Shimmer Relief Paste, rotating the design from horizontal to vertical to create a striking textured background for my floral focal point. To maintain a clean and simple look, I masked off an area to preserve some white space.
- For the second card, the friendship card, I used the Heritage Chevron Weaves stencil to create a layered, more intricate background—while still keeping the overall design clean and simple. I blended two shades of yellow fresh dye ink from the same color family, starting with the lighter tone. Then, I shifted the stencil slightly to the side and applied the darker shade, creating a fresh geometric pattern with added depth and interest.
To make today's cards, you will need:
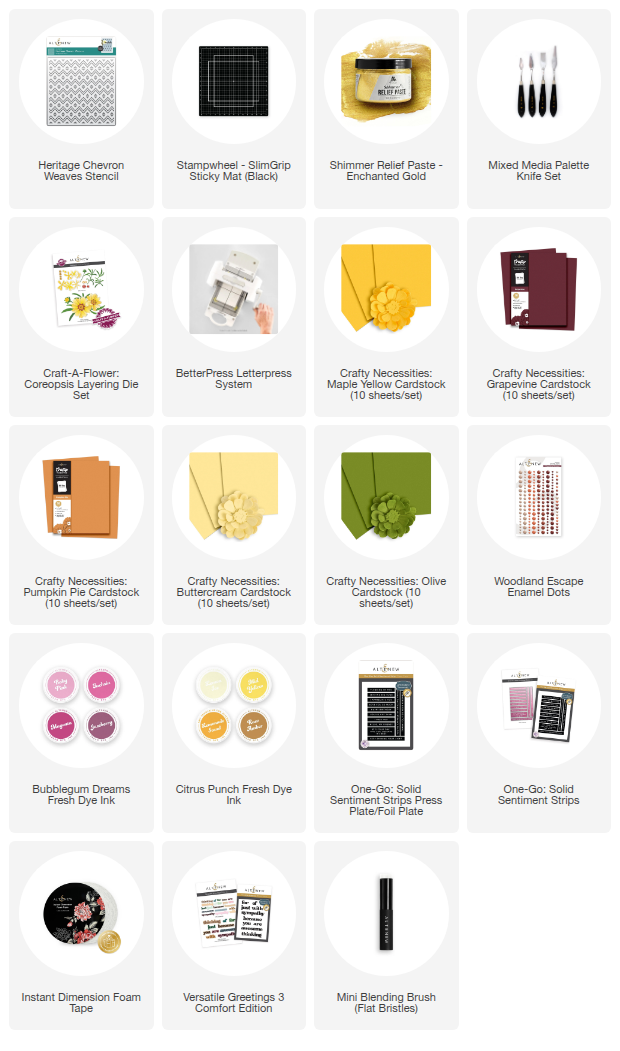
- Heritage Chevron Weaves stencil
- White card stock
- Die cutting machine
- Circle mask for the first card, and rectangle mask for the second card. (You can create your own masks using a circle or rectangle die or simply use a pre-made one from a craft store.)
- Betterpress Letterpress System
- SlimGrip Sticky Mat (Black)
- Enchanted Gold Shimmer Relief Paste
- Mixed Media Palette Knife
- Craft-A-Flower: Coreopsis Layering Die Set
- Maple Yellow, Grapevine, Pumpkin Pie, Buttercream, Olive card stocks
- Woodland Escape Enamel Dots
- Jazzberry, Mid yellow and Raw Amber Fresh Dye Ink
- Mini Blending brushes
- One-Go: Solid Sentiment Strips Press Plate/Foil Plate and Die
- Instant dimension Foam Tape
- Versatile Greetings 3 Comfort Edition
- Optional: Repositionable adhesive spray for stencils

Step by step instructions to make the birthday card:
- Trim and fold a piece of white cardstock to create an A2-size card (4.25″ x 5.5″).
- Secure the card base onto a sticky mat. Position the circle mask and the Heritage Chevron Weaves stencil over the card.
Using a palette knife, apply Enchanted Gold Shimmer Relief Paste evenly over the stencil.
Carefully remove both the stencil and the mask, then set the card aside to allow the paste to dry completely. - While the background dries, die cut all the floral elements using the cardstock colors listed above.
- Follow the keyhole guide system to layer and assemble the pieces accurately.
- Use the BetterPress Letterpress System and coordinating press plate to create the sentiments.
- Cut out all the sentiments in the set using the matching die. These extras are perfect to keep on hand for future projects—you’ll also be using one for the second card in today’s set!
- Once the Shimmer Relief Paste is completely dry, adhere the assembled floral focal point and leaves to the card front using Instant Dimension Foam Tape for added depth.
- Embellish the card with enamel dots to complete the design.
Take a look at the completed card:

Here's a close up of the amazing texture and shimmer achieved by using Enchanted Gold Shimmer Relief Paste:

Step by step instructions to make the friendship card:
- Trim and fold a piece of white cardstock to create an A2-size card (4.25″ x 5.5″).
- Secure the card base onto a sticky mat. Position the rectangle mask and the Heritage Chevron Weaves stencil over the card.
- Using a blending brush, apply the lighter shade of yellow ink over the stencil.
- Then, shift the stencil slightly to the left or right. (Refer to the photo of the completed card for placement). Apply the darker shade of yellow with a blending brush to complete the background design and to create a layered effect.
- Carefully remove the stencil, mask, and card base from the sticky mat.
- Die cut your main sentiment and adhere it to the card front using Instant Dimension Foam Tape.
- Complete the greeting by selecting one of the sentiments prepared earlier during the process of making the first card.
- Embellish the card with enamel dots to add a touch of shine and detail.
Take a look at the completed card:

Here's a closer look at the pattern we just created by shifting the stencil slightly to the left or right:

I love how these two cards turned out—they complement each other beautifully and make such a lovely pair!

It’s amazing how much variety you can achieve with just one stencil and a little creative experimenting. Whether you love adding texture with pastes or playing with ink layering, background stencils open up endless design possibilities. I hope these two cards inspire you to look at your own supplies with fresh eyes and try something new!
I’d love to hear about your favorite stencil techniques in the comments below!
Happy crafting!
Supply List: