Easy Ways To Add Texture To Your Cards - A Touch Of Sparkle With Carissa Wiley
by Carissa Wiley January 31, 2026
Texture is the "secret sauce" of professional-looking paper crafts. It transforms a flat piece of cardstock into a tactile experience that begs to be touched. Whether you are a seasoned crafter or just starting your journey, adding dimension doesn't have to be complicated or time-consuming.
It’s Carissa Wiley here, and today I’m diving deep into the art of the "touchable" card. I’m showcasing two elegant projects using the stunning Craft Your Life Kit: Stitched with Love. This kit is a masterclass in versatility, but what really makes these designs pop is the way we play with surfaces.

Why Texture Matters in Cardmaking

In a world of digital messages, a handmade card stands out because of its physical presence. Adding texture:
Increases Perceived Value: High-end cards often feature raised elements and varied finishes.
Directs the Eye: Use texture to create a focal point or a subtle, sophisticated background.
Adds Professional Polish: It hides small imperfections and makes a simple layout feel "finished."

1. The Classic Power of Embossing Folders
Embossing folders are the easiest way to achieve a high-impact transformation. By applying hundreds of pounds of pressure, you’re literally reshaping the fibers of your paper. I love using a folder that mimics fabric or stitching to lean into the theme of the kit.
Pro-Tip: For a more dramatic look, try "ink-blending" over your embossed cardstock. The raised areas will catch the ink more intensely, creating a beautiful two-tone effect.

2. Beyond Color: Using Stencils for Texture
Most crafters use stencils solely for ink, but did you know they are incredible tools for structural design?
Embossing with Stencils: You can run a stencil through your die-cutting machine using a rubber embossing mat to create a subtle, debossed look.
Texture Pastes: Swipe some modeling or grit paste through your stencil. It adds height and a rugged, artistic feel that ink simply can’t match.
Glitter & Sparkle: For that "Touch of Sparkle" mentioned in the title, apply a clear glitter paste through your stencil for a shimmer that has actual physical depth.

Watch the Tutorial: A Touch of Sparkle with Carissa Wiley
Ready to see these techniques in action? I’ve put together a comprehensive video tutorial breaking down exactly how I used the Craft Your Life Kit: Stitched with Love to create these textured masterpieces.
Thanks for stopping by and hanging out with me today! I hope you were inspired. And until next time, I hope you have a fabulous day!
XOXO,
Carissa
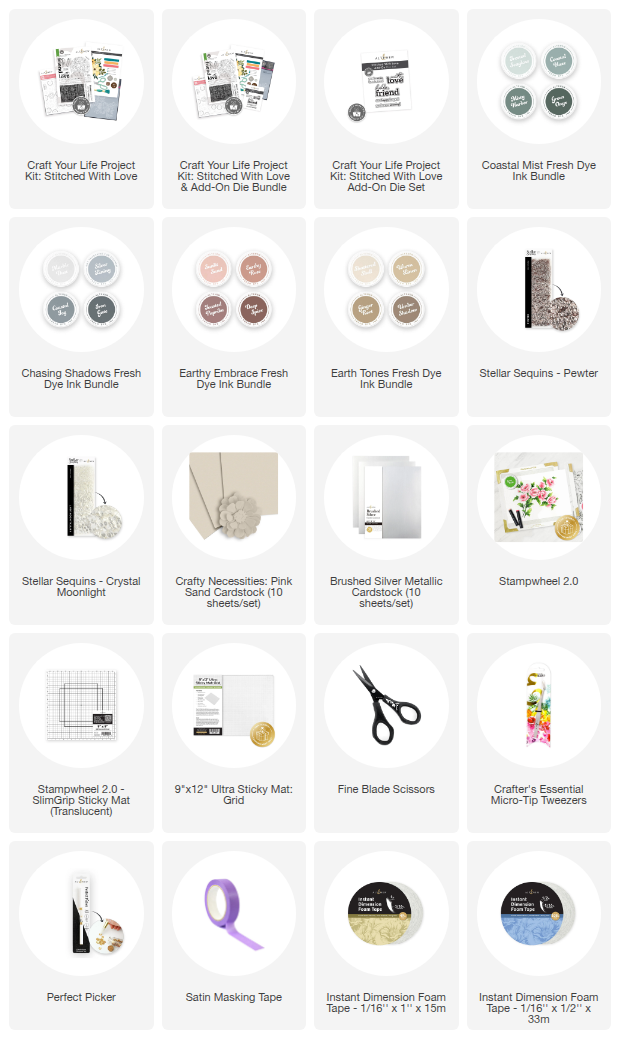
SUPPLY LIST