Easy Ink Blending 3 Ways (With Video Tutorial) | Creativity Unlocked feat. Lovely Rose Peony

Hello there, Michelle here with Terrific Tags with Michelle and another edition of Creativity Unlocked featuring Lovely Rose Peony.
Build-A-Garden: Lovely Rose Peony
Immerse yourself in the delicate allure of gorgeously blooming peonies with the Build-A-Garden: Lovely Rose Peony. Accompanying this exquisite floral arrangement is a stunning modern vase, adding a touch of contemporary charm. Pair the vase with the arrangement for a striking focal point, or use them individually. The set also includes 17 heartwarming sentiments, some of which may also be used on the inside of a card. The Build-A-Garden: Lovely Rose Peony Layering Stencil Set coordinates with the stamp set and can be used to add colors to the gorgeous peony arrangement and vase. Simply ink blend with your favorite Altenew inks and blending brushes, and watch the images come to life.

Welcome to Creativity Unlocked, where we highlight a new product from each month's collection or a fan favorite from past collections!
Easy Ink Blending: Lovely Rose Peony Card Idea

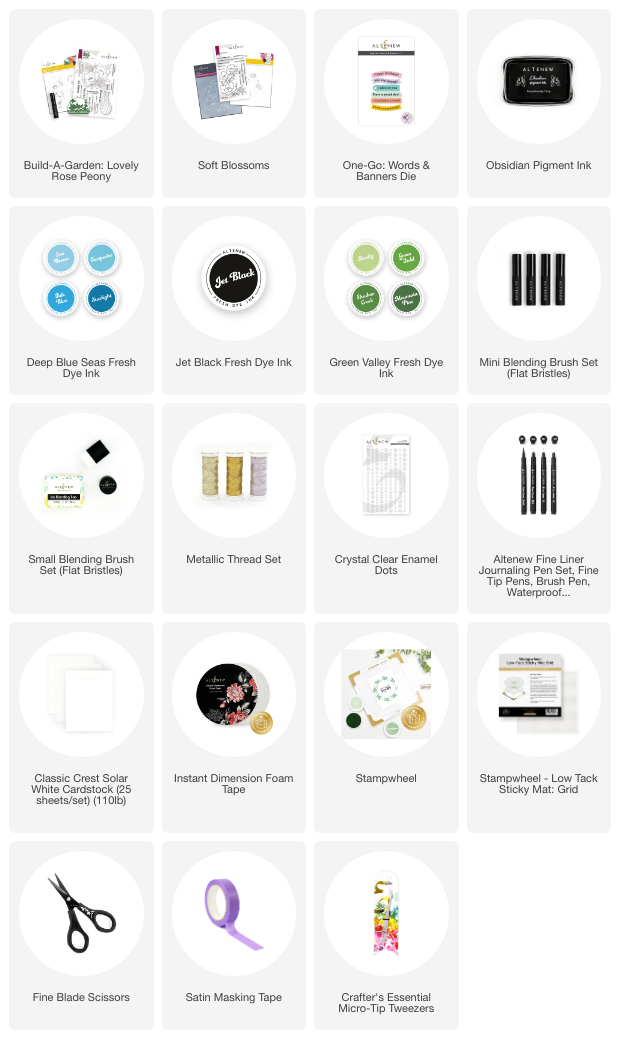
I started off my card by stamping the flowers and vase from Build-A-Garden: Lovely Rose Peony onto Classic Crest 110lb Solar White Cardstock using Obsidian Pigment Ink and the Stampwheel.
Using the coordinating stencils, I added ink blending to the flowers first with a Mini Blending Brush. I used Deep Blue Seas Fresh Dye Inks (all four shades) for the petals and Green Valley Fresh Dye Inks (three lightest) for the leaves.
I did not use the stencils for the vase, I simply added ink blending to the whole vase with Jet Black Ink. Don't worry if you go outside the lines with this one as it will be cut out.

Although there is a coordinating die for the set, I don't have it, so I opted to fussy cut the flowers and vase out with scissors. I then ran a brush tip fine liner pen around the outside edges.
TIP: Painting the outside edges of fussy cut images with a black pen really helps to neaten the edges up and makes it look like you cut it out perfectly, even of you didn't!
Subtle Ink Blended Background

For the background, I took a white A2 (4.25″ x 5.5″) card base and masked off the top edge. Using a Small Blending Brush, I added ink blending to the left hand corner of the card with Sea Breeze Ink (from the same Deep Blue Seas collection).
I faded the ink blending out towards to right hand side. Adding the ink blending helps to ground the image a little.
Sentiment Tag

I stamped the ‘happy birthday' sentiment from the Soft Blossoms Stamp Set onto Classic Crest 110lb Solar White Cardstock using Obsidian Pigment Ink. It was then cut out using the tag die in the One-Go: Words & Banners Die.
I threaded Metallic Thread through the top of the tag and tied it around the vase, adhering with a little Satin Masking Tape at the back. I added Instant Dimension Foam Tape on the back of the vase and then adhered to the card, followed by the flowers.
I threaded another piece of Metallic Thread under the first one and tied it in knot to hold the top of the tag in place. I then tied it in a bow, so that it looks like the tag is wrapped around the vase. I decided to keep the tag loose but I could always add some adhesive behind the tag if I wanted to keep it in place.
To finish, I embellished with Crystal Clear Enamel Dots. I kept the flowers and leaves overhanging the card base, but I may go back and cut them off, so that the card will fit in an A2 sized envelope.
Video Tutorial: Easy Ink Blending with Lovely Rose Peony
I hope I have inspired you to add easy ink blending to your projects. You can watch the full process video below or on YouTube.

Thank you so much for stopping by today, I hope you have a wonderful day!
Supplies