Create Quick Backgrounds with Essential Textures
Last Updated: October 27, 2025
Are you tired of staring at your blank cardstock, wondering how to jazz it up for your next crafting project? Do you find yourself struggling to come up with quick and easy background ideas for your handmade cards, scrapbook layouts, and other DIY crafts? Meet our new Essential Textures Press Plates!

What are Essential Textures Press Plates?
These press plates are a game-changer for crafters who want to add realistic textures to their paper crafting projects without breaking a sweat.
Compatible with Spellbinder's BetterPress LetterPress Machine, our brand-new Essential Textures Press Plates offer a hassle-free way to create professional-looking backgrounds in just four easy steps. That's right, four steps! No more spending hours trying to figure out complicated techniques or investing in various products. With these press plates, you can achieve stunning results with minimal effort.
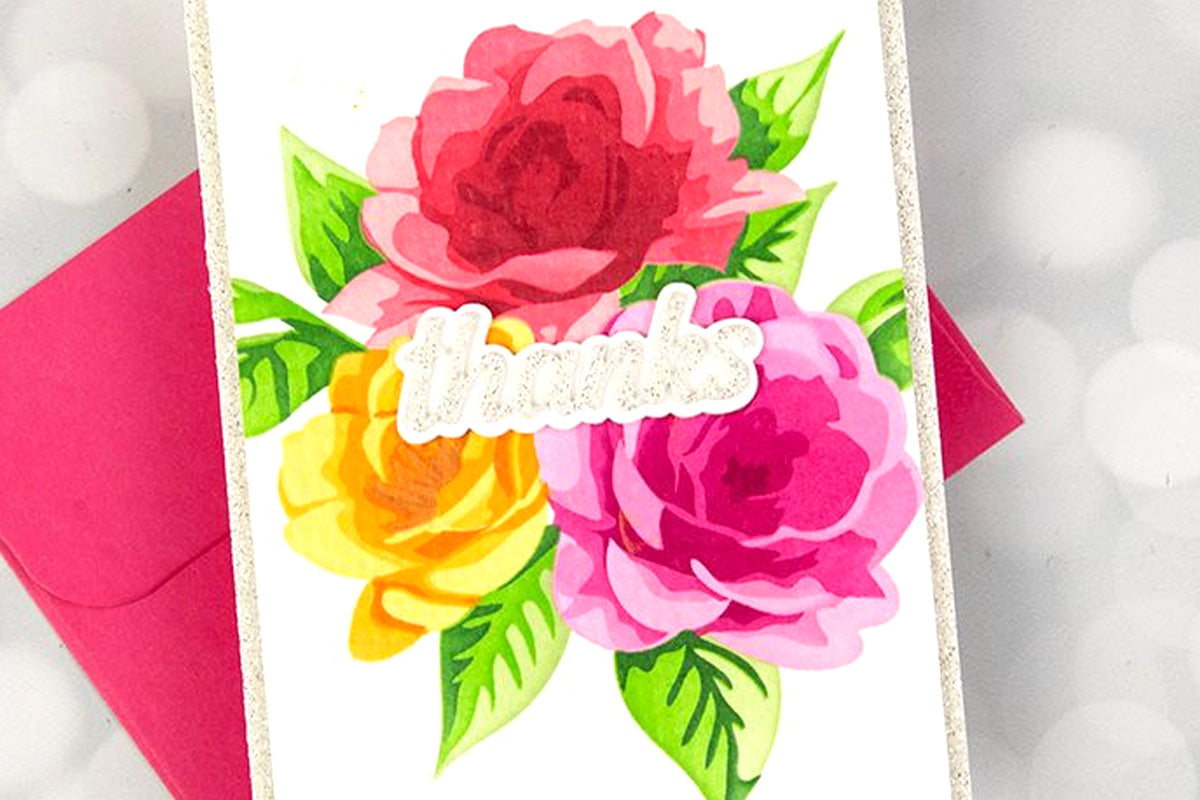
Not only are these press plates incredibly easy to use, but they also offer versatility and flexibility, making them a must-have tool for any crafter.
Imagine being able to create custom handmade card backgrounds for every occasion, from birthdays and weddings to holidays and everyday greetings. With the Essential Textures Press Plates, you can take your paper crafting to the next level and impress your friends and family with your stunning handmade creations.
Essential Textures: Wood Press Plate
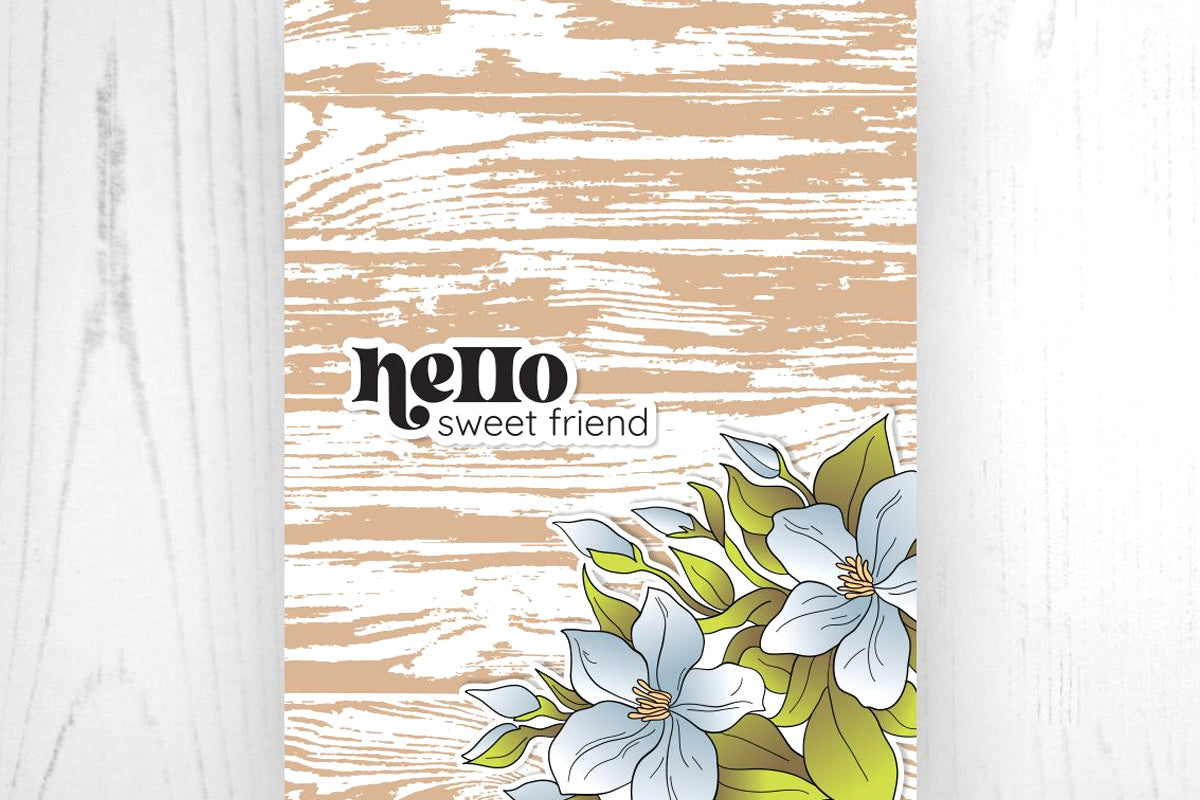
Bring the warmth and charm of wood to your paper crafts with the Essential Textures: Wood Press Plate! With its realistic wood texture and A2 size, this versatile press plate allows you to create your own textured card panels that are sure to impress. Add a touch of rustic elegance to cards, scrapbooks, and DIY crafts. This press plate measures 4.25" x 5.5".

Essential Textures: Rustic Burlap Press Plate
Add a realistic burlap feel to your paper crafts with the Essential Textures: Rustic Burlap Press Plate! With its burlap texture and A2 size, this versatile press plate allows you to create your own unique, textured card panels that are sure to impress. Add a touch of rustic elegance to handmade cards, scrapbooks, and DIY crafts. This press plate measures 4.25" x 5.5".
|
Fun Fact! This background press plate was actually requested by one of our dear design team members, Erum Tasneem! Go on and thank her for bringing this creative idea to our team’s attention! |
*Note: Unfortunately, the Rustic Burlap Letterpress Plate is currently sold out. What can we say, crafters LOVED it! Don’t worry, we aim to get it back in our store SOON. Make sure you sign up for our in-stock email notification so you don’t miss out.
How to Use Essential Textures Press Plates
- First, place the BetterPress Press Plate onto the Chase, which is the magnetic platform designed to hold the press plate in place.
- Then, tape your card panel onto the Platen, the clear top plate with registration marks that ensure precise alignment.
- Next, apply ink onto the Press Plate, using your favorite colors to create custom backgrounds that suit your project.
- Finally, make a Letterpress Sandwich by layering the plates and running them through your die-cutting machine. Voila! You've just created a beautiful textured background in no time at all.
Easy DIY Card Ideas Using Essential Textures Press Plates
Whether you're going for a subtle, elegant look or a bold, eye-catching design, the Essential Textures Press Plates allow you to experiment with different inks, papers, and techniques to achieve the perfect background for your project. Plus, with the convenience of using your favorite die-cutting machine, you can easily incorporate these letterpress plates into your existing crafting routine without any additional hassle.
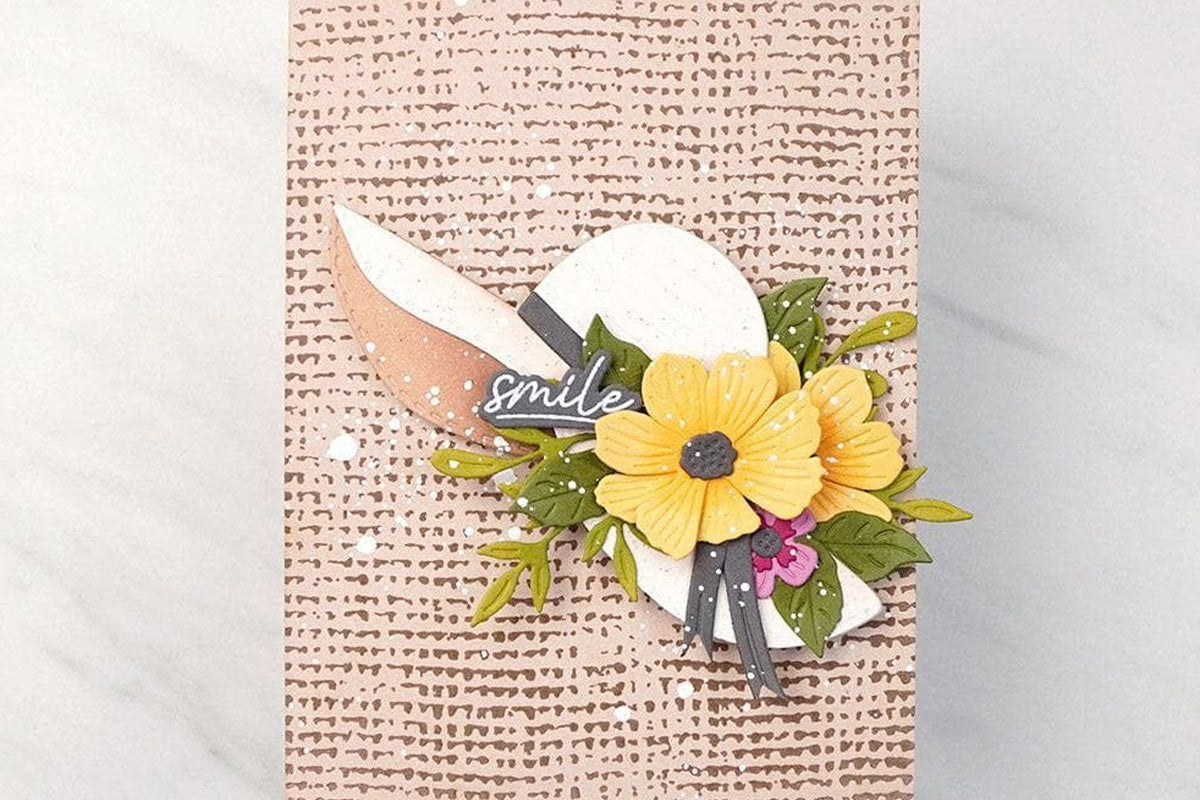
Create a full textured background. Depending on your chosen press plate, you can use a different colored cardstock for a more realistic look.
Here are a couple of card ideas (inspired by home decor!) by Jaycee featuring these versatile press plates!
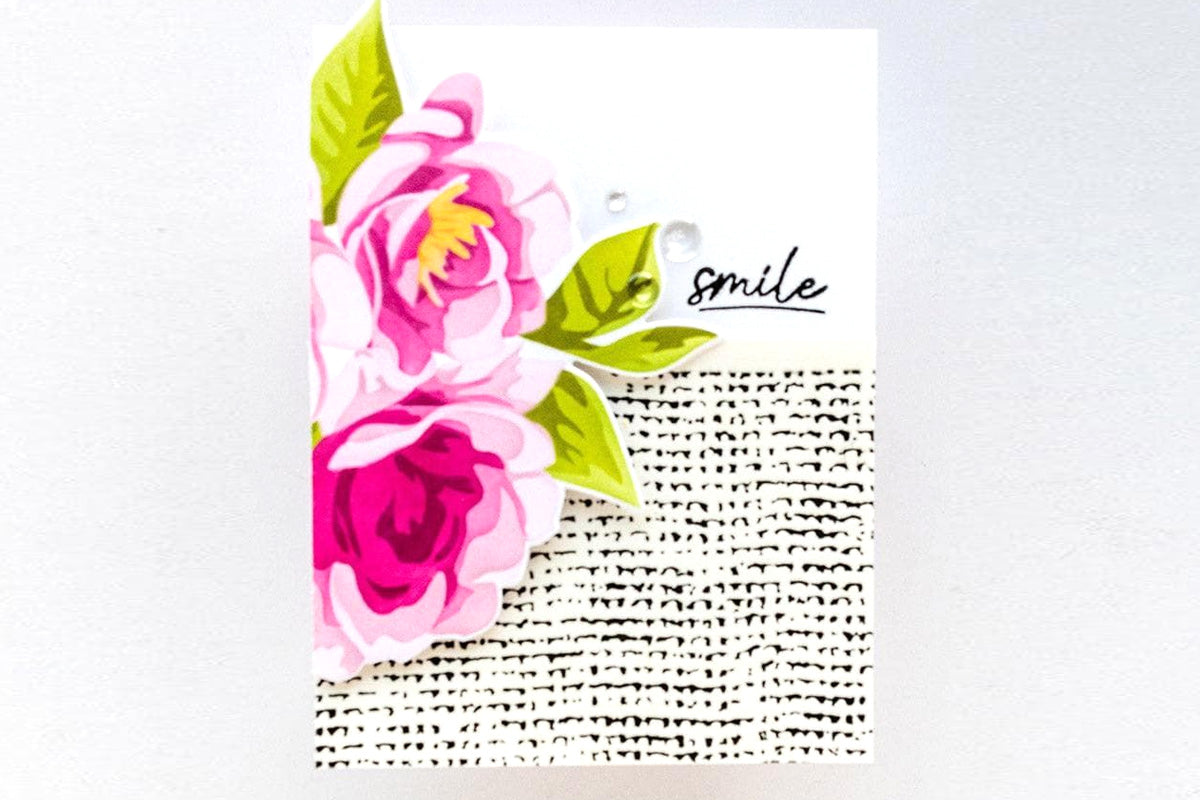
Create a two-toned look by using the press plate on half of your card front.
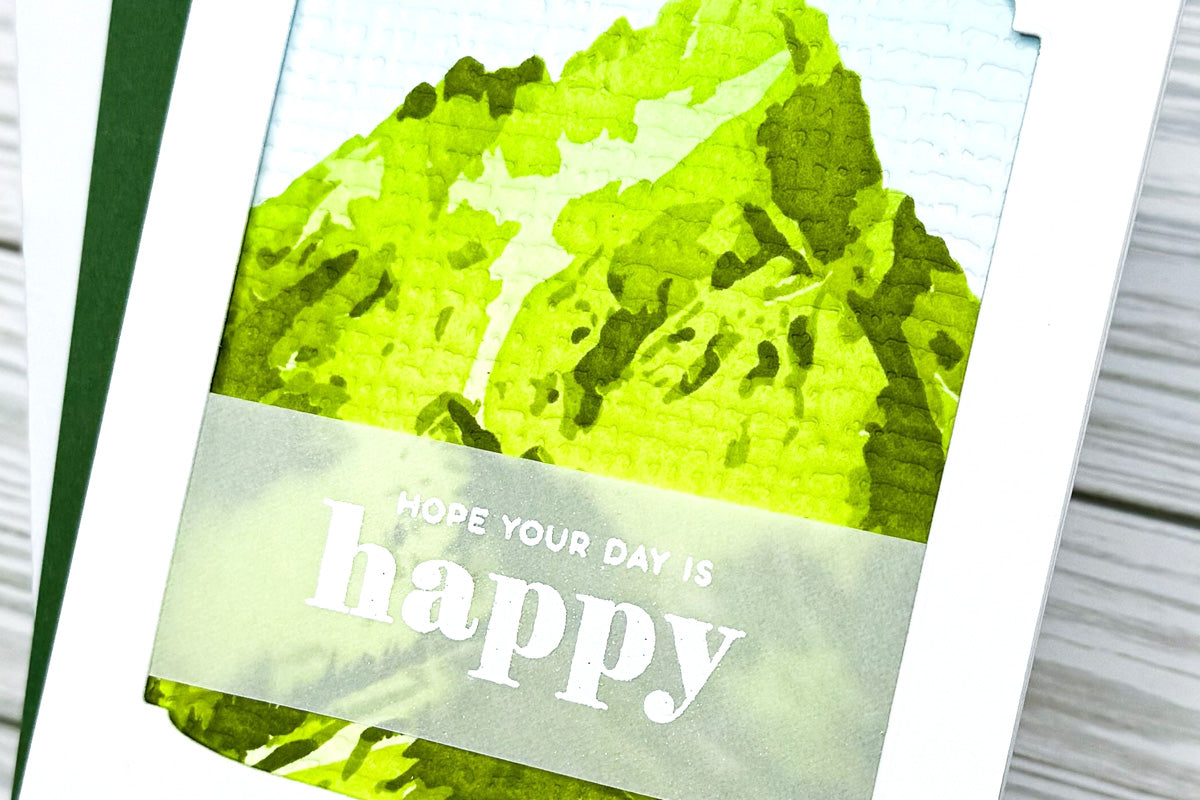
Use it to add a subtle texture to your focal point.
How do you make a card background?
To make a card background, you can start by choosing a suitable color or pattern that complements the overall theme or message of the card.
This could involve using solid colors, gradients, textures (hello, letterpress plates!), or even incorporating images as the background. It's important to ensure that the card background doesn't overshadow the content of the card, so finding the right balance is key.

Another subtle use of the press plate - use it on part of your element instead of using it on the background.

Don’t have colored cardstock or paper? Add colors to your letterpress plate design by ink blending!
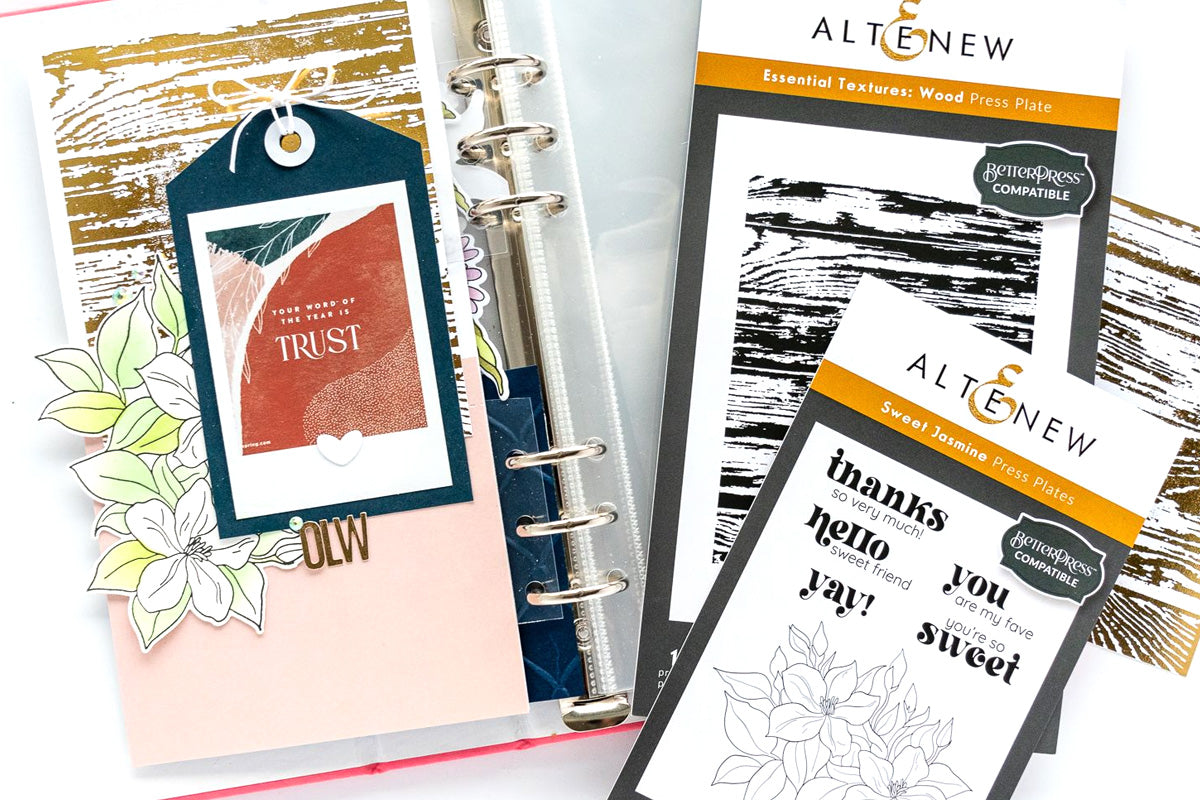
Use it to add texture and interest to journal pages.
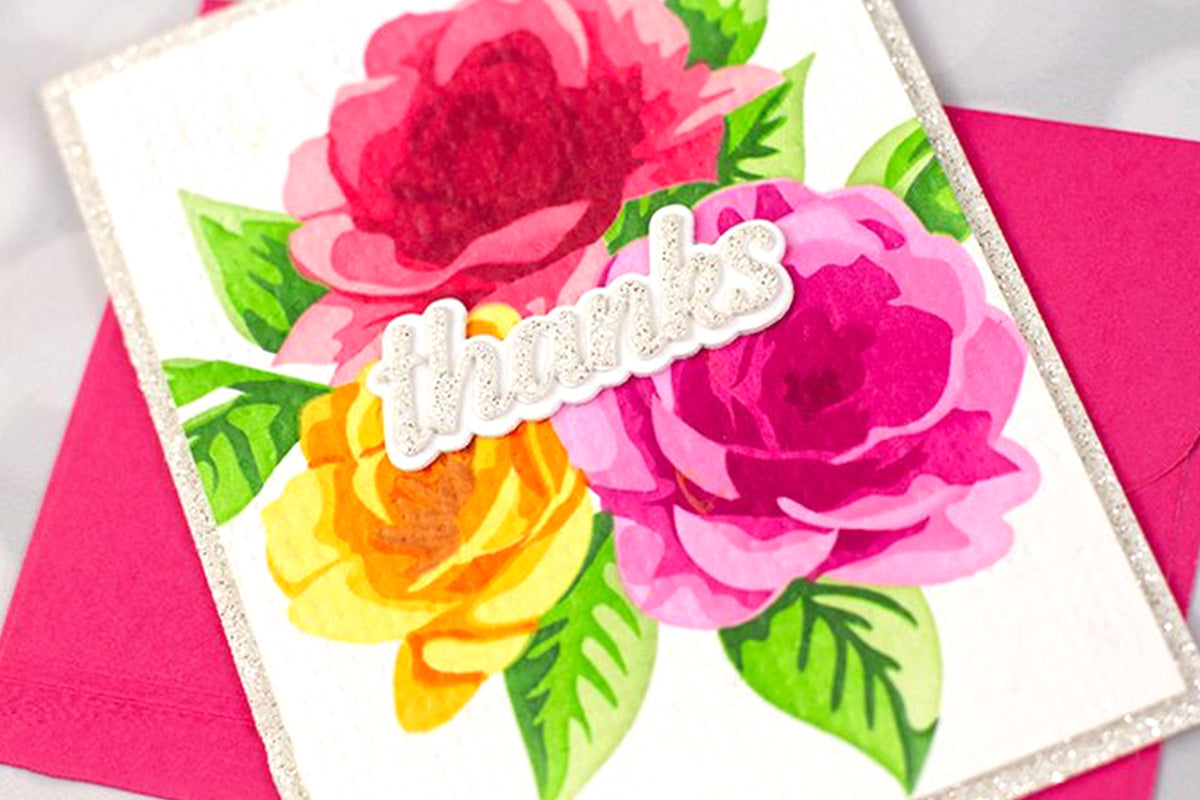
Pair it with your favorite floral stamps, dies, and stencils!
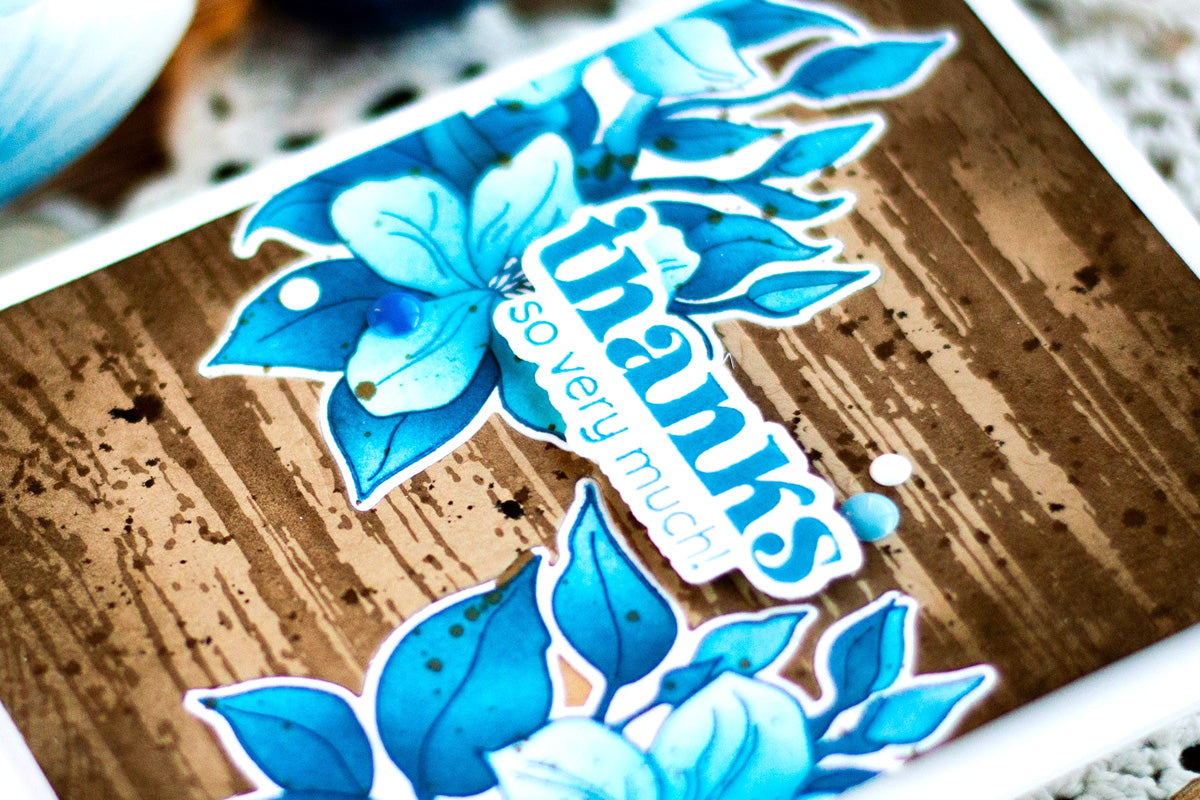
Our current Essential Textures press plates are perfect for creating gender-neutral and moody cards and paper crafts! Watch out for more designs coming soon!

The Essential Textures: Wood Press Plate is simply perfect for pairing with any of our floral stamps and dies. You can never go wrong with this combo!

With these letterpress plates, you don’t need to add too much! Add a die-cut and a sentiment and you’re good to go!

Try die-cutting shapes out of the press plate design and use that to add interest to your focal point.
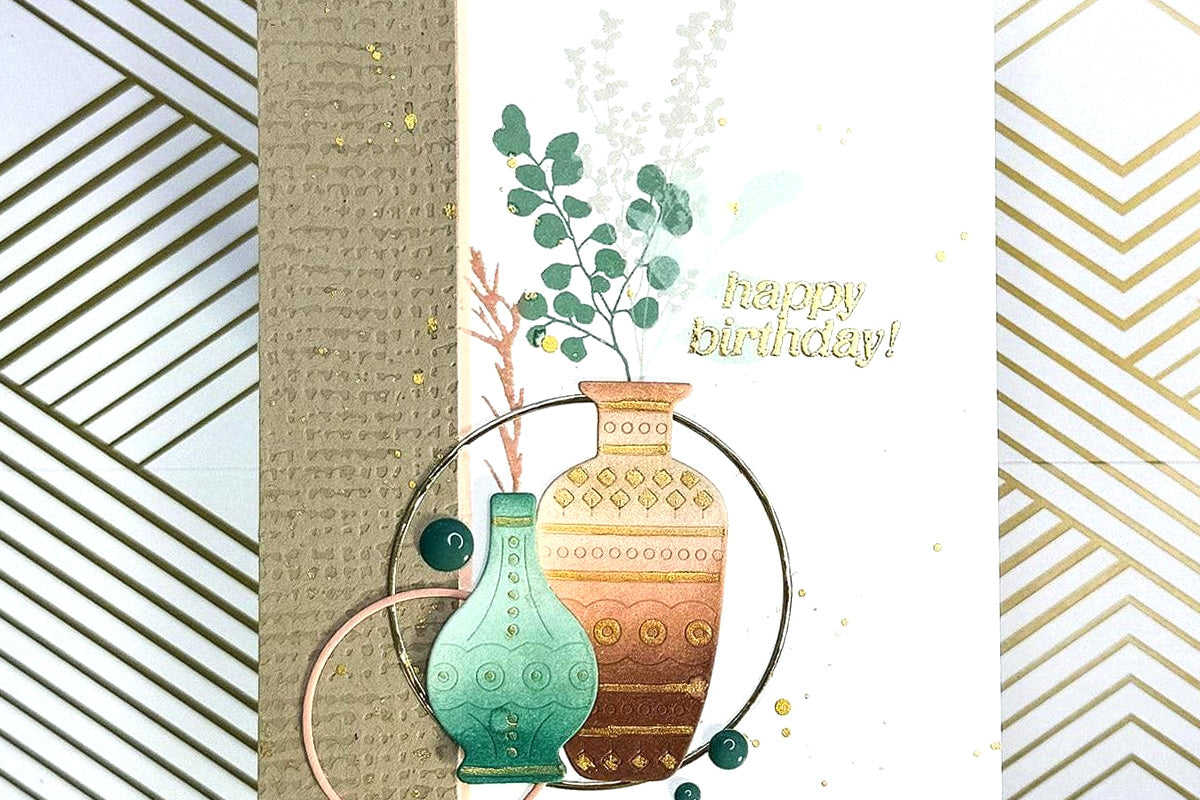
Use it as a border! If you don’t want a full background, you can always cut part of the letterpress plate and use it as a quick and simple border on your card front.


Here’s a fabulous “1 product, multiple ways” from Erum! We absolutely love how she used dark-colored cardstock and hot-foiled the other card! Yes! You can definitely use these press plates for hot foiling with your favorite hot foil rolls.
Watch the video tutorial below and recreate Erum’s cards above!
What makes these letterpress plates special?
Altenew has designed these press plates to complement and coordinate a range of stamps, dies, stencils, and 3D embossing folders. This allows you to further enhance your card backgrounds with intricate details and embellishments. This seamless integration of products makes it even easier to achieve professional results and take your projects from ordinary to extraordinary!
So, if you're tired of feeling stuck when it comes to creating backgrounds for your handmade cards, scrapbook layouts, journal pages, and other DIY crafts, it's time to give Altenew's Essential Textures Press Plates a try. Say goodbye to the frustration of running out of quick background ideas and hello to a world of endless creative possibilities!
Need more ideas? Read more on how to Create Gorgeous and Intriguing Designs with Letterpress Plates.
How do you design a card?
When it comes to designing a card, there are several steps you can take. First, consider the purpose of the card and the message you want to convey. This will help determine the overall design, including the layout, color scheme, and typography. Pay attention to details like alignment, spacing, and hierarchy to ensure a polished and professional look.
The Essential Textures Press Plates from Altenew are a game-changer for crafters who want to create quick and easy backgrounds for their handmade projects. With their compatibility with Spellbinder's BetterPress Machine and simple four-step process, these press plates offer a hassle-free way to add realistic textures to paper crafting projects.
What kind of “texture” would you like to see next in this new series? Let us know in the comments below!
Visit us In the Craft Room for more card making tips and ideas. See you there!
FREE eBook: What is Card Making? Everything You Need to Know About This Popular Paper Crafting Hobby






Hello, Freeman! Yes, you can use press plates on the Spellbinder’s 6 machine, provided you also have all the other supplies needed. These include a BetterPress system along with your chosen plates and inks. Happy crafting!
The cards are beautiful, but can you use press plates on Spellbinder’s 6 machine or do you need more?