Crafting With Pigment Ink: The Basics, Dos, and Don'ts
Are you looking to add some vibrant colors and intricate designs to your crafting projects? Then you're in for a treat today! We’ll talk about pigment ink, a versatile and dynamic medium that can elevate your creations to a whole new level.

Whether you're a seasoned crafter or just starting, it's always good to brush up on the basics and learn some dos and don'ts to make the most out of your crafting experience. So, grab your favorite crafting supplies, and let's get started on this colorful journey!
What Is Pigment Ink?
Before we delve into the dos and don'ts, let's quickly go over what pigment ink is.

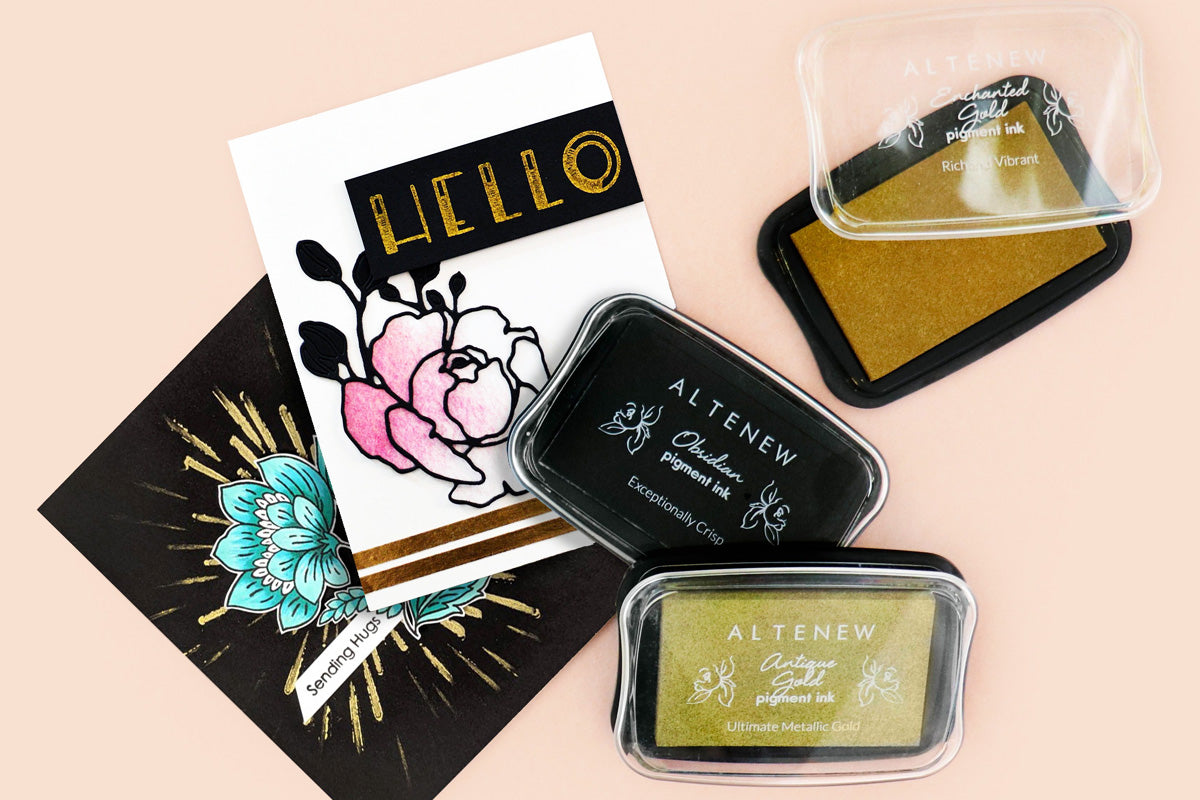
Pigment-based ink, or simply pigment ink, is a type of ink used for coloring paper and other materials. Pigments consist of small solid particles dispersed in a liquid (or gaseous) medium. In the case of our pigment inks, the pigment is combined with an oil-based carrier.
Unlike dye-based inks, which are absorbed into the material, pigment ink sits on the surface, resulting in more vibrant and fade-resistant colors. This ink variety has existed for many years and was initially derived from natural pigments found in plants, animals, and minerals.

Pigment ink is perfect for a variety of crafting projects, including card making, scrapbooking, and even fabric printing.
How Is It Made?
To create pigment ink, water, pigment, resin, and various additives are combined to produce long-lasting and high-quality ink. The ink may be heated or cooled during manufacturing to create different results.

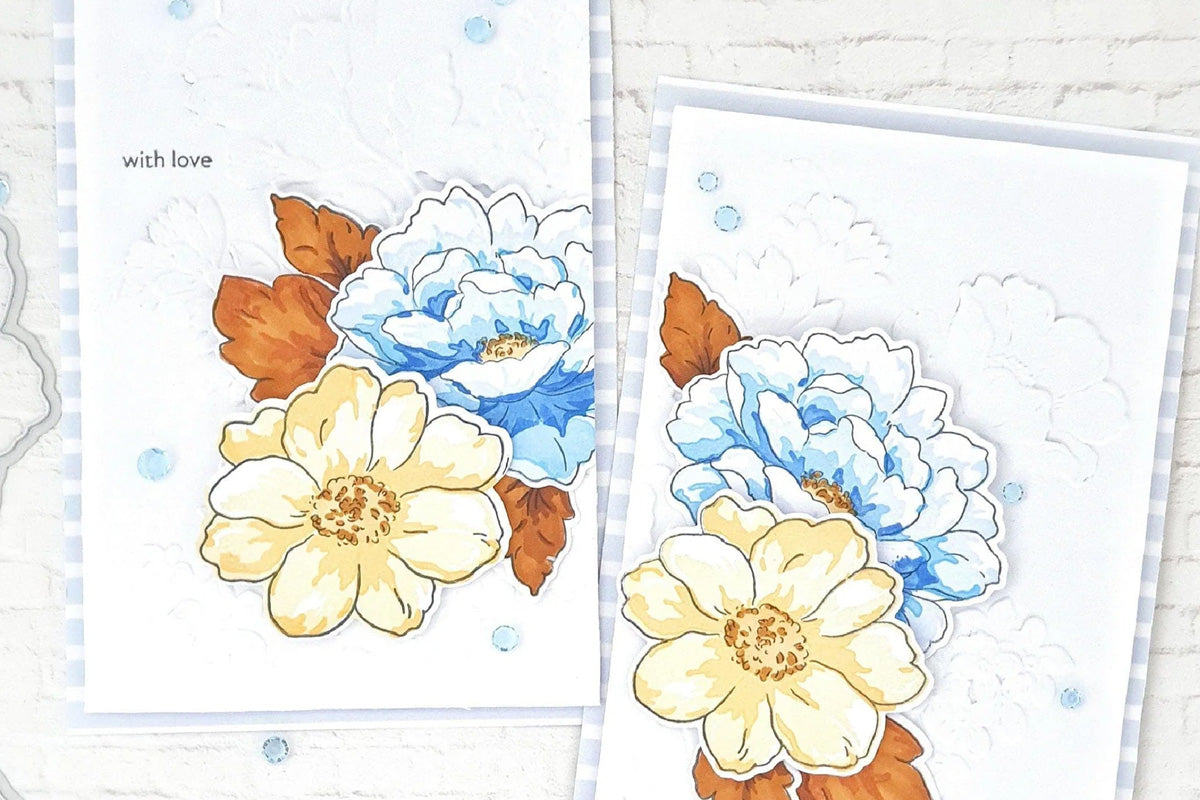
Pigment ink is commonly used for printing on textiles, packaging labels, and other specialized applications that require long-lasting results. Its versatility even extends to advanced industrial printing systems, digital textile printers, and direct-to-fabric printer models. Although there are various pigment-based inks on the market, they all share the quality of being waterproof and fade-resistant over time.
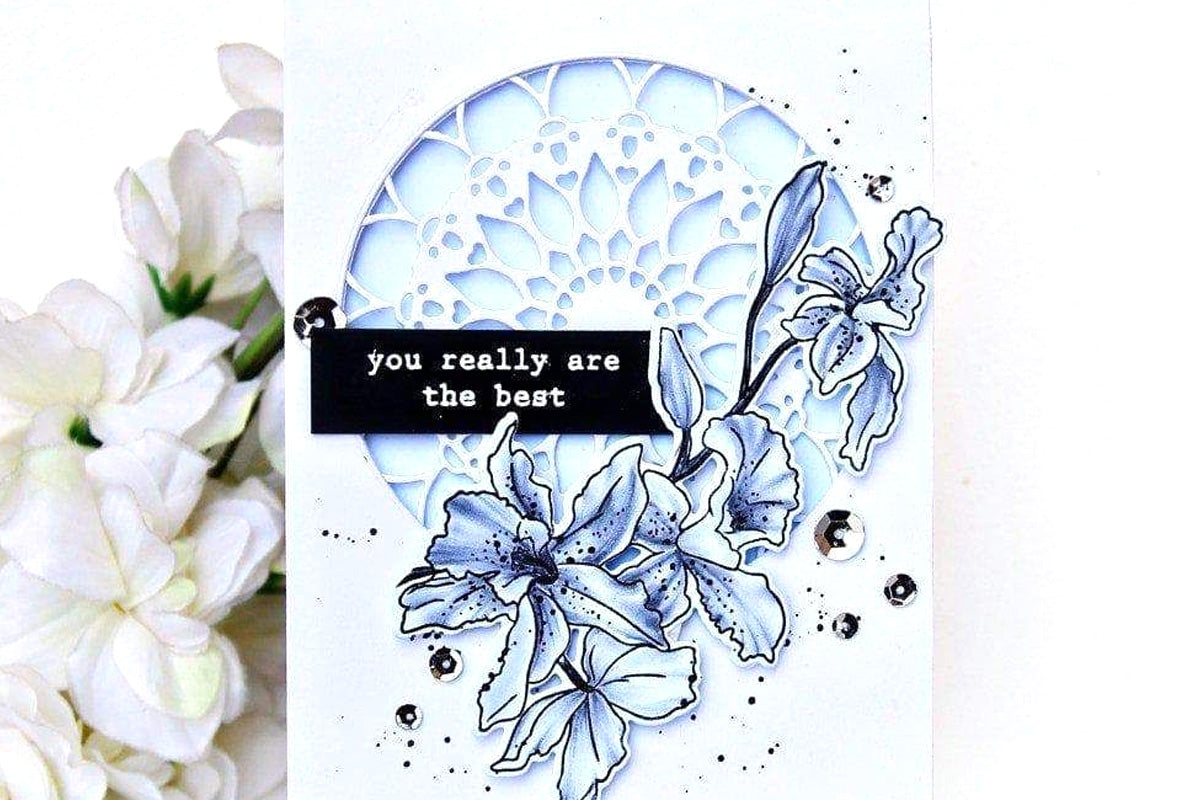
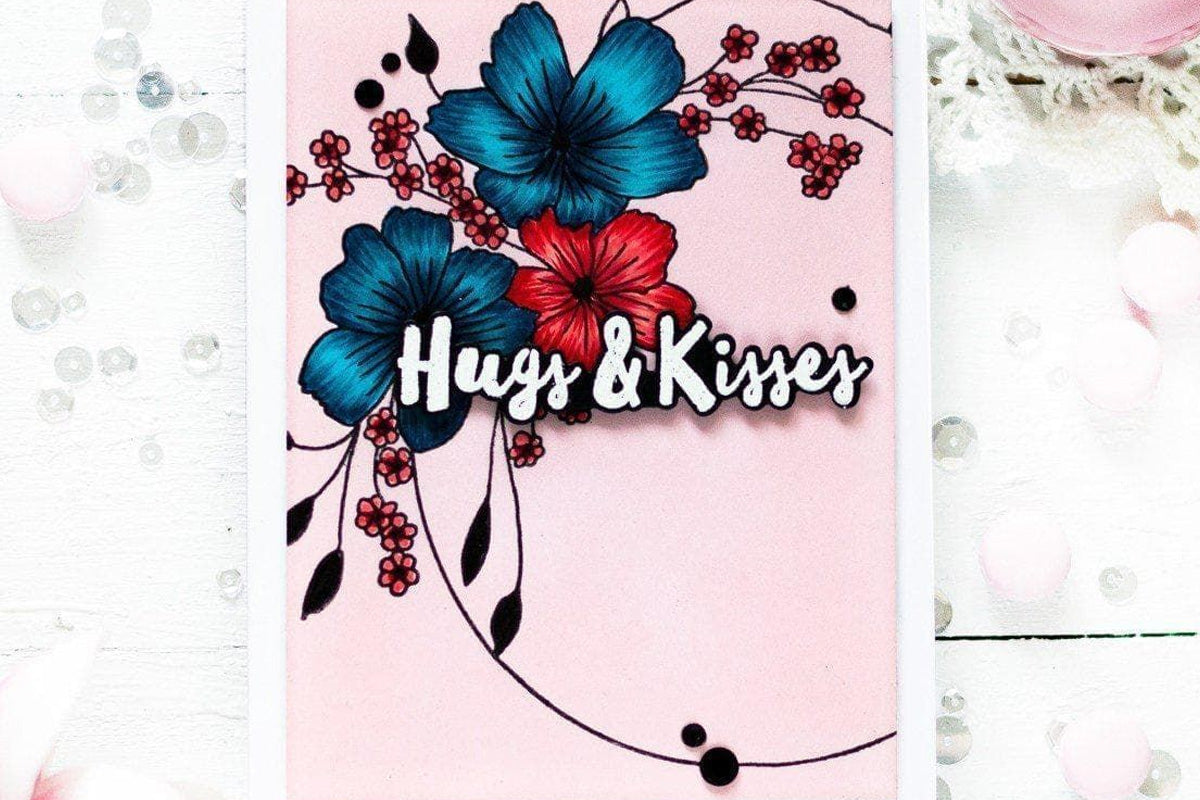
So, the next time you encounter a stunningly printed fabric or project, you have pigment ink to thank for it!
The Dos
Now, let’s dive into some of the best practices for using pigment inks:
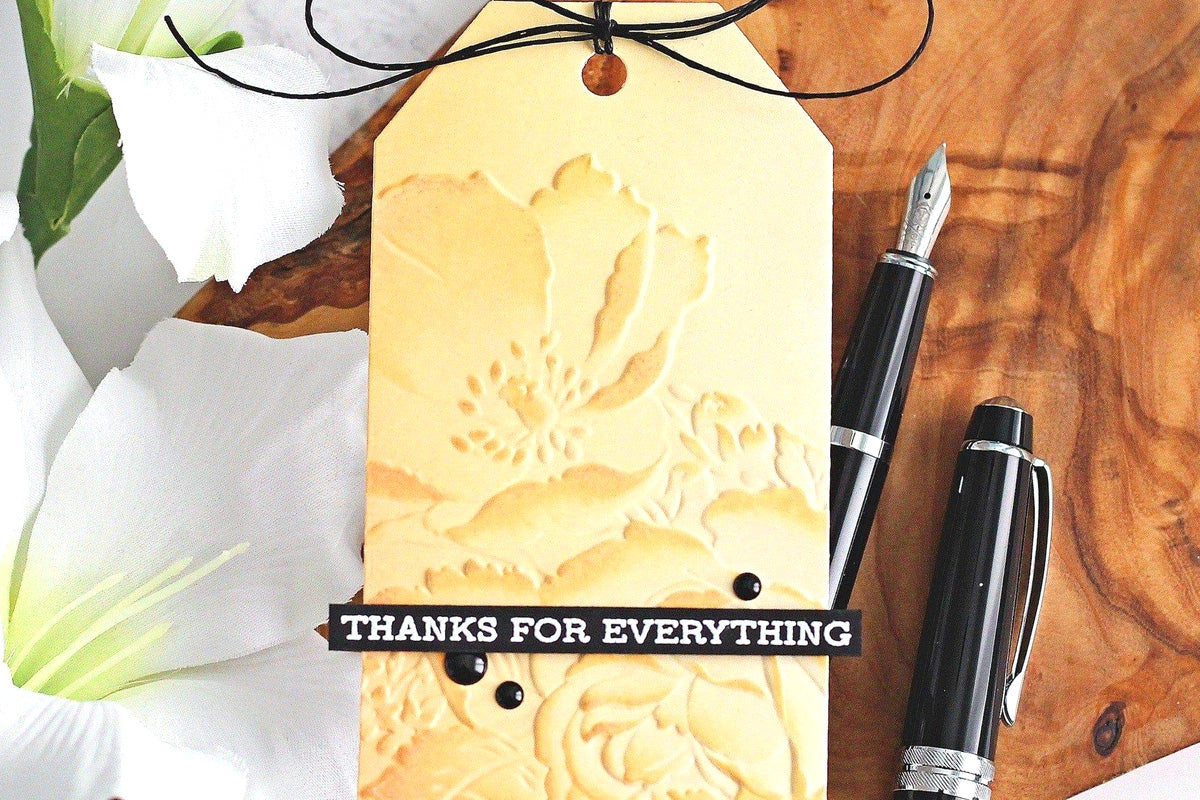
1. Choose the Right Surface.
Pigment ink works best on porous surfaces such as paper, cardboard, and fabric. Make sure to select the appropriate surface for your project to achieve the best results.
2. Experiment with Different Techniques.
One of the most exciting aspects of crafting with pigment ink is the endless possibilities it offers. Don't be afraid to experiment with various techniques such as stamping, stenciling, and blending to create unique and eye-catching designs.
|
Pro tip: Try using pigment ink to create outline stamps, just like the sample projects below. Then you can take it one step further by coloring in the images with markers or watercolors! |

3. Allow Sufficient Drying Time.
Compared to dye-based inks, pigment ink takes longer to dry. Be patient and allow sufficient drying time before handling your project to prevent smudging and smearing.
|
Pro tip: Use a heat setting tool to speed up the drying process. |
4. Invest in Quality Supplies.
To ensure the best results, invest in high-quality pigment ink pads, stamps, and other crafting supplies. While it may cost a bit more upfront, quality supplies will ultimately save you time and frustration in the long run.

5. Practice Proper Clean-Up.
Pigment ink can be a bit stubborn to clean, especially if it's allowed to dry. Keep some stamp cleaner or mild soap and water handy to clean your stamps and crafting tools immediately after use.
The Don'ts


Next up, let’s talk about what NOT to do when you’re using your pigment-based inks:
1. Avoid Non-Porous Surfaces.
Pigment ink is not suitable for non-porous surfaces such as glossy paper or plastic. Using pigment ink on these surfaces will result in smudging and poor adhesion.
However, you can get around this limitation by using heat-resistant acetate and clear embossing powder. Just add the powder after inking, then use a heat gun/tool and set the ink this way.
2. Don't Over-ink Your Stamps.
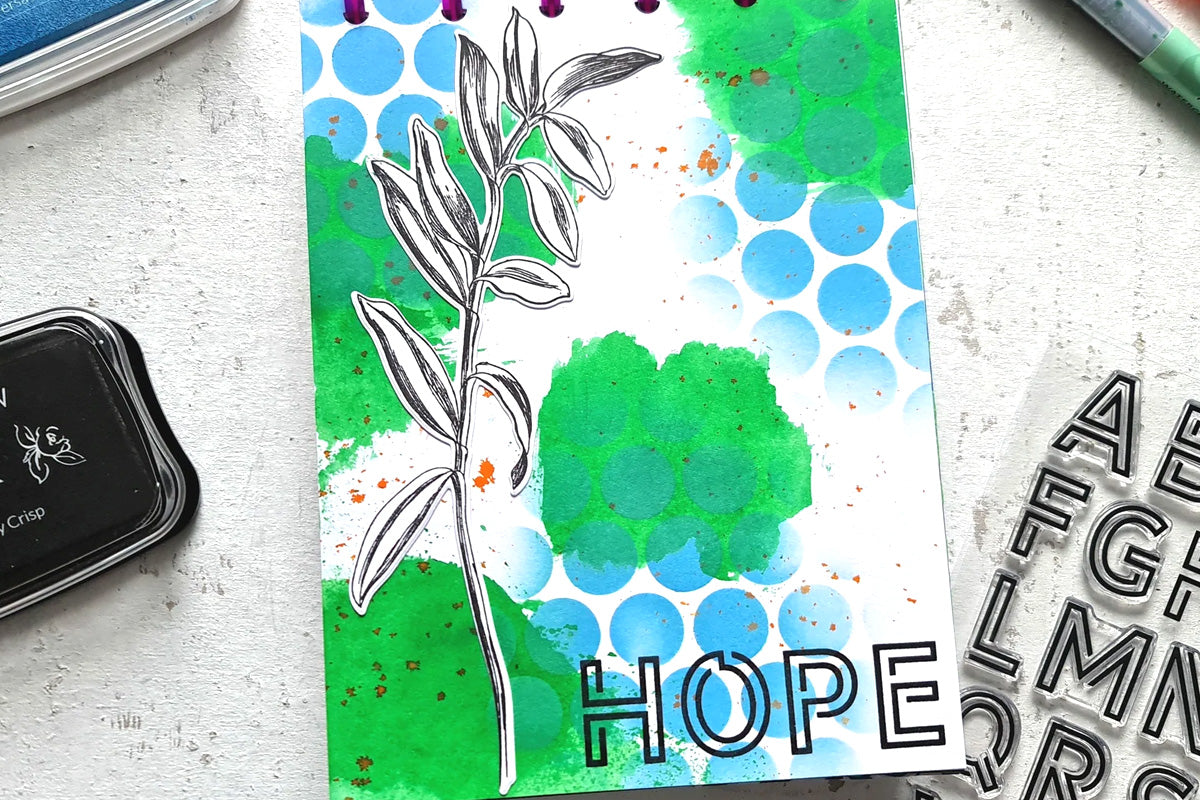
When stamping with pigment ink, less is often more. Avoid over-inking your stamps as this can lead to blurry images and excess ink buildup.
3. Don't Forget to Seal Your Project.
To protect your masterpiece from smudging and fading, consider sealing it with a clear acrylic spray or varnish. This will help preserve the vibrant colors and longevity of your creation.
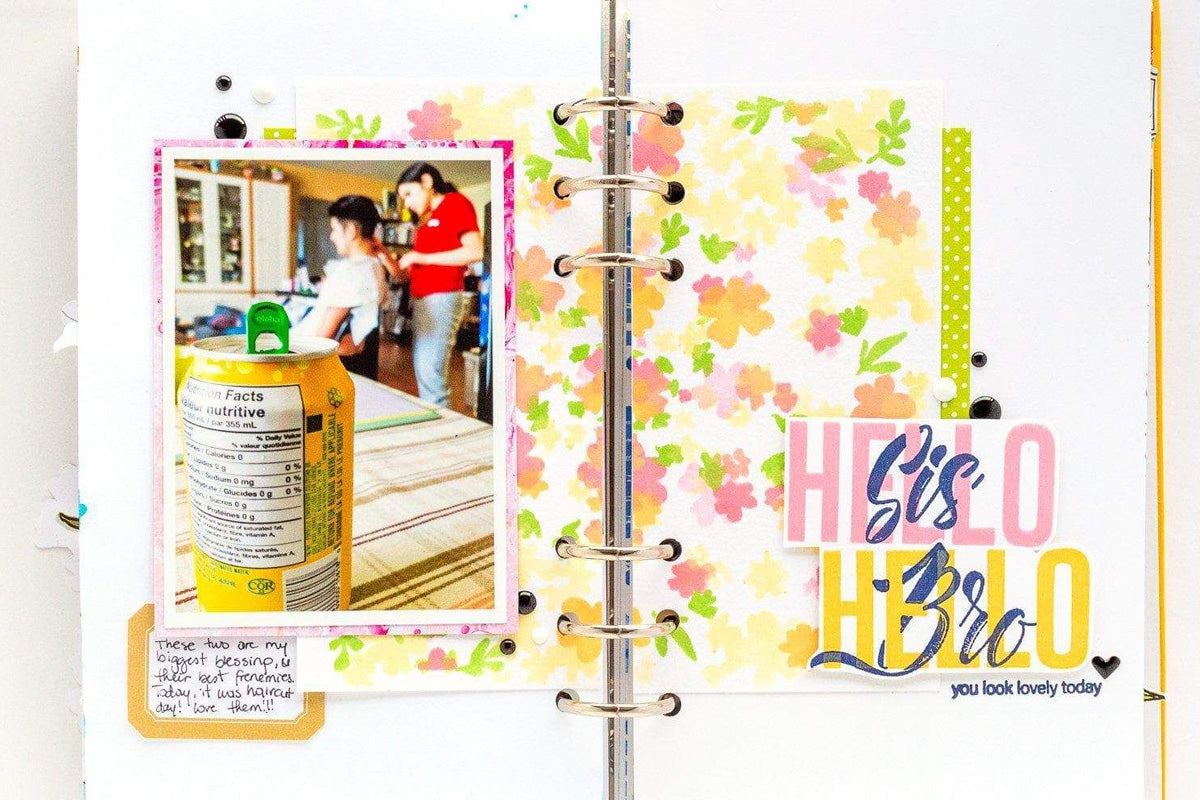

4. Be Patient When Air Drying.
Patience is key when working with pigment ink. Of course, you can speed up the drying process by using a heat tool as suggested above. But if that’s not available to you at the moment, then we highly suggest patiently waiting for the ink to dry when air drying. Rushing the drying process most often results in smudged and ruined projects.
Take your time and allow your creations to dry thoroughly before handling or moving on to the next step.
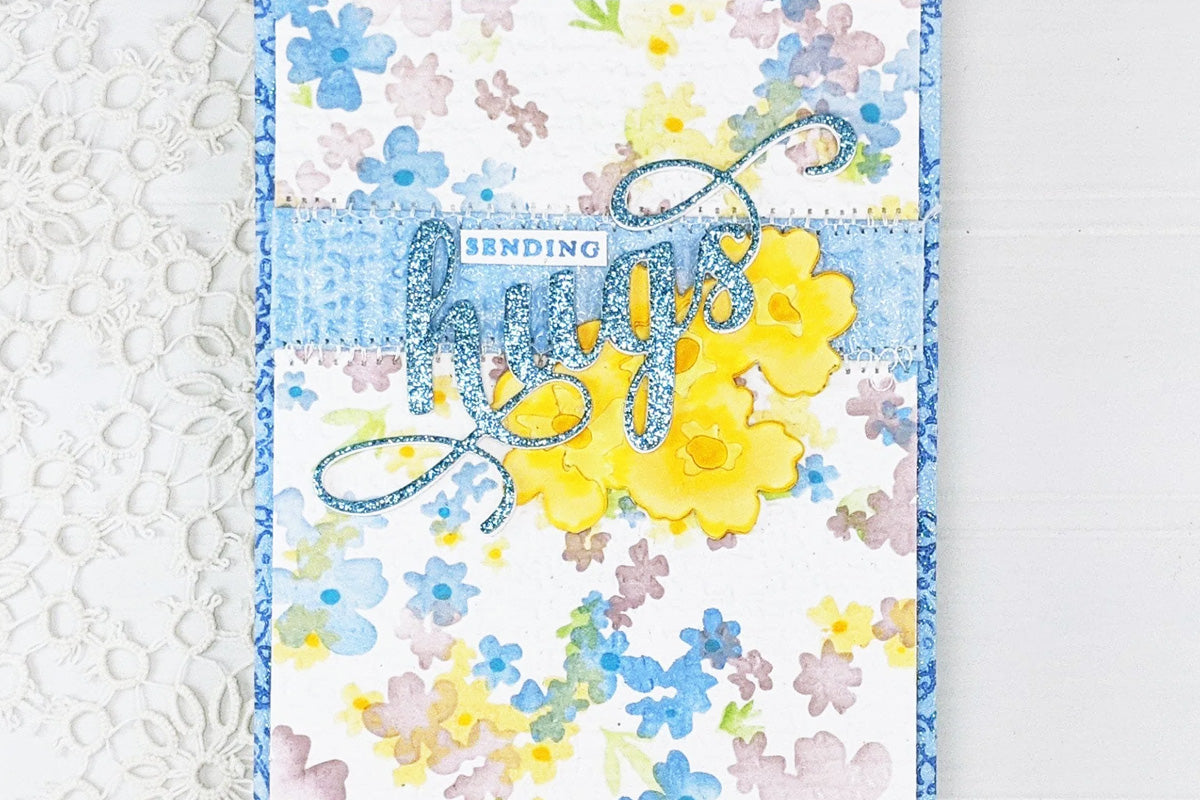
Have Fun With Pigment Inks Today!
So there you have it, folks! With these dos and don'ts in mind, you're well-equipped to embark on your crafting journey with pigment ink.
Remember to have fun, experiment, and let your creativity soar. And if you run out of card making and paper crafting ideas, our In the Craft Room blogs are always open for you. Happy crafting!
Free eBook: Everything You Need to Know About Inks for Papercrafting


Grateful for the appreciation, too, Louise! Hope to see you apply these techniques to your future projects! 🤗
Thank you so much, Teri! Yes, we do our best to teach you about tools and techniques so that you always get the best result from your crafting experience. We hope we continue to inspire you to keep on crafting! ❤️
Love these articles on techniques and products.
I always appreciate info on ink and when to use which one and how. It’s not like the old days where there was one ink and it worked or it didn’t. Thanks yall. These blog posts have been great!!
Leave a comment