Creating a Lovely Thank-You Card Using the Sentiment as a Focal Point | Clean and Simple Cards
Hello, everyone! Aga here, and today, I would like to share how to create a clean and simple thank-you card with a big and bold sentiment as a focal point!
It’s really a quick and simple one, but I often love to go with a minimalist approach to my cards.

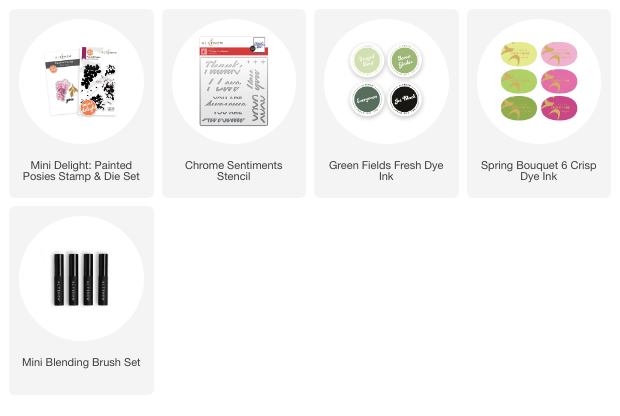
For today’s card, I used Chrome Sentiments Stencil and Mini Delight: Painted Posies Stamp & Die Set.
If you like big bold sentiments on your projects then the Chrome Sentiments Stencil is a must-have! It’s designed to be colored in gradients, allowing you to effortlessly create a stunning effect that will surely impress!
How to Create A Thank-You Card with the Sentiment as a Focal Point
I started by placing the stencil on my card base, ensuring it was properly aligned, and securing it with washi tape.
I used green shades from Green Fields Fresh Dye Ink Set and Mini Blending Brushes to blend them over the stencil.

To finish my car, I stamped a floral cluster from Mini Delight: Painted Posies Stamp & Die Set using pink inks from Spring Bouquet 6 Crisp Dye Ink Set. I also fussy cut a flower from the cluster with a pair of scissors.
Next, I added two branches of leaves from the set, inked with Forest Glades and Evergreen inks from Green Fields Fresh Dye Ink Bundle.
Lastly, I splattered a bit of green ink on the background.

And that's it — a clean-and-simple thank-you card with the sentiment as a focal point! I hope this idea inspired you to make simple, but beautiful designs for your next crafting project!
Thank you for stopping by today!