Make a GORGEOUS Bellflower Bliss Layering Die Cut Card TWO Ways! ft. Use of Negative Space

Hi Altenew fans and friends! It's your texture loving gal Erica back on the Altenew blog as well as the YouTube channel today. I am going to be using the lovely Bellflower Bliss Layering Die Set today, but we are not just going to get one card out of it, oh no. We are going to be using both the positive and the negative space and get ourselves two cards in one!
To celebrate the launch of our new blog home, we’re inviting you to complete a quick 2-minute survey—and you’ll be entered to win one of three $25 Altenew gift certificates! If you have already completed the survey, we have received your feedback. Thanks!
You will need one A2 sized card panel for the two card fronts. Yes, you read that right! Just the one, because we are going to use the stem of the die-cuts and then we are keeping both the actual stem die-cut, as well as the ‘leftovers'. Trust me, it's worth the read.

Assembling This Die-Cut, Negative Space Masterpiece!
You will need more card stock, I have used white as I planned on doing ink blending on my die-cuts. You can use some of the many gorgeous colors from the Crafty Necessities Cardstock if you prefer to cut once and be done.
- Step one is as mentioned above: cut out the stem part of the die-cuts and keep both the die-cut itself and the negative ‘leftover' panel.
- Step two is to ink blend your flower die-cuts in your choice of colors. I have done two sets as I wanted flowers on both of my cards.
- Step three is to glue all the die-cuts together. Consult the keyholes on each die-cut to match up with the correct flower. You can also use the instructions on the back of the packaging that shows in what order to glue the die-cuts together. The keyhole system makes this part a BREEZE!
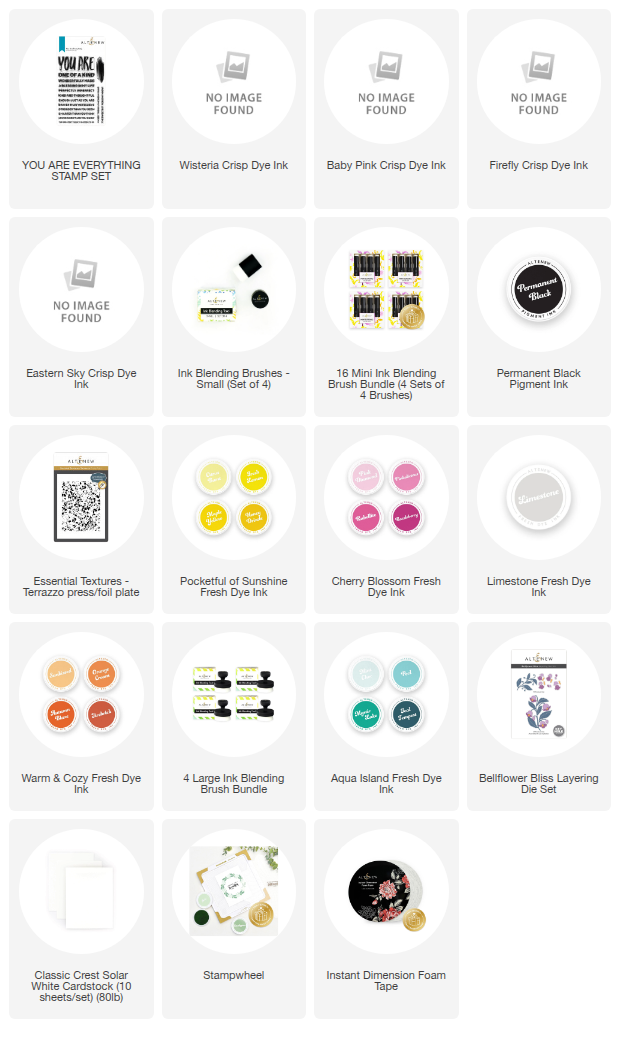
- Step four is to create your backgrounds, and I have used the stunning Essential Textures Terrazzo Press Plate/Foil Plate BUT I've neither hot foiled or letterpresses it. Instead I have used it as an embossing plate to create some delicious texture on two panels of white card stock.
- Step five is optional, but I do like how it turned out: Ink blend some green ink, I have used Firefly Fresh Dye Ink, on top of the texture. It will make the pattern pop!
- Step six is to glue a panel of acetate to the back of the negative die-cuts panel, as this one is going to be a shaker card! You will also need to add Instant Dimension Foam Tape to all sides on the back of this.
- Step seven is to adhere this panel to your textured, possibly ink blended, background piece but only pull off the backing tape on three sides off the Instant Dimension Foam Tape. You need to leave one side, I left the top, open so we can add the Stellar Sequins inside the shaker compartment.
- Step eight is to adhere all your gorgeous Bellflower bliss die-cuts to the stems on the coordinating keyhole spot. I have somewhat deviated from these to add one more big flower to the shaker card, rather than one of the little buds.
- Step nine is to pick sentiments and add them to the front. I have used the absolute must-have You Are Everything Stamp and Die Set. It's full of wonderful sentiments and there is a coordinating die-cut to cut out the ‘You Are' part too.
 For these I have used a mix of Pinkalicious, Sunkissed and Citrus Burst Fresh Dye Inks, to create a soft peach look.

Here I have gone for one color for each flower, carefully ink blending the die-cuts to give them highlights and contrast.


The Essential Textures Terrazzo Press Plate/Hot Foil gives such gorgeous texture, and you can pick and choose which side you want to have as the front. Do you prefer mostly embossed, or debossed? Left white or ink blended on top? You have so many options!
Assembly Time! But Hold your Horses!
If you want to make the card making process somewhat smoother, I would definitely recommend assembling all your die-cuts before you start putting the card together. This will help you let those positive and negative spaces pop too.

In fact, making sure all your components are finished before you commit to a card layout is pretty important unless you have a clear idea of what your finished card will look like.

This card was pretty straightforward and barely took any time to put together once I had all the pieces done. Adhere your background to a card base, glue down your die-cuts, add your sentiment and you are done!

The above design works without the shaker component to it as well, and you can also skip the acetate stage if you are not planning on making a shaker. In fact, if you are going to send it through the mail, it's better to keep it as flat as possible and there is no getting around the height and bulk the die-cuts add so skip the shaker part if you are mailing this.
As mentioned, you can line up each one of the flower die-cuts to their rightful place, or you can mix and match them to make your creative mojo happy.
I have stamped the ‘you are' part in Limestone as well as Permanent Black ink, and then I did use the coordinating die-cuts to cut out the words. I also cut out one more out of white card stock to layered the stamped die-cuts up with, but only for one of the cards.

With all my flower die-cuts glued down, the you are die-cuts added and also finished off with a couple of sentiments stamped on skinny banners, there wasn't much left to do but add some Stellar Sequins to the shaker compartment.

If you get a chance to watch the video I show you an easy way to add the sequins to the compartment and it really is the simplest way I have come across. Not only because your panel is already adhered to the card base so you don't have to worry about getting it on wonky, things falling out and it ending up in a giant mess.
Once you have added your sequins and sealed up the shaker compartment, you are essentially done playing with positive and negative space! A nice two for one, plus a bunch of extra die-cuts granted, but you know what I mean, right?
I hope you found this negative space tutorial helpful and inspiring, and I really hope you get a chance to hang out with me over on YouTube to watch the video as well!
With love and light, creativity and sparkle, from your girl Erica