A Scoop of Magic – Summer Swirls With an Unexpected Twist
by Lydia Evans April 28, 2021

Hello Altenew friends! Norine here with you today with a card design that has been percolating in my head for a bit and now that it has been “born” I can share it with you! I'll be honest, the idea isn't original with me – none ever is – but came about as I walked on the street where I live, and passed a gift shop window with tissue paper puffs filling the tops of paper cones and the first thing I thought was, mmmm I'd like some cotton candy right now…. and then I thought, that would make a pretty card design! And here we are!

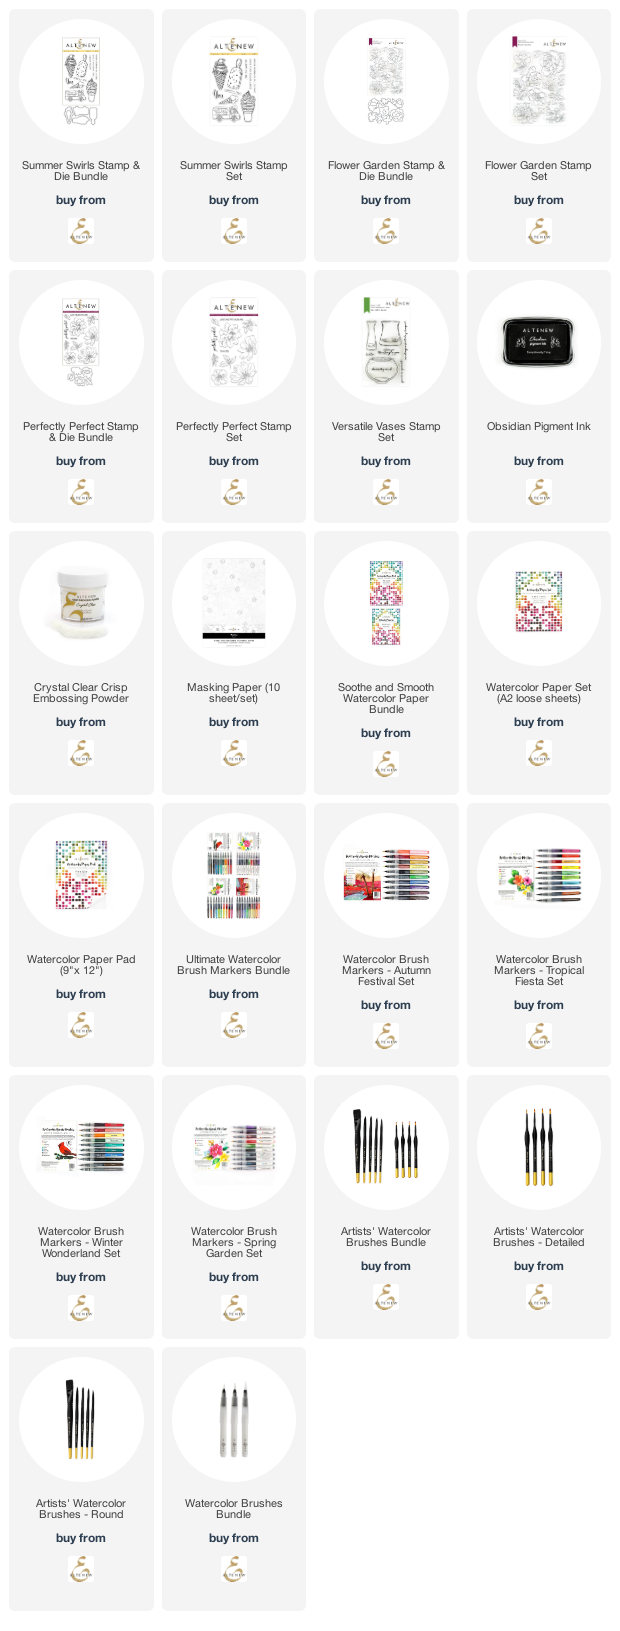
It's not quite tissue paper poms, but it's maybe even better? I used the Summer Swirls stamp set, stamped the two cones in the set onto masking paper and cut off the bottoms but left the tops with a 1/4th” margin around the sides and top.

Then I positioned the ice-cream masks where I knew I wanted the flowers to go, and stamped the three cones to line up below. If I'd had (a lot) more time, I might have tried to figure out how I could mask and stamp the flowers and leaves too, for a truly single layered card, but I also think the extra dimension of the cut out and layered flowers and leaves is 100% lucious!

Because I planned to use the vibrantly colored Watercolor Brush Pens to color these, I stamped on Strathmore smooth cardstock for a smoother blend of colors, but this could work just as nicely on watercolor paper I'm sure. I stamped a couple of the blooms from the Perfectly Perfect stamp set and some blooms and leaves from the Flower Garden stamp set and paint/colored them all.

I used a mix of the brightest shades of pink, purple and orange, laying down deeper hues in the corners and against edges where the shadows would lay, then used either a clean wet brush or a lighter shade of brush pen to draw the deeper pigment out toward the edges, and let the colors lighten and blend.

Once the shapes were all dry, I fussy cut them and fiddled with the arrangements on the tops of the cones until I was happy. I used liquid adhesive to adhere them down, putting drops of glue only on the centers of each piece so that their edges could lift and have a more dynamic look. I added a sentiment from the Versatile Vases stamp set, stamping with Obsidian Pigment ink and heat embossing with clear embossing powder as I had done for the cones and flowers.

This kind of project is so fun and simple to create, and I hope you've been inspired to give it, or something similar, a try too! Thank you for stopping by today and have a wonderful day!
SUPPLIES USED: