5 Steps to Create a Scrapbook Layout
Tap into your inner creative side and create a scrapbook layout in 5 easy steps! With more and more people trying to find a better way to cope with life’s daily challenges and stress, scrapbooking’s rising popularity is inevitable. What used to be a simple hobby for bored homemakers and retirees has turned into a multi-billion dollar industry that is trendy, exciting, and enjoyable. Even millennials and generation Z are getting into DIY custom scrapbook making.
The Popularity of Scrapbook Layouts and How to Find the Best Scrapbook Supplies Online
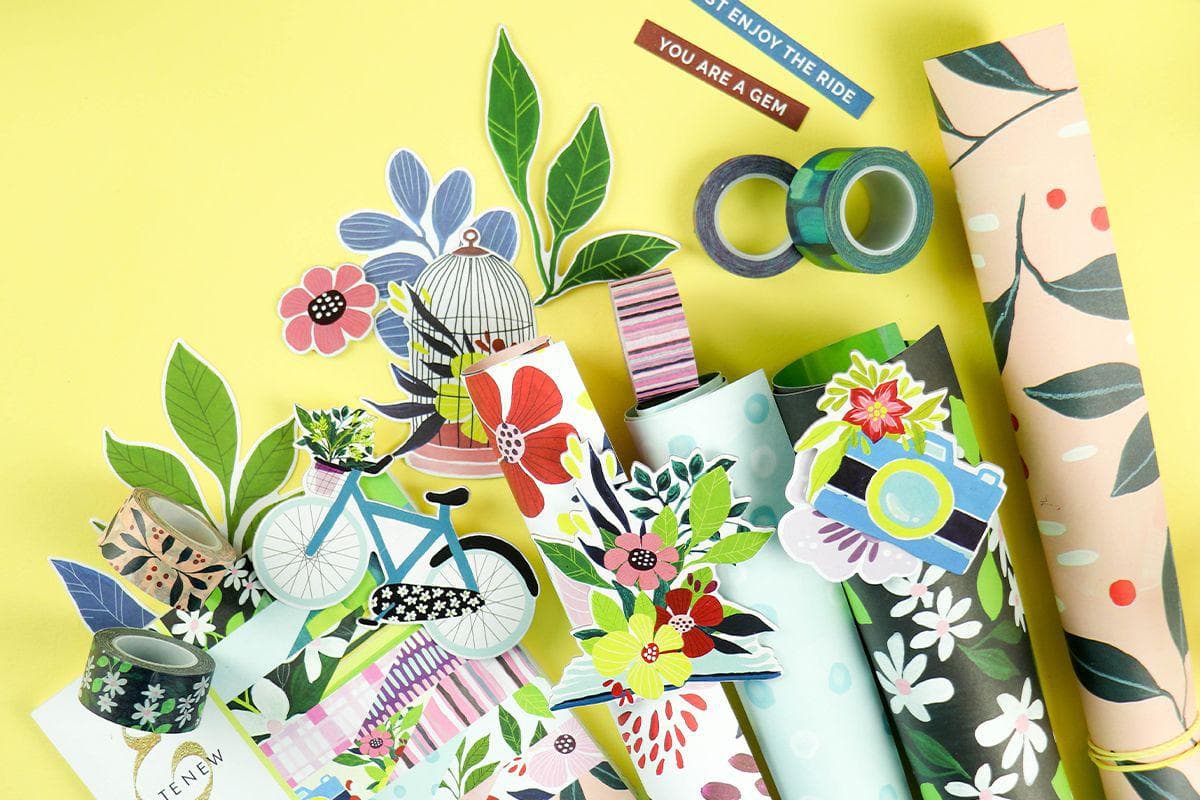
At its core, a scrapbook is a book filled with pages of photographs and keepsakes. Unlike your regular photo album, these pages are personalized, designed, decorated, and embellished. This is where scrapbook materials come in handy. Old scrapbookers had to make do with plain or colored paper, stickers, scissors, and glue. Thanks to modern technology and innovation, more unique and incredible embellishments are now readily available when you look for scrapbook supplies online. Gone are the days when you can only decorate your pages with 2D stickers, cut-outs from magazines, and journaling. You can now choose from 3D stickers, epoxy buttons, die-cuts, chipboard stickers, wood veneers, sequins, and even cut files that you can download online! If you want to learn more about the history, trends, tools, and other scrapbooking-related facts, CLICK HERE.
What scrapbooking supplies do I need?
If you’re not new to scrapbooking, you might already have all the necessary tools you need to create a custom scrapbook. However, if you haven’t started your scrapbooking journey, here are a few tools and supplies that you need to invest in.
|
Equipment or Tools |
Supplies |
|
Scissors |
Paper (Plain, Colored, or Patterned Paper) |
|
Paper trimmer |
|
|
Adhesives (liquid glue, foam tape, glue tape, double-sided adhesives) |
|
|
Journaling pens (fine liner pen, gel pens) |
Stencils and embossing folders (optional) |
|
Die-cutting machine (optional) |
Stamp and die sets (optional) |
|
Embossing/debossing machine (optional) |
Watercolor, inks, alcohol markers, other coloring tools (optional) |
When you look for scrapbook supplies online, you will easily find everything you need to create your page. However, you also have the option to buy a customized scrapbook making kit. These kits have all the materials you’ll need - from patterned paper to ephemera! Check out some of Altenew’s beautiful, fun, and colorful scrapbooking kits HERE.

Now that you’ve got your fill on everything you need to know about scrapbooking, here are 5 easy steps on how to create a scrapbook layout.
1. Choose your photos
This should be a no-brainer. The essence of scrapbooking is preserving memories using photos and mementos. Go ahead and print out those photos from your smartphone and start organizing them.PRO TIP! Create an organizational style that suits you. You can organize your photos by date, by month, by year, or by occasion. You can also organize it by holidays or by people (family, friends, kids, coworkers). It’s good to place them in folders on your computer, tablet PC, or phone, so you can easily pick out the ones that you want to use.
Once you’ve chosen your photos, you need to select the best one for your focal point. If you’re simply making a page, it’s good to start with 1-2 photos. This also depends on the size of your layout. A 12” x 12” layout can accommodate up to 4 small photos. But you don’t want to overdo it with the pictures because there won’t be enough space for other elements and embellishments.
2. Pick a color or a theme
After choosing your photos, you can now decide which color (or colors) you want to use for your layout. You can also pick a theme: florals, black and white, stripes, geometric, nature, whimsical, cute, or monochrome - the list goes on!
PRO TIP! To find out which color/s will suit your page, pick a few colors from your chosen photo/s. This way, everything will be cohesive, and there won’t be a clash of colors on your page.

This is also an excellent time to decide on a presentation or style. Here are some types of scrapbook that you can try:
3. Map out your layout or design
This is an essential step in creating your page. Don’t get overwhelmed by the amount of scrapbooking ideas for beginners out there. If you’re just starting out, feel free to stick to a couple of layouts or designs you feel comfortable with. Here are some of our recommendations:

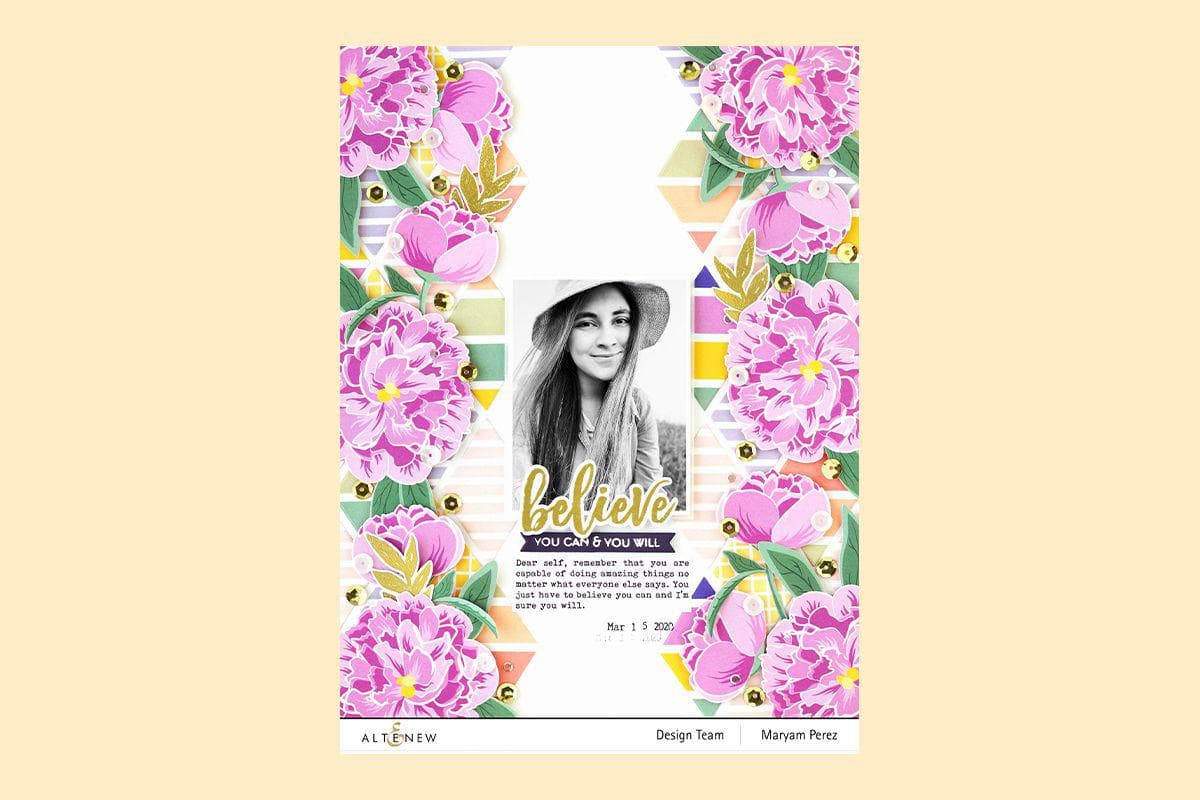
- Create a wreath around your focal point. Florals are so popular in the paper crafting industry, and for a good reason! They are beautiful, timeless, elegant, and super versatile. Most scrapbook making kits have a few floral stamps, stickers, and ephemera included in them. Try this quick and easy layout with a floral wreath.
- Add borders. When you add borders to your page, it highlights the focal point/photo and makes it more balanced. You can opt for one side border, two borders, or go for a full four-sided border. It’s up to you! Check out this super fun and pretty layout using fussy cut patterned papers as borders.
- Frame your photo and/or elements. Another great layout to try is simply framing your focal point and your elements. You don’t need to use an actual “frame” to do this. Use stamps and dies, stickers, ephemera, washi tapes, or stencils in your crafting stash to create your own unique frame.

If you still can’t find the right layout for you, then just go with the flow! Do some kind of freestyle custom scrapbook! Just remember to pick the right colors that will fit your scheme and balance your elements. Here’s a cute and fun layout that you can try with only a few ephemera and patterned paper from this scrapbook making kit.
4. Create a background
While some scrapbookers would opt for a clean and simple background, a.k.a. just plain, white background, there are a few creative ways to spruce up your page.
- Use patterned papers.
- Ink blend some colors in the background.
- Do background stamping.
- Add some dimensions with 3D dies or multi-layered stamps.
- Try embossing or debossing patterns onto it.
It’s essential to fill your stash with scrapbook materials that you can easily use for your background. You can find a wide range of scrapbooking tools and supplies HERE. Watch this fun, quick, and easy video tutorial on how to create a cohesive background for your page.
5. Add some embellishments, decorations, and journaling
The final step is to add your decorations and embellishments! This is the fun part because you get to be creative. You can move your elements around, mix and match some stickers and die-cuts, add some sparkle and shine, and even go the extra mile by adding journaling or calligraphy. The sky’s the limit when it comes to this part. Just make sure it’s still keeping up with your color scheme and theme. You don’t want to go overboard with the embellishments to find out later that they don’t match your background and photos.

There you go! Now that you’ve got these five easy steps down, it will be more comfortable and less intimidating to create your own scrapbook layout. Remember to keep on practicing your crafting skills and try to learn something new every now and then. Sticking to the basics is great, but don’t let that stop you from unleashing your creativity! Find more scrapbooking inspiration and fresh ideas right HERE.