Build-A-Garden Radiant Blossoms Easy and Simple Cardmaking Ideas

Hello from the Scottish Highlands, this is Bibi Cameron and I'm passing by to share two easy and simple card ideas using the new Build-A-Garden: Radiant Blossoms by Altenew.

This beautiful set includes a stamp set, coordinating stencils, and dies—making the creative process effortless and accessible, even if you're not a coloring expert or when your mojo is low.
The layered stencils allow you to quickly add vibrant colour to your stamped images without the need for advanced skills or expensive markers and once you have the images, it is easy to find your way to create different compositions.
Textured Embossed Background

Card Recipe
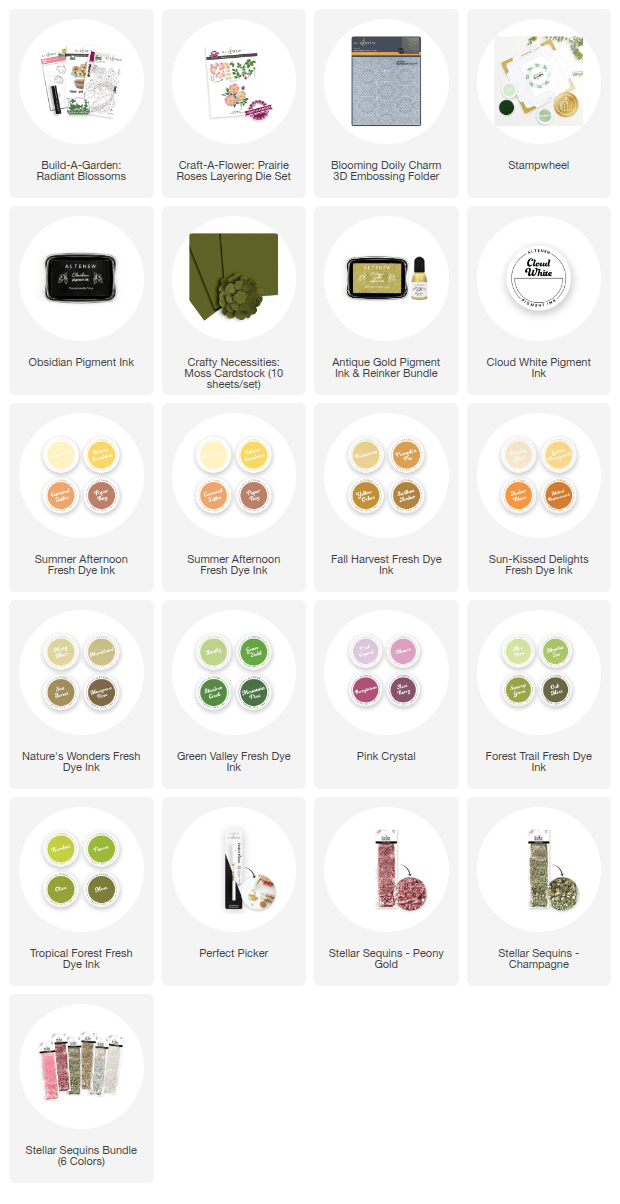
- Build -A -Garden Radiant Blossoms
- Craft-A-Flower: Prairie Roses Layering Die Set
- Blooming Doily Charm 3D Embossing Folder
- Champagne Stellar Sequins
- Moss Cardstock
Altenew Ink colours used:
-
Stamped Flowers:
Buttercream, Warm Sunshine, Caramel Toffee -
Stamped Leaves:
Grass Field, Shadow Creek -
Basket:
Mangrove Root, Melted Butterscotch -
Die-Cut Leaves:
Mangrove Root -
Background (raised areas):
Altenew Gold & White Pigment Inks -
Background (edges):
Oak Moss

The Cardmaking Process
Let's start by stamping and colouring the gorgeous Radiant Blossoms images.
I like to use Neenah 110 lbs and Altenew Obsidian Black Ink or Versafine Nocturne Ink. Both inks work well with Altenew Fresh Dye Inks.
Once the ink is dry, I use the layering stencils to add color.
I start by using stencil number one (1) with a light ink color, and I increase color intensity with each layer of the stencil.
After coloring, I die-cut the images and set them aside.

To bring extra detail to this card, I used the new Blooming Doily Charm 3D Embossing Folder to emboss a 4 x 5-1/4" piece of Moss cardstock.
After embossing the cardstock, I applied white and gold Altenew ink over the raised areas of the stenciled image and Oak Moss Ink all around the edges for contrast.
You can use any cardstock color to create this type of background to add a wow factor to your projects with almost no effort.
Next, I use foam tape to stick different elements on the background and I tucked in die-cut leaves from the Craft-A-Flower: Prairie Roses Layering Die Set and added a sweet sentiment— “sending hugs your way” from the stamp set included in the Build -A -Garden Radiant Blossoms project kit.
I finished the look with scattered Champagne Stellar Sequins for sparkle.
Blank Background

Most of the time, less is more in cardmaking, so I also wanted to create a clean and simple card that can be done in less than 20 minutes using the new Build-A-Garden: Radiant Blossoms by Altenew

Card Recipe
Altenew Ink Colours Used
-
Stamped Flowers:
Pink Crystal, Mauve, Berrylicious, Pumpkin Pie -
Stamped Leaves:
Olive, Mangrove Root -
Basket:
Mangrove Root, Melted Butterscotch -
Die-Cut Leaves:
Olive, Mangrove Root

That's all for today.
I hope I have been able to get your creative juices flowing

Sending Hugs.
BiBi Cameron
Supplies List