Soft Stenciled Layers: Making the Background Part of the Focal Point
Key Takeaways
Integrate Backgrounds: Use localized ink blending and stenciling to make the background function as an extension of the focal point rather than a separate element.
Direct the Eye: Focus darker ink saturations behind the main die-cuts to ground the images and draw immediate visual attention.
Balance with Whitespace: Fade blending into the natural cardstock color on the opposite side to prevent the design from feeling cluttered.
Functional Layering: Use vellum for intermediate layers (like tags) to add structural depth without obscuring the background detail.
Stability for Vellum: Apply double-sided adhesive sheets to vellum before die-cutting small accents (like eyelets) for easier assembly and added strength.
Hello there, Michelle here with another edition of Terrific Tags with Michelle. Today I have a card to share where I am using the background as part of the focal point.
The benefits of this technique are:
- It draws your eye into the main focal point (the flowers).
- It helps to balance the design of the card.
- It grounds the flowers.
- It adds softness to the card.

The Main Focal Point
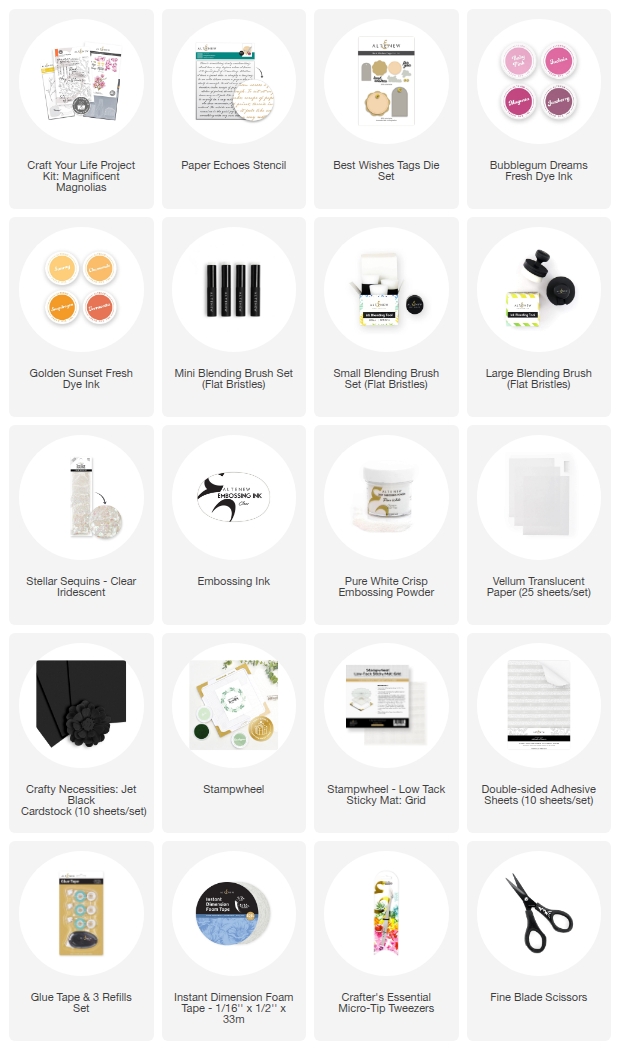
I started off by creating the main focal point - the flowers. I die cut two of the flowers from Craft Your Life Project Kit: Magnificent Magnolias from Classic Crest 110lb Solar White Cardstock.
I placed them onto my Sticky Mat and using Mini Blending Brushes, added ink blending on top.
- For the petals I used Bubblegum Dreams Fresh Dye Inks - Baby Pink, Fuchsia & Magenta.
- For the flower centers I used Golden Sunset Fresh Dye Inks - Sunray & Chamomile.
The flower petals and centers were adhered together using liquid glue, following the keyhole system to line them up.

The Background
For the background part of the focal point, I took a panel of white cardstock and first added a light layer of Baby Pink and Fuchsia Fresh Dye Inks using a Large Blending Brush. I focused the ink blending towards the left-hand side of the panel. This is where the focal point will be.
I added the darker shade towards the edge of the card and let the ink fade to the white of the cardstock at the top, bottom and right-hand side.

I then placed the Paper Echoes Background Stencil on top and using a Small Blending Brush, blended Fuchsia Fresh Dye Ink through the openings of the stencil.
Again, I focused the darker ink blending towards the left edge of the panel and lightened it up as I moved towards the right.
The panel was then adhered to a white A2 sized (4.25" x 5.5") card base using Glue Tape.
Just adding the background behind where the focal point will be draws your eye into it. It also makes it part of the focal point itself.

Tag, Sentiment + Embellishment
Whilst the background helps to ground the florals, I did still want something in between the background and the flowers, so I grabbed the Best Wishes Tags Die Set and die cut one of the tags from vellum.
To add some stability to the hole at the top (for me to thread twine through), I added Double-sided Adhesive Sheet to a piece of vellum and die cut the eyelet die from it. The backing paper was removed, and the eyelet adhered to the tag. I then threaded black twine through.
Using vellum for the tag makes it remain part of the focal point as you can still see the background through it.

The tag was adhered to the card using Glue Tape, making sure to hide the adhesive behind the flowers. The flowers were then adhered on top using liquid glue.
I stamped a sentiment from Craft Your Life Project Kit: Magnificent Magnolias onto Crafty Necessities: Jet Black Cardstock using Embossing Ink. I applied Pure White Crisp Embossing Powder and heat set. It was cut into a strip and adhered to the card using Instant Dimension Foam Tape.
To finish, I embellished with Stellar Sequins - Clear Iridescent.
Video Tutorial: Making the Background Part of the Focal Point
I hope I have inspired you to try making the background part of your focal point. As you can see, by just adding the background to one side of the card, makes the whole thing (the background, flowers, tag and sentiment) part of the focal point. You can watch the video tutorial below or over on YouTube.

Thank you so much for stopping by today, I hope you have a wonderful day!

Enjoy up to 50% off Stencils Collection from May 1, 2026 at 12:01 AM EDT until May 3, 2026 at 11:59 PM EDT. Shop here: https://altenew.com/collections/stencils
SUPPLY LIST