Saved by Swatches: Rethinking Die Cut Colors

Have you ever started a card, only to realize the colors just weren’t working together? That’s exactly what happened to me in today’s project. Instead of starting over, I turned to my trusty cardstock swatches and found a new color scheme that completely saved my design.
Hey everyone, Mindy here! Today, I’ll talk to you about how I layered fresh die-cut pieces right over the originals, creating a much more cohesive and polished look—without wasting all that effort. Let’s jump in and see how a simple color swap can make all the difference!

I wanted to capture a cozy autumn vibe, so I pulled out the Fireside Escape Die Set to build a fall scene. I started by die-cutting my pieces in warm reds and browns, planning to bring in that classic harvest palette.
For the background, I reached for the Strong Oak Layering Stencil and blended warm shades of orange to mimic the glow of fall foliage.
Once everything was laid out, I realized the scene felt a little overwhelming. To balance it out, I die cut a simple white circle from the Nesting Circles and used it as a frame. This gave my design a focal point and helped break up all that color. I placed the chairs and fire pit in front of the frame, with the tree layered in the distant background, and then stamped a sentiment from the Sweet Harvest set to finish it off.

Even though I liked the overall layout, the chairs stood out a little too much against the background. Instead of starting from scratch, I went back to my cardstock swatches and chose a softer option— Cloudy Sky Cardstock. I die cut the chair pieces again, trimmed them down, and layered them over the original die cuts. This simple color shift toned everything down and gave the whole card a more cohesive, natural feel.
Sometimes a small change like rethinking your color choices can make all the difference in salvaging a design. I love how this scene came together—cozy, rustic, and perfectly fall!
VIDEO
Be sure to check out the coordinating video where I walk you through the entire process—from building the stenciled background to rethinking the die cut colors for a softer, cohesive finish. Grab a cup of coffee, hit play, and craft along with me.

SUPPLIES
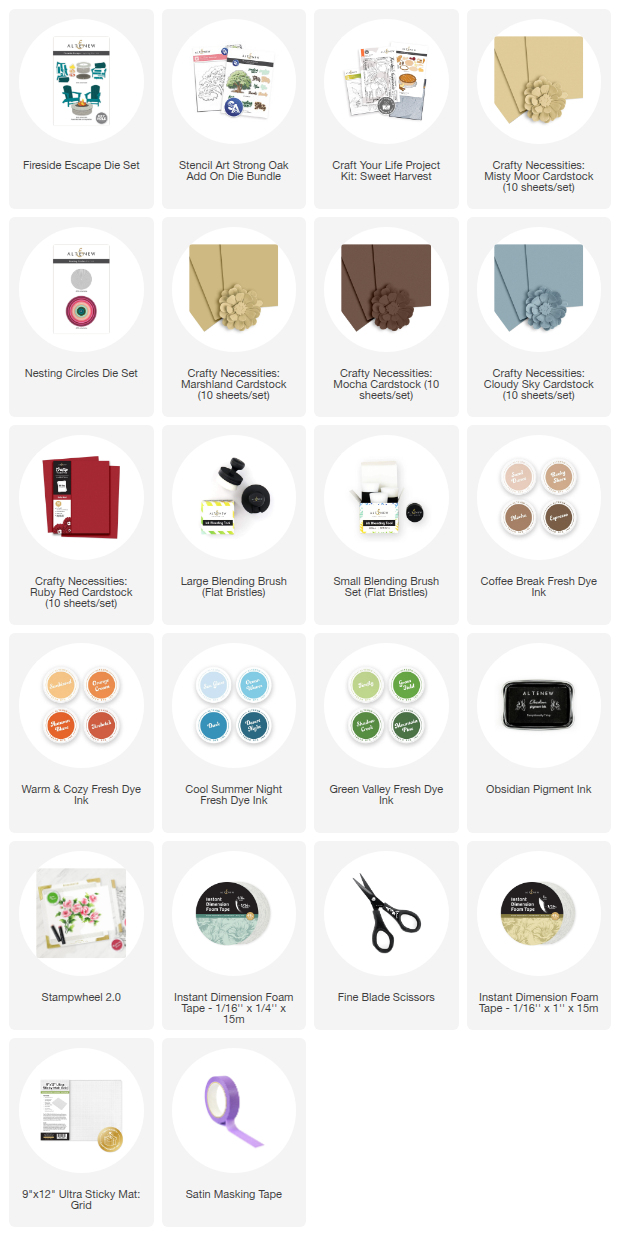
Leave a Reply