Rustic Glam Congratulations Card with Sparkle + VIDEO
Last Updated: September 8, 2025
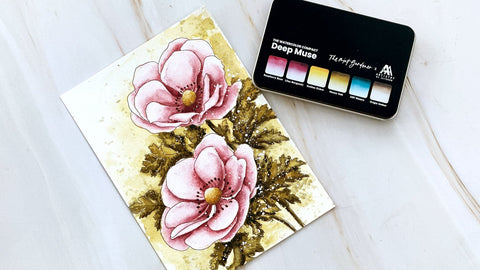
This versatile rustic glam congratulations card is perfect for weddings, graduations, or any milestone. You can even swap the sentiment and turn it into a Mother’s Day card. The best part? You can recreate this look with any floral die set you already have in your stash.
Hi friends! Erum Tasneem here. Let’s make a card that blends sparkle, texture, and soft florals.

VIDEO: Rustic Glam Congratulations Card with Sparkle
Watch the video tutorial below or CLICK HERE to learn more about this cardmaking technique! Or read step-by-step instructions after the video.
Create the Flowers

Die cut flowers from Blush Cardstock. I used the Bright Bloom Die Set; you can use any floral dies.
Die cut the centers from White Cardstock.
Lightly ink the flower centers with Sand Dunes Fresh Dye Ink, leaving the ring white.
Add a soft touch of Mauve Fresh Dye Ink to the petals, blending outward from the center.
Assemble the flower layers.
Prepare the Embossed Panel

Cut a piece of Classic Crest Solar White Cardstock, slightly wider than your card base.
Use a wet paintbrush to draw a waterline across the top and bottom, then gently tear along the waterline.
Emboss the panel with the Wanderlust 3D Embossing Folder (tip: lightly mist with water first to avoid cracking).
Add soft inking with Sand Dunes Fresh Dye Ink for a vintage, aged look.
Add Glitter Borders

Tear a strip of Smoky Quartz Glitter Cardstock using the same waterline technique.
Adhere the glitter strip behind the torn embossed panel using Ultra Sticky Tape.
Build the Card Base

Splatter the kraft cardstock base with diluted Titanium White Gouache.
Adhere the embossed and glittered panel to the kraft base with Instant Dimension Foam Tape.
Trim any excess cardstock.
Assemble the Design
Add Antique Gold Thread to the card front in loose loops.
Arrange and adhere the flowers with foam tape.
Embellish with Stellar Sequins in Champagne.
Finish with a stamped “Congratulations” sentiment tucked into the floral cluster.
This design combines rustic kraft, vintage embossing, and glam glitter edges — all softened by pastel florals. It’s elegant yet versatile, and easy to adapt with different flower colors or sentiments. I hope this inspires you to try mixing torn textures, sparkle, and soft florals in your own projects.
Thanks so much for stopping by! Happy crafting!
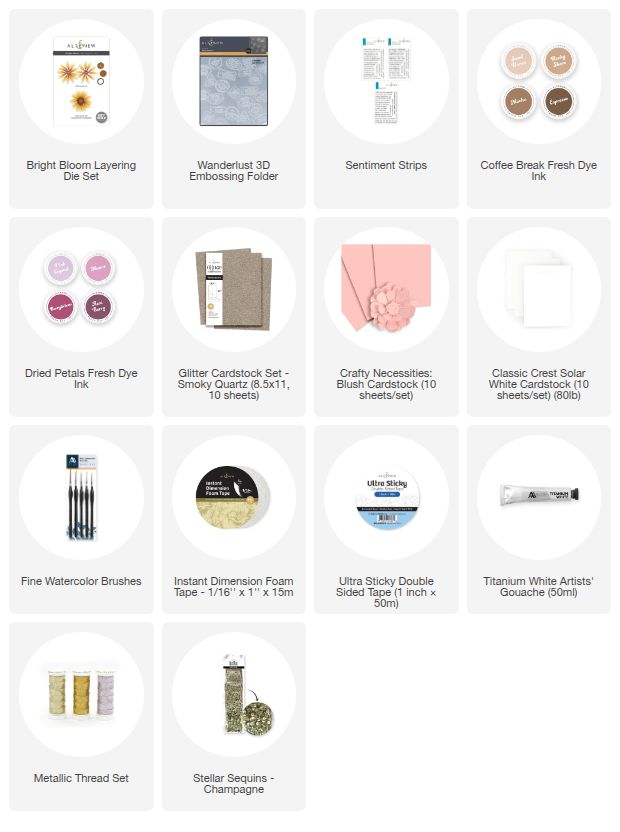
SUPPLY LIST

In This Article