


Zero Waste Ornamental Winter
The holidays are just around the corner, and what better way to start making some projects early than with a fun set of festive and cheerful crafting supplies?
Hello from Scotland! Bibi Cameron here sharing a vibrant and bold holiday card idea that brings together the new Zero-Waste Ornamental Winter Die, the Elegant Bows Embossing Folder, and Sleigh Ride Greetings from the Altenew July 2025 Release

Easy Paper Piecing
I had so much fun paper-piecing all the intricate wintery bits to create a bold and colourful ornament design, and to finish it off, I added a metallic embossed bow for a festive touch.
If you love detail, texture, and using every single die-cut piece with no waste, this project is for you!
Card Recipe
Crafty Necessities Cardstock used:
- Parrot
- Volcano Lake
- Lagoon
- Bamboo
- Pumpkin Pie
- Evergreen
- Vineyard Berry
- For the embossed bow, I used Champagne Gold Mirror Cardstock.

Step-by-Step Instructions
It’s much easier to do than it is to explain!
Die-Cut the Colored Panels
Start by cutting C6-sized panels (5½" x 4¼") from Volcano Lake and Lagoon cardstock.
Position the intricate inlay die from the Zero-Waste Ornamental Winter Die Set towards the lower center of each panel—this leaves space at the top to add the decorative bow later. Die-cut and set aside the small negative pieces (you'll use these for paper-piecing).Create the White Frame Panel
Using the circle outline die from the same set, die-cut a circle from a C6-sized white cardstock panel. Try to align the placement so it matches the inlay die position on the colored panels.Assemble the Base Layers
Adhere the white die-cut panel over the colored panel, aligning the openings so the negative space frames the inlaid pattern perfectly. Trim any overhang if needed.Add a Backing Layer
Attach a full C6 piece of Pumpkin Pie cardstock to the back of your panel. This adds a warm contrast behind the intricate design. Again, trim any excess if needed.Prepare for Card Assembly
These finished decorative panels should be slightly smaller than your card base (also 5½" x 4¼") to allow for a clean edge when mounted.Glue the negative die-cuts in the negative spaces of the ornament.
Emboss a piece of gold mirror cardstock using the Elegant Bows Embossing folder and die-cut with the coordinating die.
Use a dimensional foam adhesive to affix the bow at the top of the ornament.
Optional - Add a metallic threat to give the illusion that the ornament is hanging off the page.
Multicoloured Paper Pieced Design

Low-Contrast Paper Pieced Design

The Sky's The Limit
You can go bold with a multicoloured composition—when it comes to colour, the sky’s the limit! Or, for a more subtle look, try a low-contrast paper-pieced design using just a few similar or closely related cardstock colours.
This approach makes the most of the backing layer, especially in tiny negative spaces where paper-piecing can be tricky. Either way, the result is beautifully textured and full of depth.
Remember, this is just one idea—you can also use the inlaid die-cut pattern as a background for a festive composition or repurpose the ornaments to create unique tags.
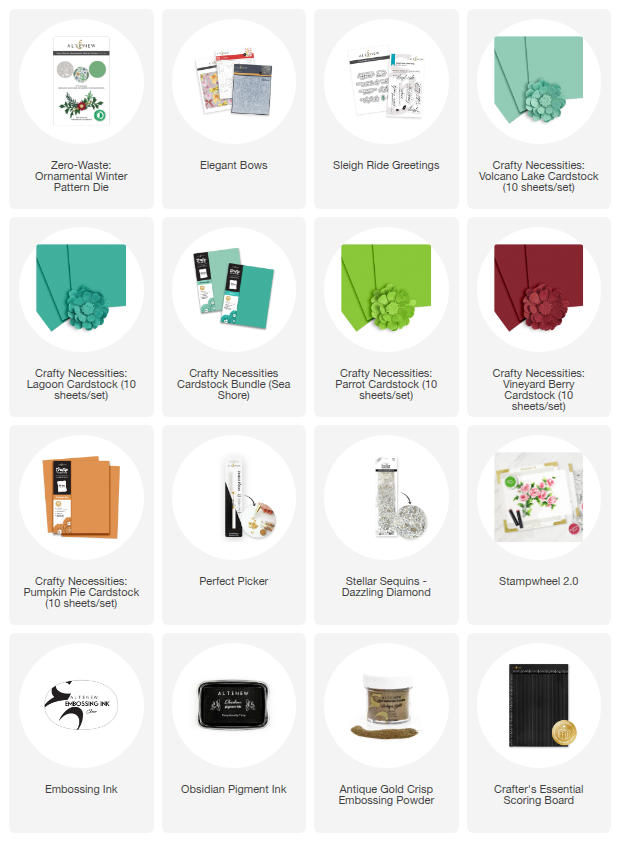
SUPPLY LIST


Leave a comment