Old Techniques, Fresh Looks: Inking It Up With Mindy
Sometimes the simplest techniques are also the most timeless. In this post, I’m revisiting some of my favorite classic paper-crafting methods—like distressing with ripped edges, ink blending, and direct-to-paper techniques—and giving them a fresh, modern spin. These tried-and-true methods are easy to do, but when combined, they add depth, texture, and character to any project.
Whether you’re looking to create a vintage-inspired card or just want to breathe new life into techniques you’ve loved for years, this post will show you how to turn old favorites into fresh, creative looks.
HOW-TO VIDEO
Watch the how-to video on the Altenew YouTube channel to see these techniques come together step by step!

Starting With Ink Blending
For today’s project, I’m starting with the Craft Your Life Project Kit: Floral Odyssey and adding my own twist. I used the aerial view portion of the stencil with the Nature’s Wonder Fresh Dye Ink Collection to create a soft, tone-on-tone background. Ink blending through the stencil onto Misty Moor Cardstock adds depth and a dreamy, layered effect that sets the stage for the rest of the design.

Distressing With A Ripping Technique
Next, I incorporated one of my favorite classic techniques: distressing with ripped edges. Tearing the Misty Moor cardstock gives the project a natural, vintage-inspired texture. The uneven edges create shadows and dimension, giving the card a handcrafted feel that works beautifully with the soft blended background.

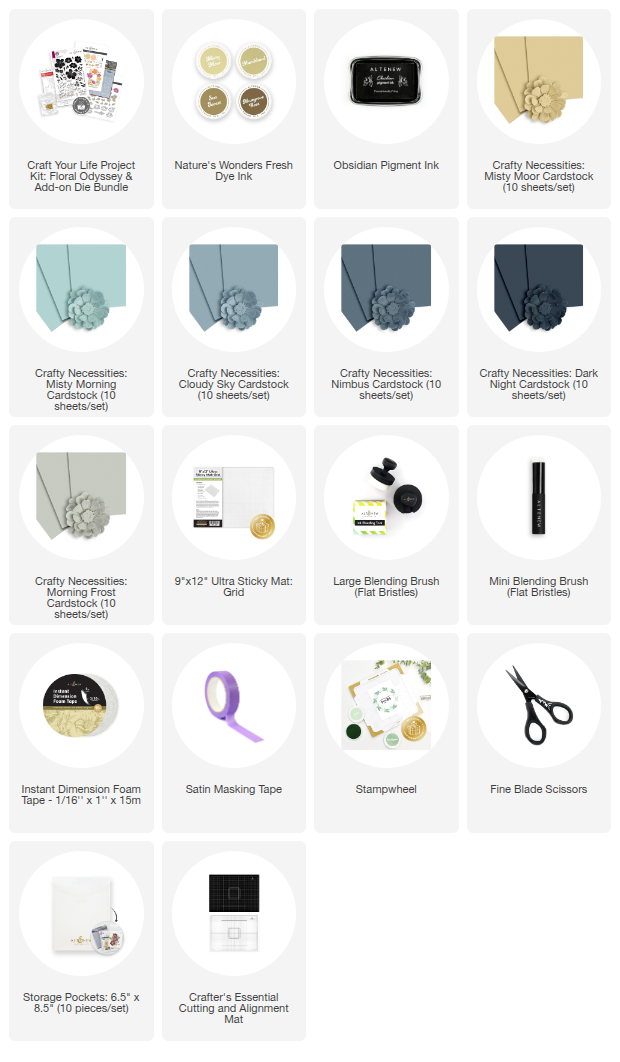
Shop the supplies needed to make this card:
Craft Your Life Project Kit: Floral Odyssey & Add-on Die Bundle, Nature's Wonders Fresh Dye Ink.
Direct To Paper For Bold Texture
To add contrast, I used the direct-to-paper method for the edges. This technique allows the ink to make bold, crisp marks directly on the cardstock, creating texture that pops against the soft, blended background. The combination of old techniques—distressing, ink blending, and direct-to-paper—gives the project character, depth, and a modern twist on vintage charm.

Bringing It All Together
To complete the project, I created a compass using the Floral Odyssey die set , layering it over the textured background in soft Cloudy Blue tones . The delicate, vintage-inspired colors complement the ripped edges and ink-blended aerial scene, while the compass adds a focal point that ties the whole design together. This shows how classic techniques like distressing and direct-to-paper can be paired with new products to create a fresh, unique project with depth and character.

Shop the supplies needed to make this card:
Craft Your Life Project Kit: Floral Odyssey & Add-on Die Bundle, Nature's Wonders Fresh Dye Ink.
This project was such a fun way to revisit classic techniques while exploring new creative possibilities. From ink blending through the stencil to distressing with ripped edges and adding bold texture with direct-to-paper, each method adds its own charm. Layering the Floral Odyssey elements and creating the compass in Cloudy Blue tones brought it all together for a vintage-inspired look with a fresh twist. I hope this inspires you to dig into your favorite old techniques and see how they can be refreshed with new products and creative ideas!

SUPPLIES