

Make Your Project Interactive with Lilypad Dreams
Key Takeaways
Create Interactive Layouts with Lilypad Dreams: The Lilypad Dreams Suite (3D embossing folder and layering stencil) is ideal for adding texture and multi-photo interaction to a 6x8 journal entry or scrapbook layout.
Design a Double Gate Fold Feature: Use the Nesting Arches Die Set and a scoring board to construct two hinged flaps (gates) that fold inward, transforming a standard layout into an interactive, opening multi-photo spread.
Enhance Texture with 3D Embossing: Achieve deep, tactile dimension by running white cardstock arch die-cuts through the Lilypad Dreams 3D Embossing Folder before assembling the gates.
Add Color via Layering Stencils: Bring the embossed design to life by blending Fresh Dye Inks (Whispering Woodland, Bubblegum Dreams, Sicilian Amber, and Iceberg) through the Lilypad Dreams Layering Stencil.
Maximize Space for Photos & Sentiments: Hide a large 6x8 focal photo on the base page beneath the gates, and use the inside panels of the arches to stamp custom sentiments and tuck away secondary, smaller photos.
Achieve Seamless Assembly: Secure the heavy-duty interactive elements using Ultra Sticky Double Sided Tape to ensure the flip-out gates remain durable and flush.
Hello crafty friends! It's Nathalie with you to share a new creative idea that will help you make your project interactive with Lilypad Dreams set. I love the texture and details in the embossing folder and how they can be easily enhanced with the layering stencil and ink. The nature theme of the suite lends to an outdoors feel, so I am using them to create an interactive multi photo 6x8 Journal entry. The detail, design, and size of this set make them perfect for all sorts of projects.
Let's take a look at what I have created with this new set in my 6x8 album.

Using Lilypad Dreams to Bring A Tactile Experience
First, I want to show you how you can make your project interactive and textured with the new Lilypad Dream set. I am using them to create a double gate fold/opening for my single page spread transforming it from a card into a larger format. There is so much detail in this set that they can complement your stories/projects seamlessly.

Lately I am drawn to taking photos of my walking route as the sun is just starting to rise. So, the large photo gave me the idea to bring the texture of the embossing folder as a means to make it a focal point that opens - with the help of hinged gates to reveal a second focal point.

Here is how you can get started to make your project interactive with Lilypad Dreams:
- Trim a 7"x8.5" piece of Crafty Necessities Misty Sage cardstock for the base.
- Use the largest piece from the Nesting Arches Die Set to cut two pieces of Crafty Necessities Misty Sage cardstock, these will form the gates for the spread.
- Using the Crafter's Essential Scoring Board, score one arch die cut at 1/2" from left edge, and the other arch at 1/2" from right edge. Fold along the score line to create a back flap.
- Using Ultra Sticky Double Sided tape, adhere the back of the 1/2" flap to the base at 1/4" from bottom right of the base, so that gate opens to the right.
- Using Ultra Sticky Double Sided Tape, adhere the back of the 1/2" flp to the base at 1/4" from bottom and 3/4" from left edge, so that gate opens to the left.
- Use the second largest die in the Nesting Arches die set to cut two pieces of white cardstock. Then trim the right edge of one of the die cuts so that if measures 2 7/8" in width, repeat with the other die cut making sure the cut is made to the left edge of it.
- Use a small piece of magic tape to attach the two curved edges side by side.
- Center the two arched pieces inside the Lilypad Dreams 3D Embossing Folder to create the impression.
- Use Lilypad Dreams Layering Stencil and Whispering Woodland Fresh Dye Ink set, Bubblegum Dreams Fresh Dye Ink set, Sicilian Amber Fresh Dye Ink, and Iceberg Fresh Dye ink to color the embossed images on the white die cuts.
- Adhere the white embossed pieces to the front of the flaps so that they sit at about 1/8" from the edges and flush to the scoring line.
- Using Obsidian Pigment Ink and One-Go Loving Sentiments create a sentiment strip and adhere to just one side of the gates at about 1/2" from bottom edge of gate.
Using Lilypad Dreams to Make Your Project Interactive

The simple design in the Llilypad Dreams Layering Stencil provides just enough details to create a softer version of the image. This will help when creating the extra pieces to make your project interactive. Since we have opening gates in the project, we have to add interest to the inside of the gates.
Taking Wax Seals To A New Level

We want to keep the large photo as the main focal point of the spread, so we are going to go simple and delicate for the rest of project.
- Using the third largest die from the Nesting Arches Die set, cut two images from white cardstock.
- Cut them to be 2 3/4" in width, make sure that you trim from the left of one of the die cuts, and then from the right of the other die cut.
- Lay them side by side, along the trim edges on a Sticky mat and using the same color inks (as in the embossed image) and just the Lilypad Dreams Layering Stencil create a softer version of the image (use light pressure when ink blending)
- Adhere the left arch (trimmed on the right) die cut to the back of the left gate at about 1/8" of the outer edge, making sure the trimmed edge lays flush along the score line.
- Add a photo -to size- to the inside of the left gate atop the stenciled image.

- Using Ultra Sticky Double Sided Tape 1/2" wide, adhere large phot (6x8 size) to the base so that it sits at 1/4" from bottom edge and in between the two open gates. The photo will cover the gate back flaps attached to the base,
- Carefully curve a sentiment from Build-A-Garden Flourished Flora Stamp set on a stamp block (use the curvature of the arch to help guide the stamp location).
- Using Obsidian Pigment Ink create a sentiment at about 1/4" from the outer edge of the stenciled arch piece.
- Using Glue Tape adhere the stencil arch at about 1/8" from the outer edge of the inside of the right gate, so that sits flush on the scored edge.

I hope this inspires you to make your project interactive with Lilypad Dreams, there is so many variations you can use to get a similar look. I cannot wait to see your take on this idea.
XO!
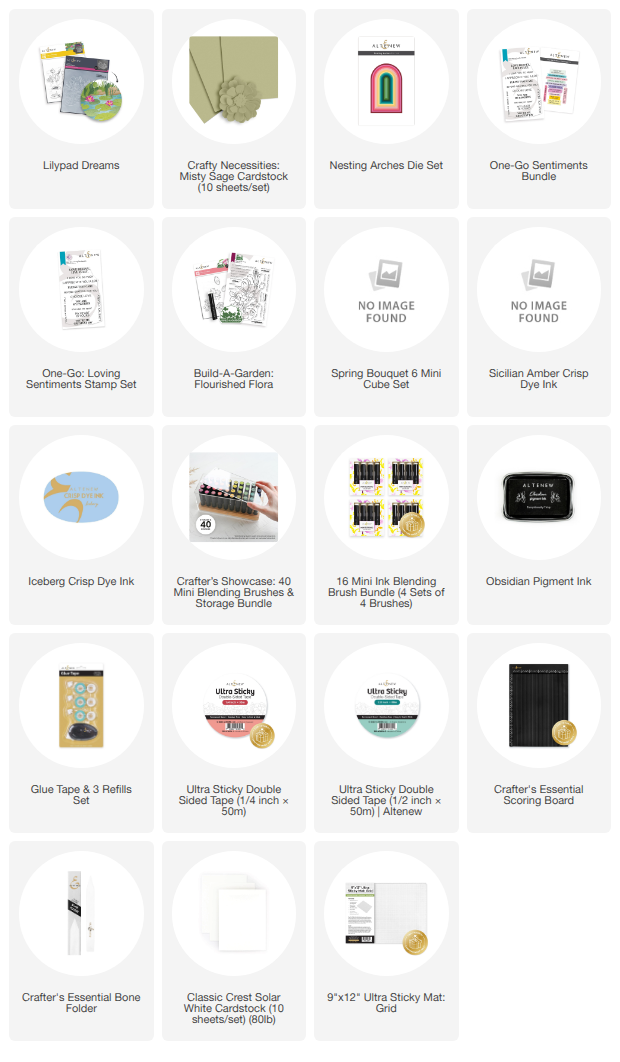
Supply List

Enjoy up to 40% off Cardstock Collection from June 9, 2026 from 12:01 AM EDT until June 11, 2026 at 11:59 PM EDT. Shop here: https://altenew.com/collections/cardstock


